March 31, 2022 @ 13:34
DIY tabletop battle map (wargames, DnD, minature games etc)
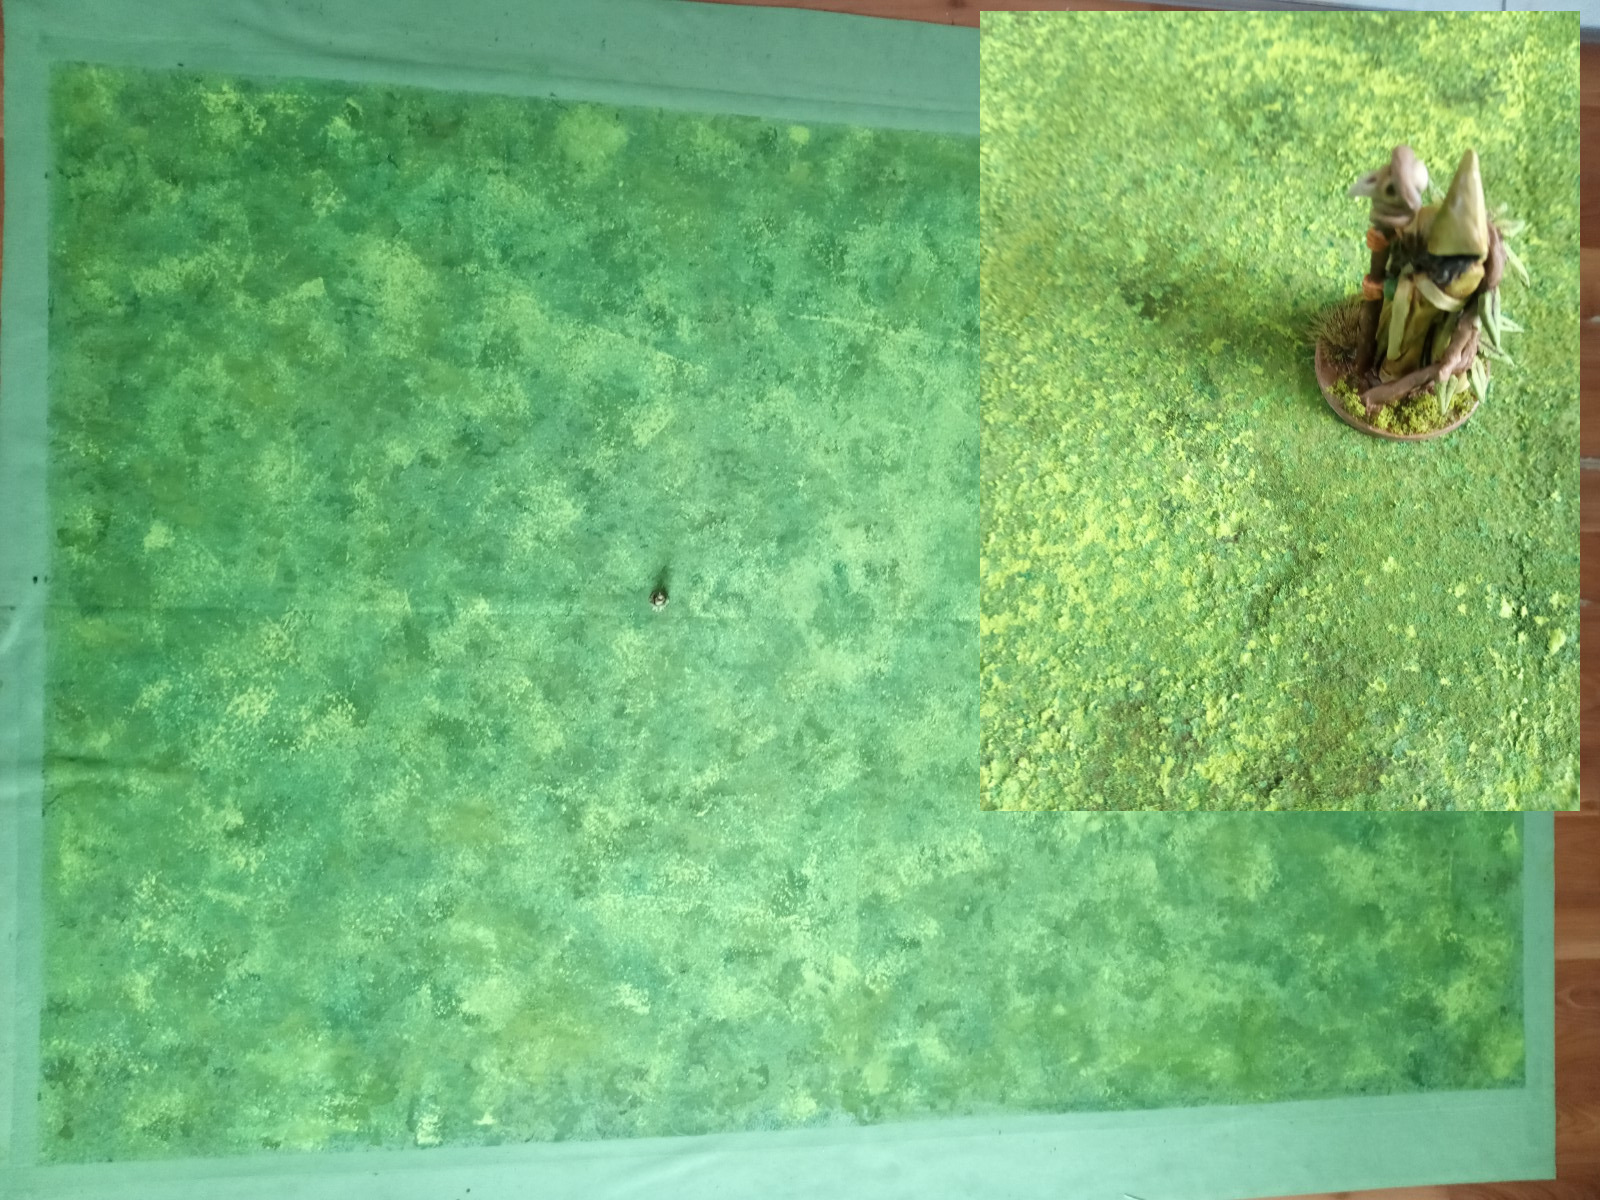
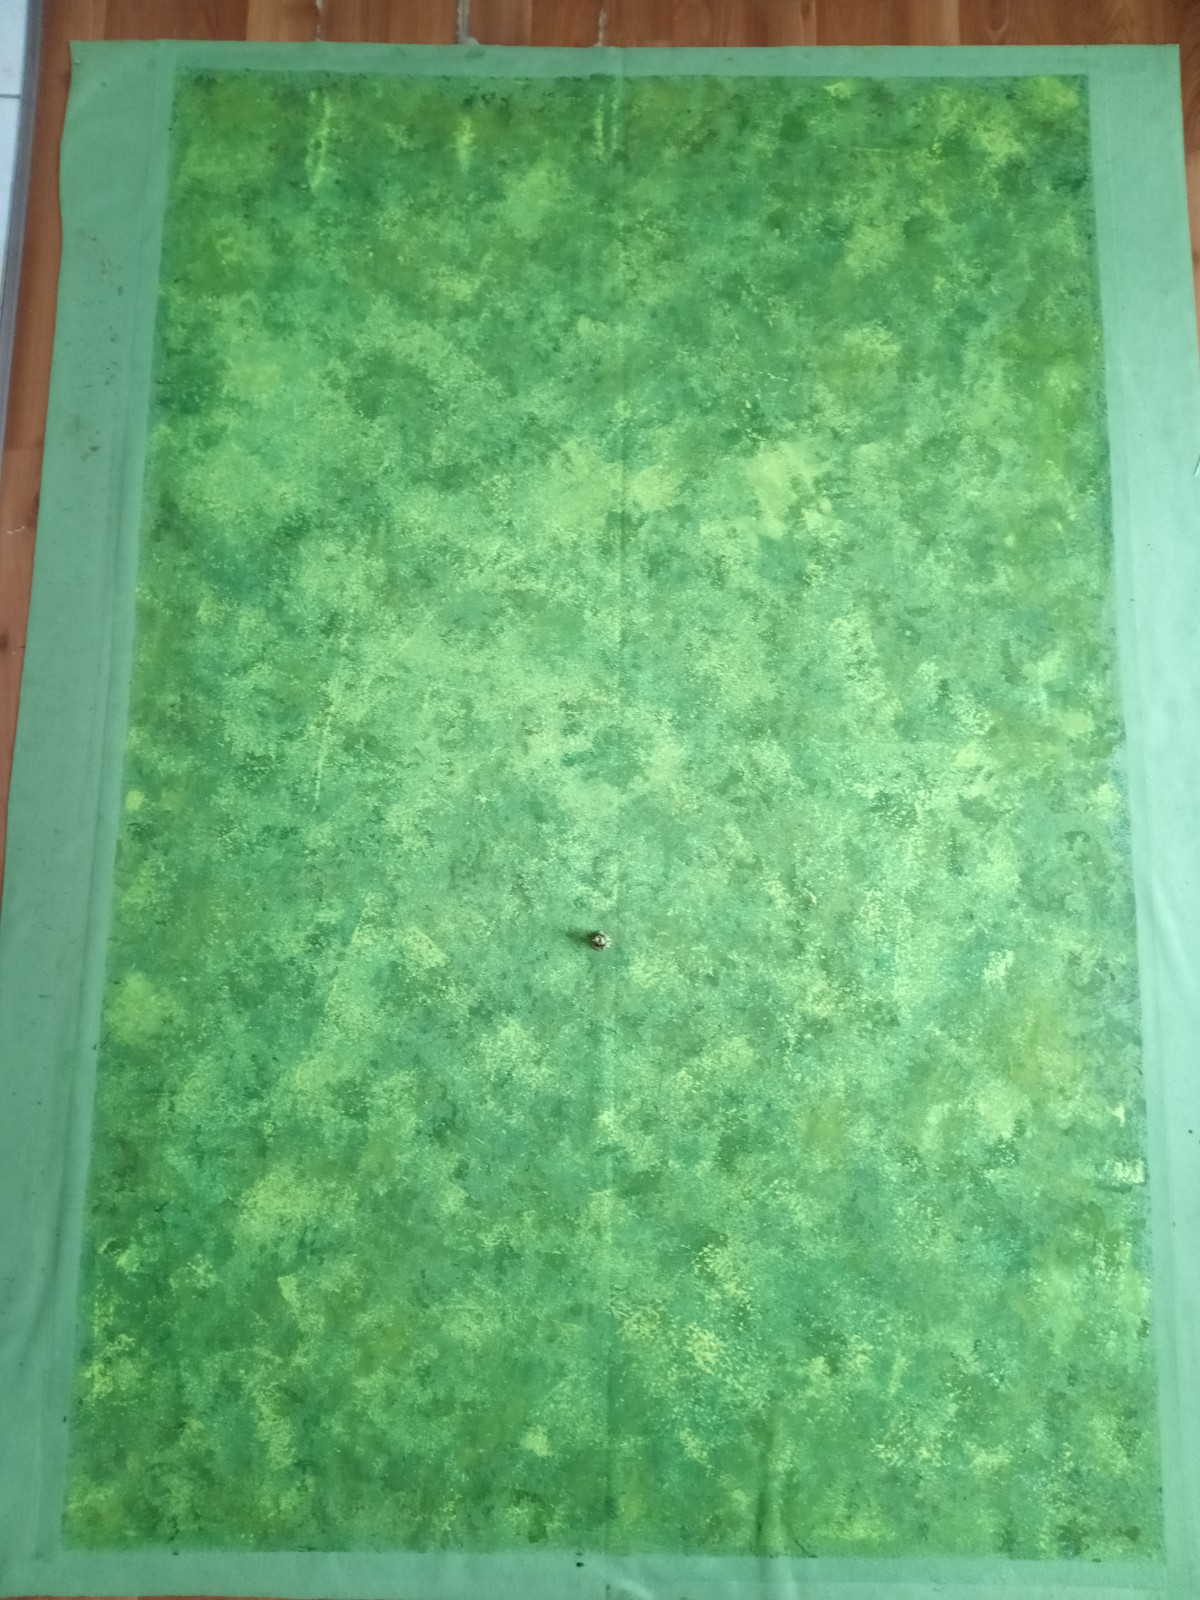
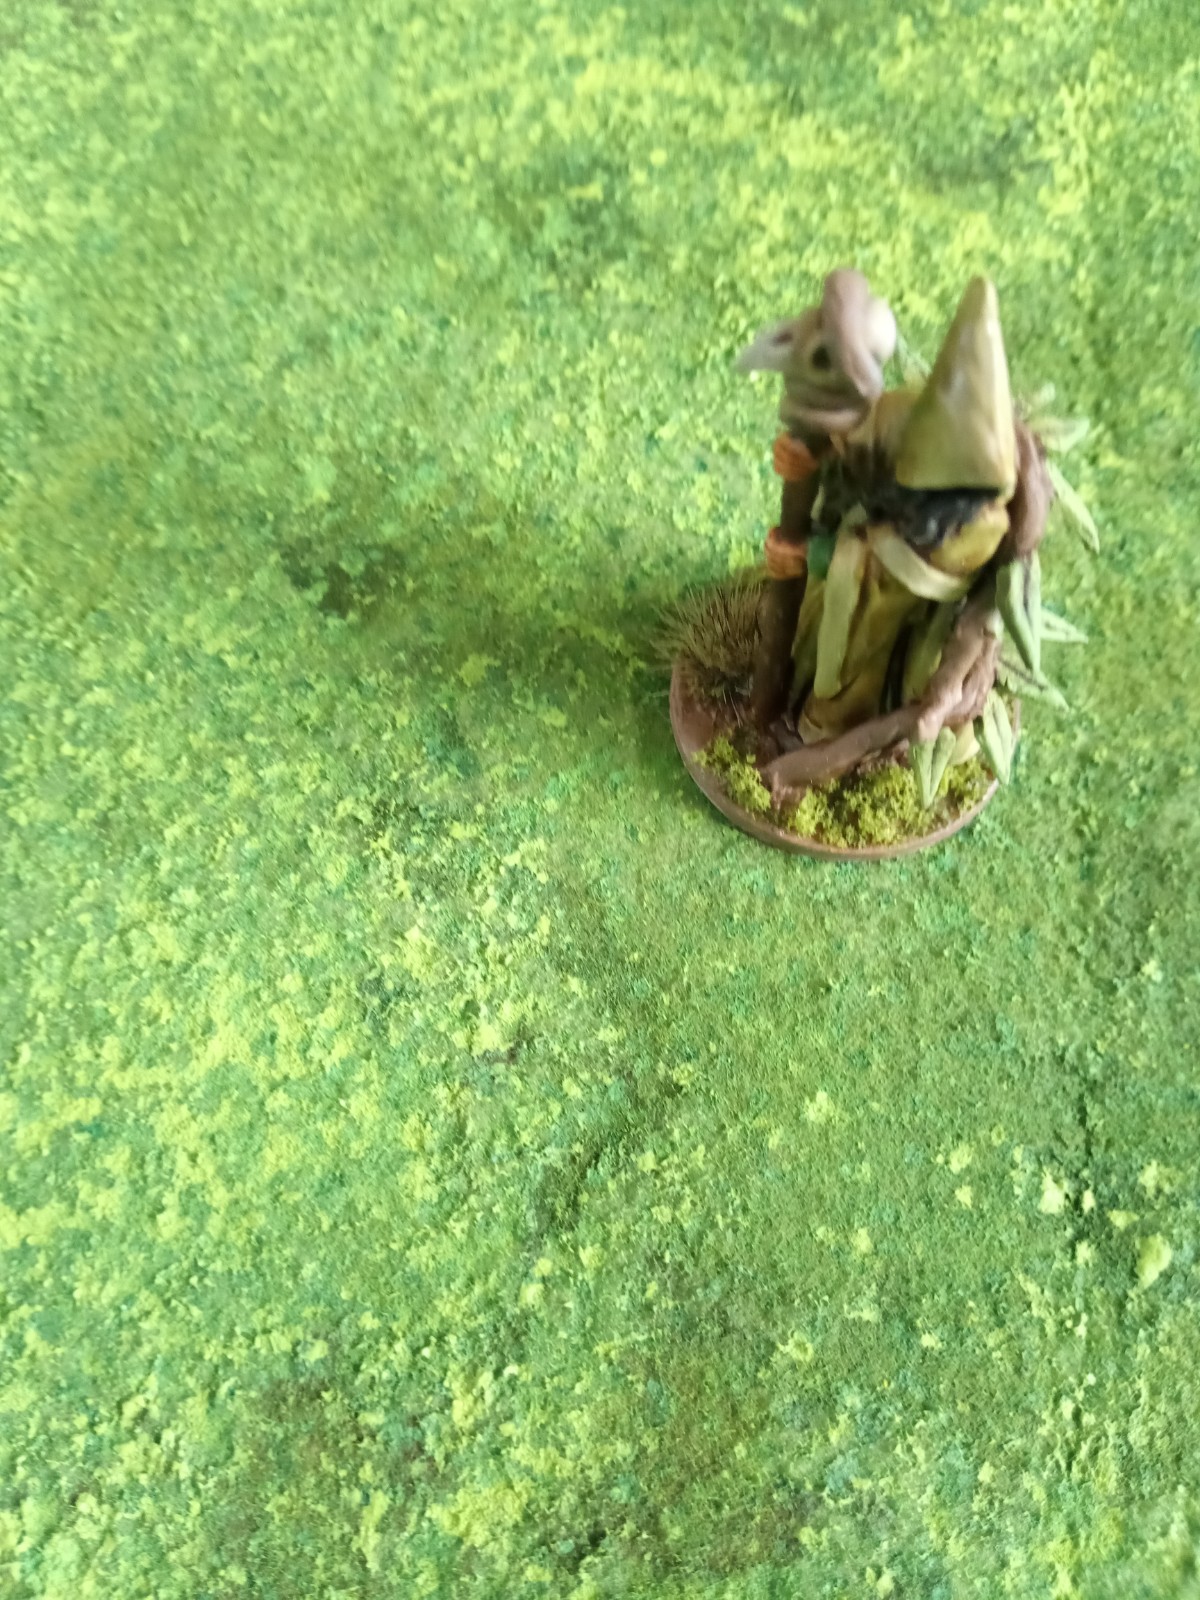
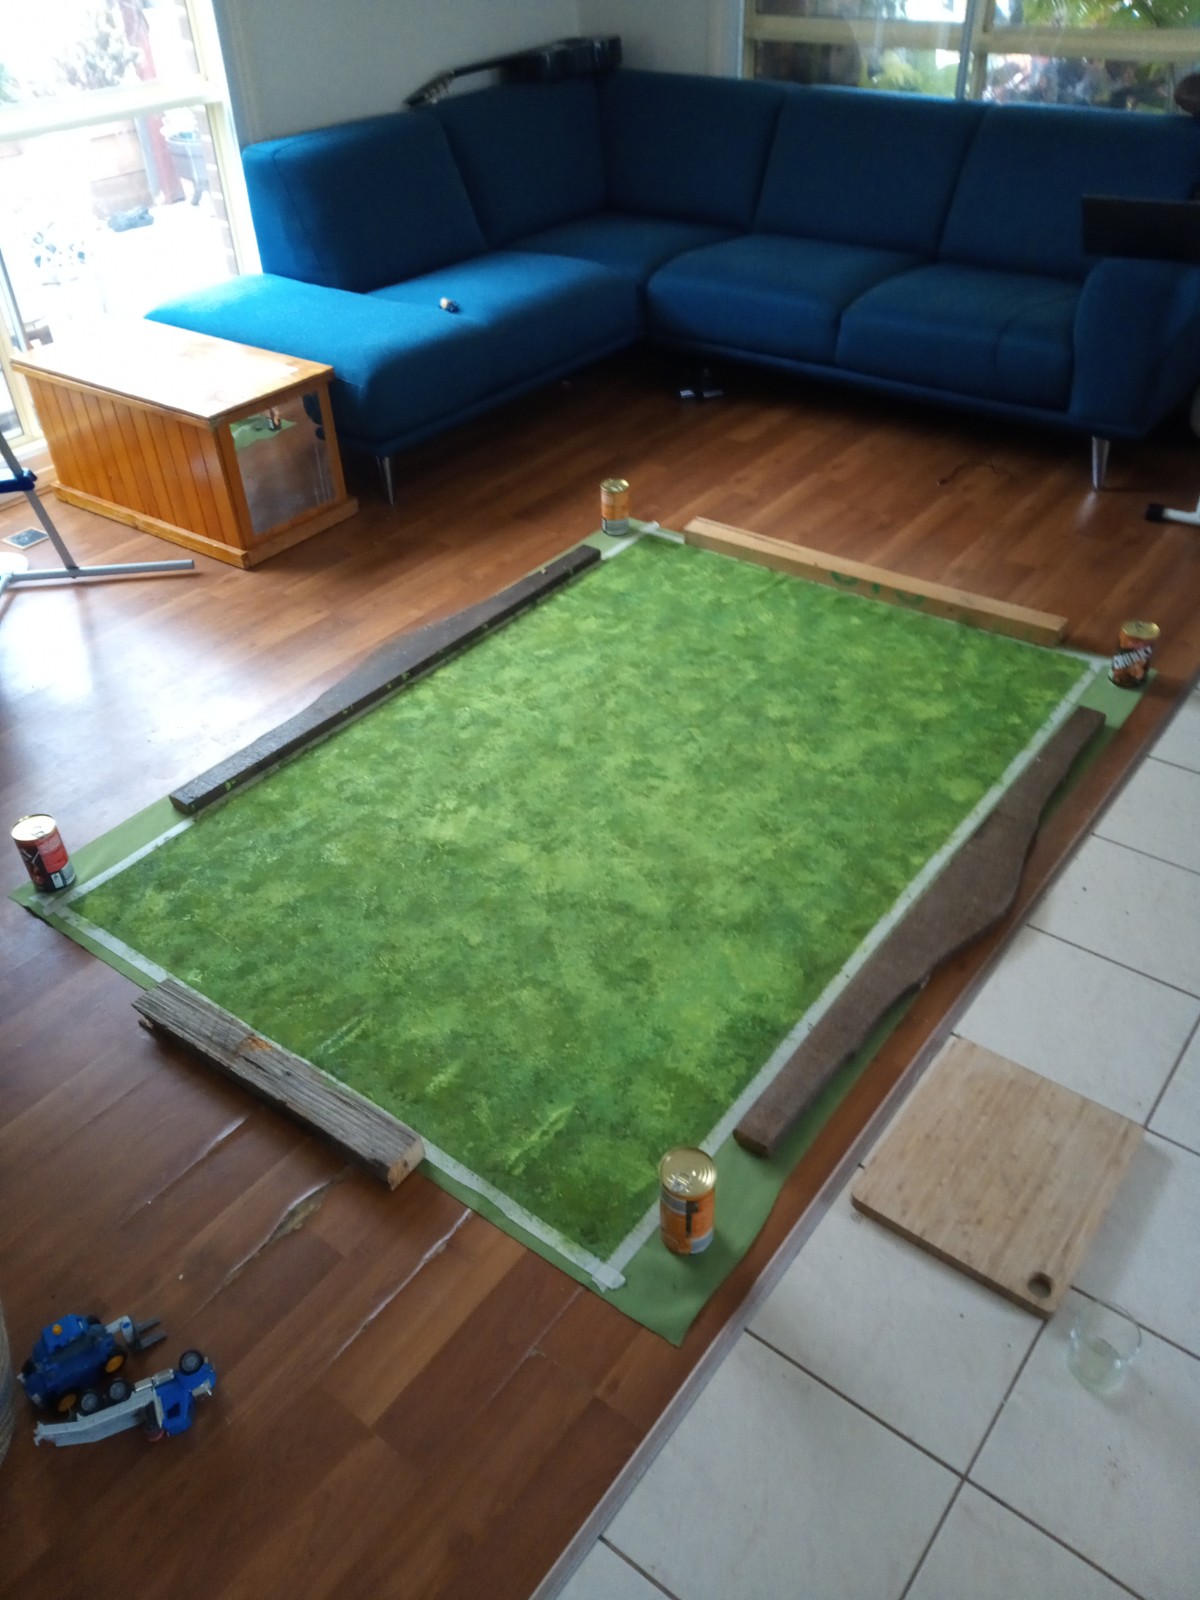
First here's what we're making: a 6x4 ft (1.8 x 1.2 metre) mat for wargames.
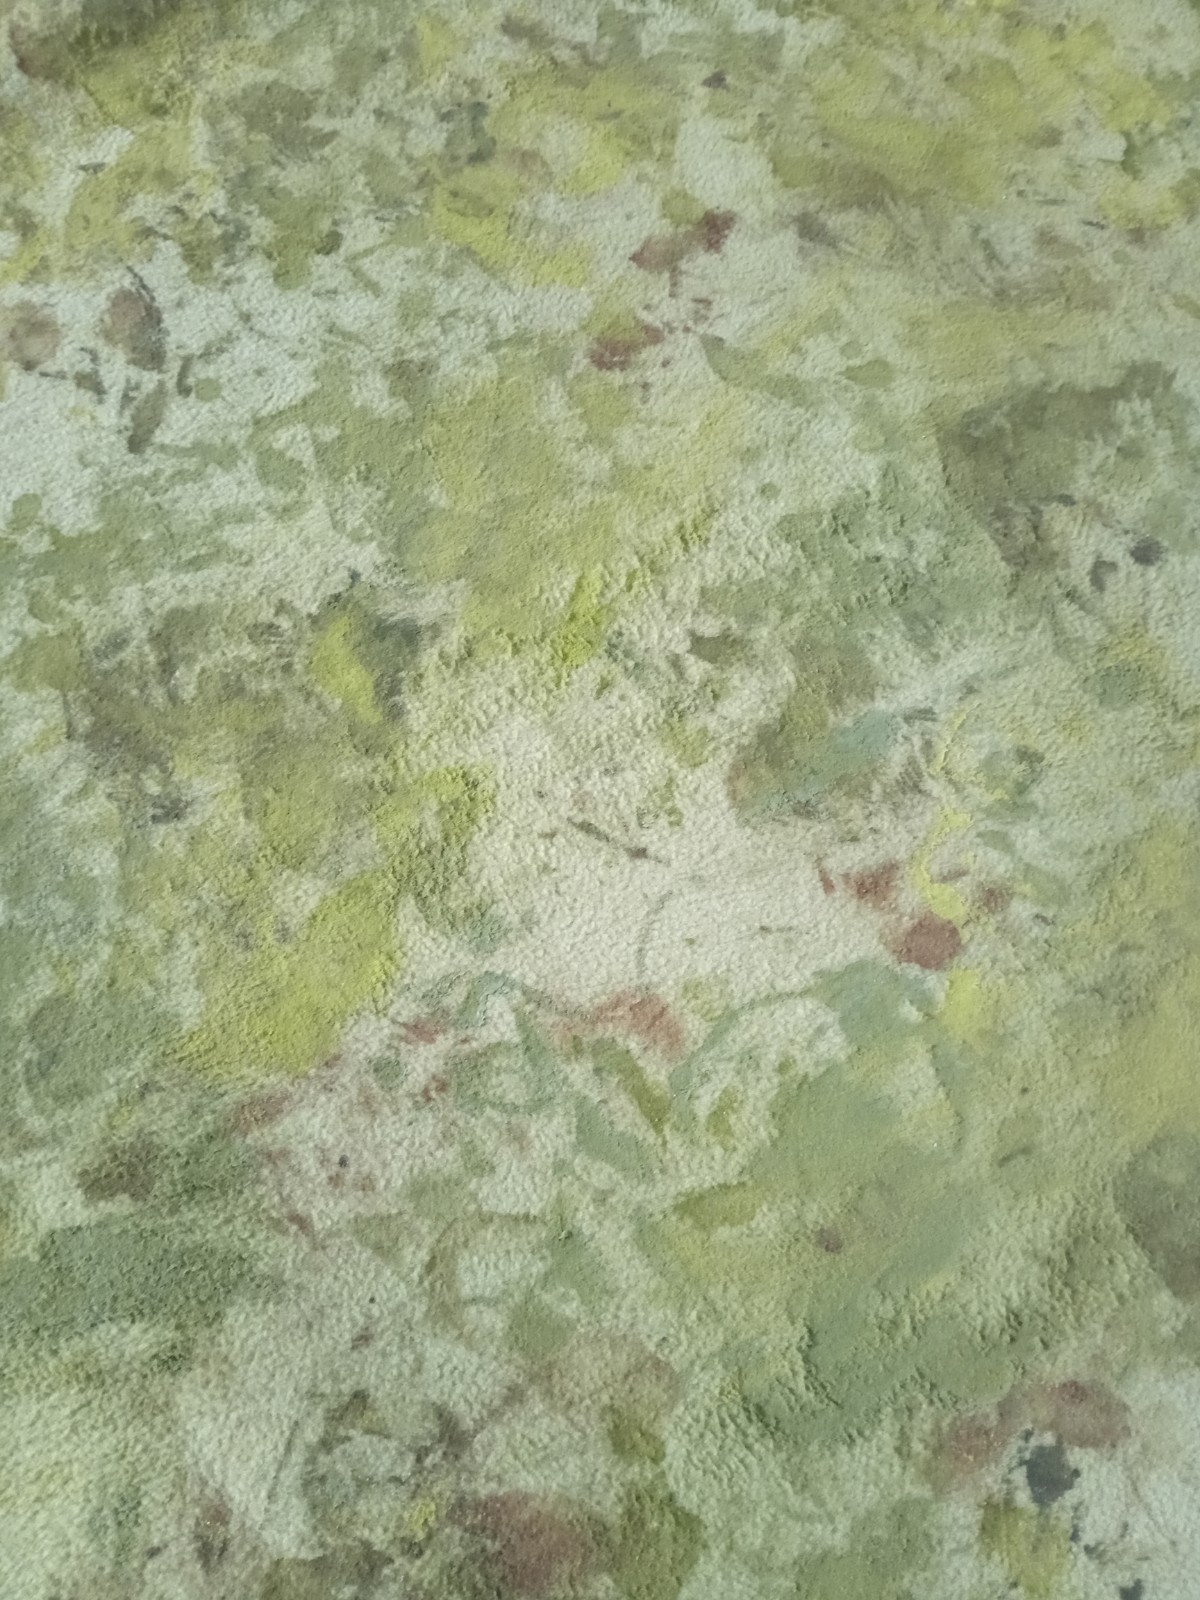
Here it is in full, with the painted area 6x4. Both pics below have the same Reaper Wizard mini for reference:
Reason for making
Recently I wanted a 6x4 battle map for some friends and I to play on. It needs to suit games at 28mm and 10mm scales. I thought the options available for purchase were a bit pricey. In Australia, it's $100+ for a good looking mat.
Needed for this project
Prices in $AUD:
- Green felt fabric, larger than 6x4 ft ($35)
- Masking tape
- Green, yellow, brown and white paints. Get the cheap ones ($20 max)
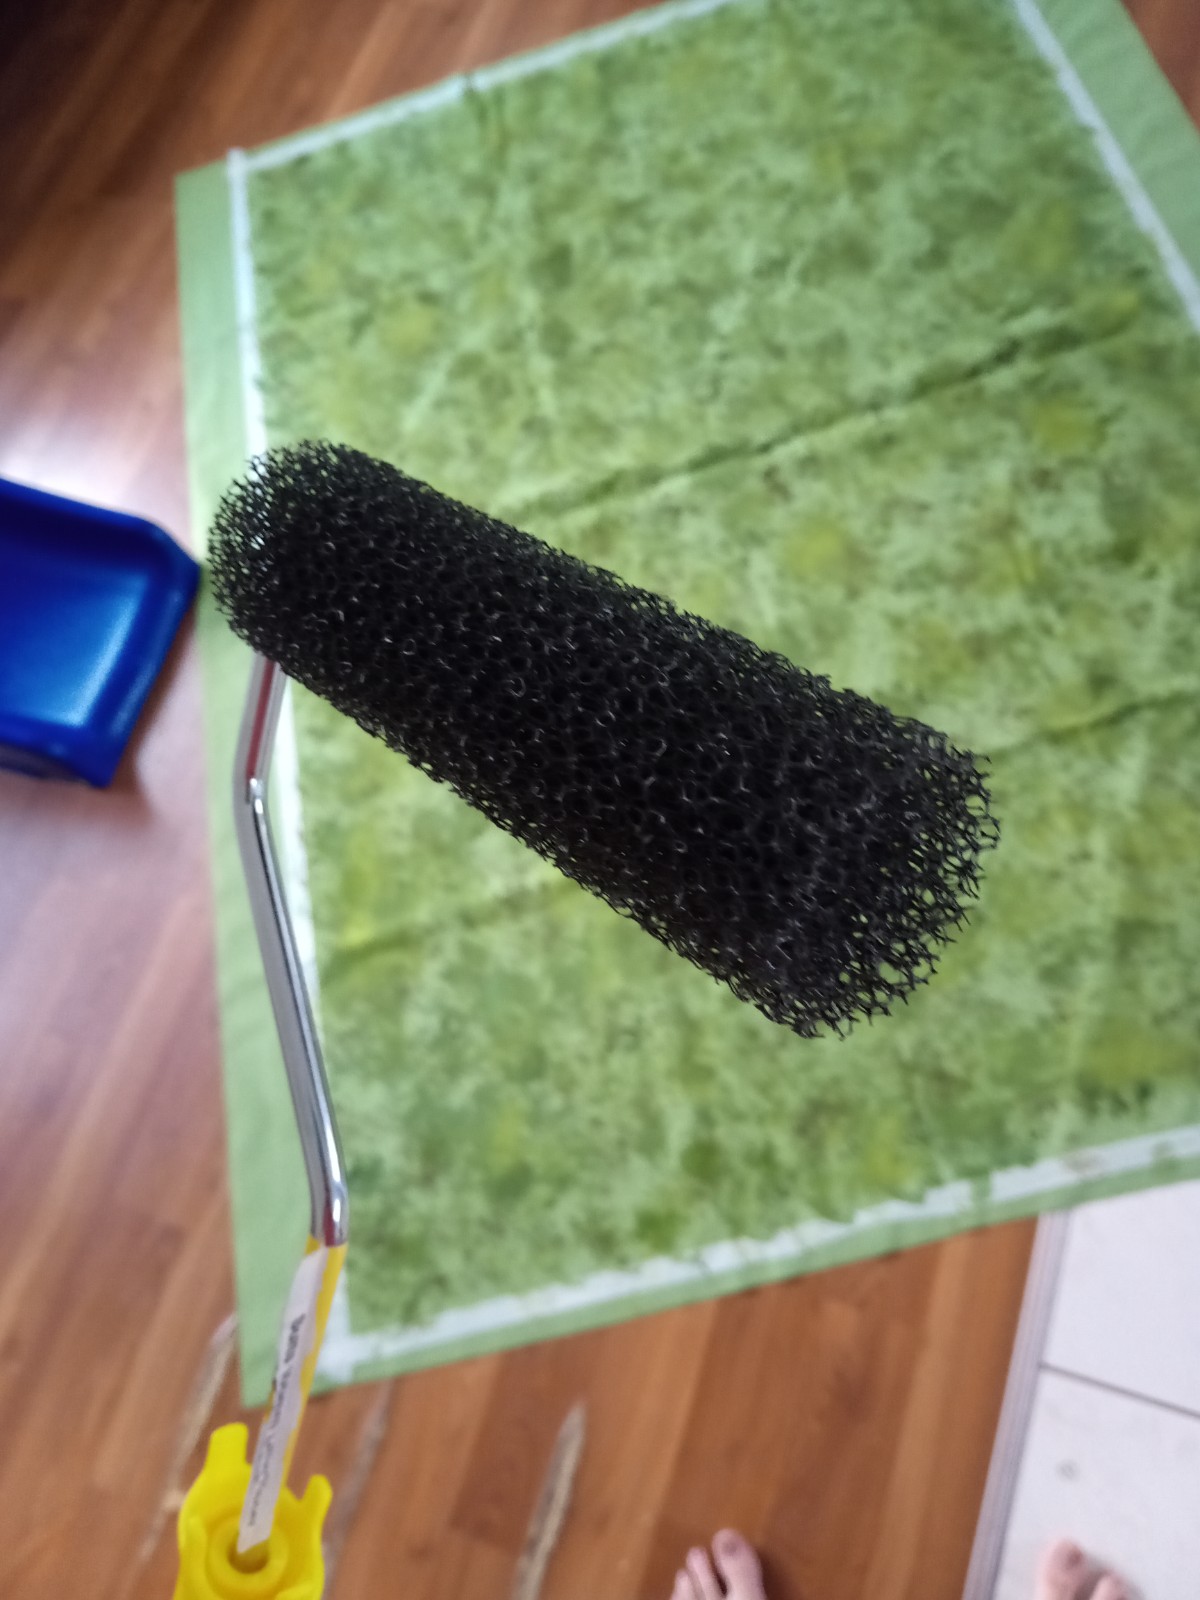
- Textured paint roller, rolling tray ($15)
Also in the image below is Vegemite. You don't strictly need this but I recommend you buy some for your 3pm sandwich.
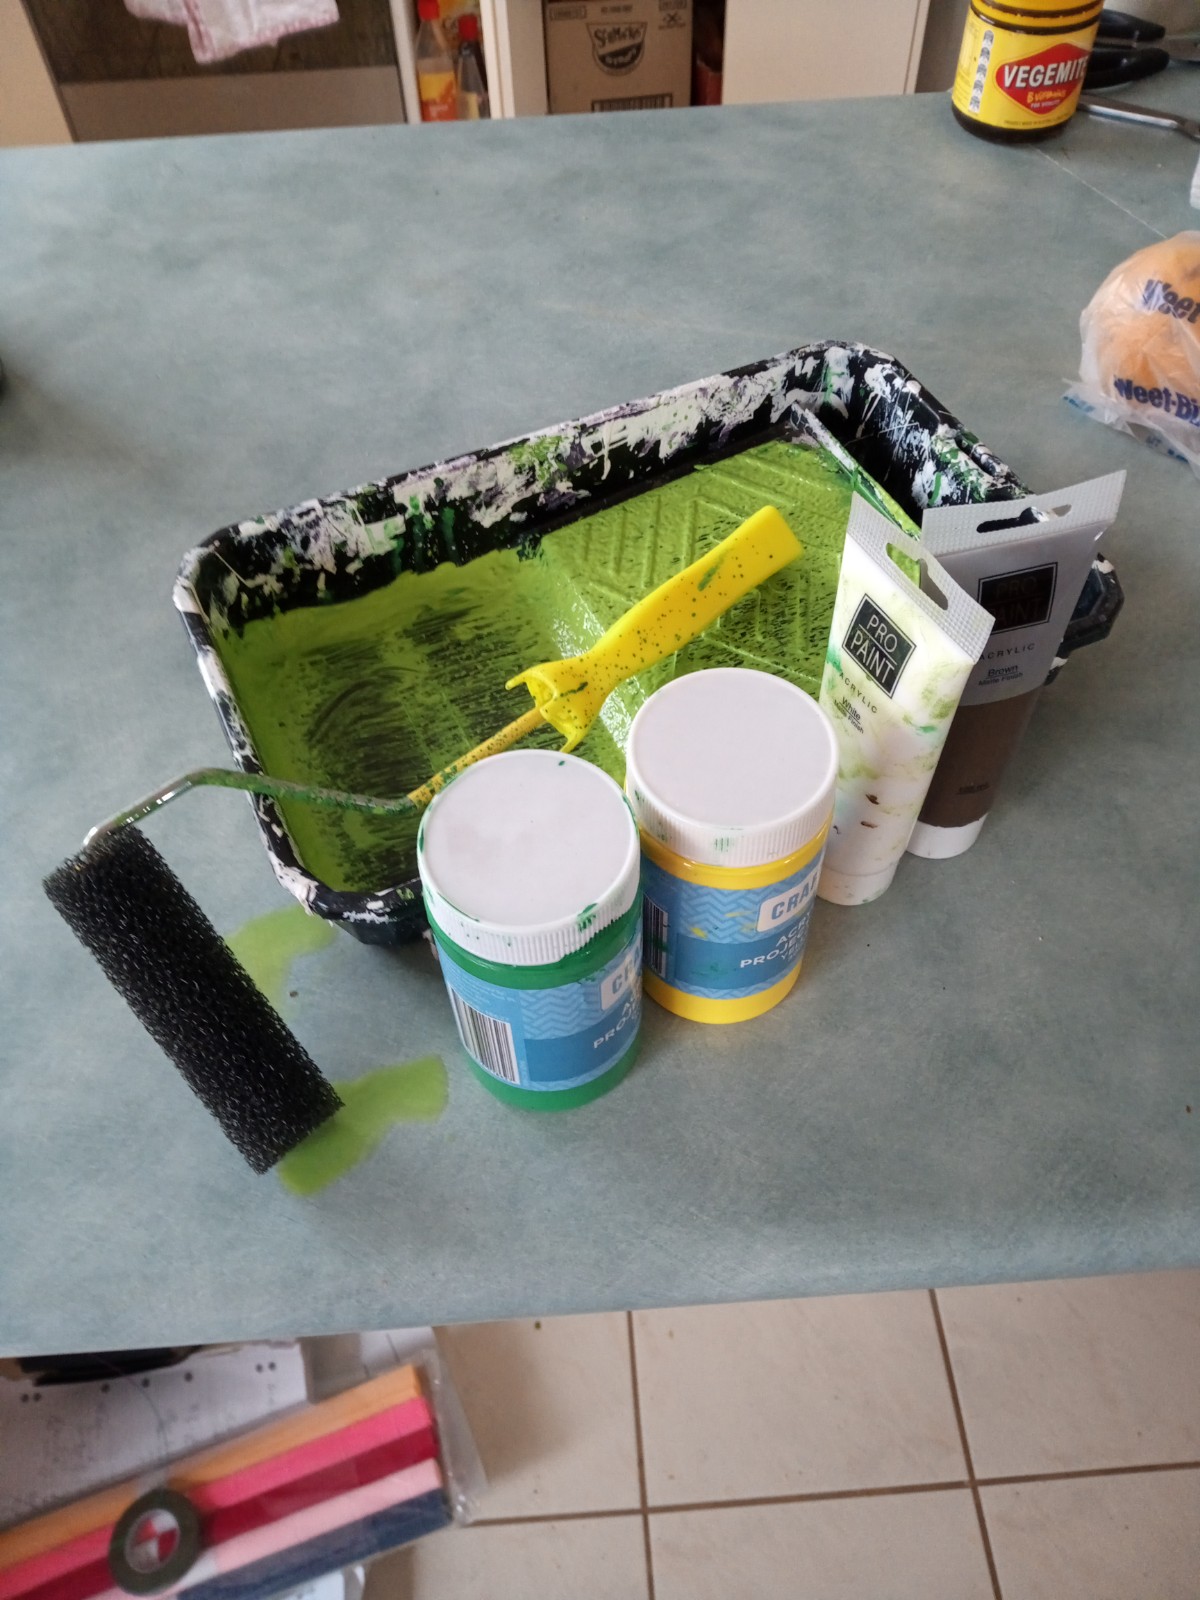
All up this is about $70 (not including Vegemite), which is more than I thought. I think the result is good so I'm OK with it.
Process
Step 1
Measure the area for 6x4 ft and mark with a pen. Put some masking tape down and adjust if needed.

Step 2
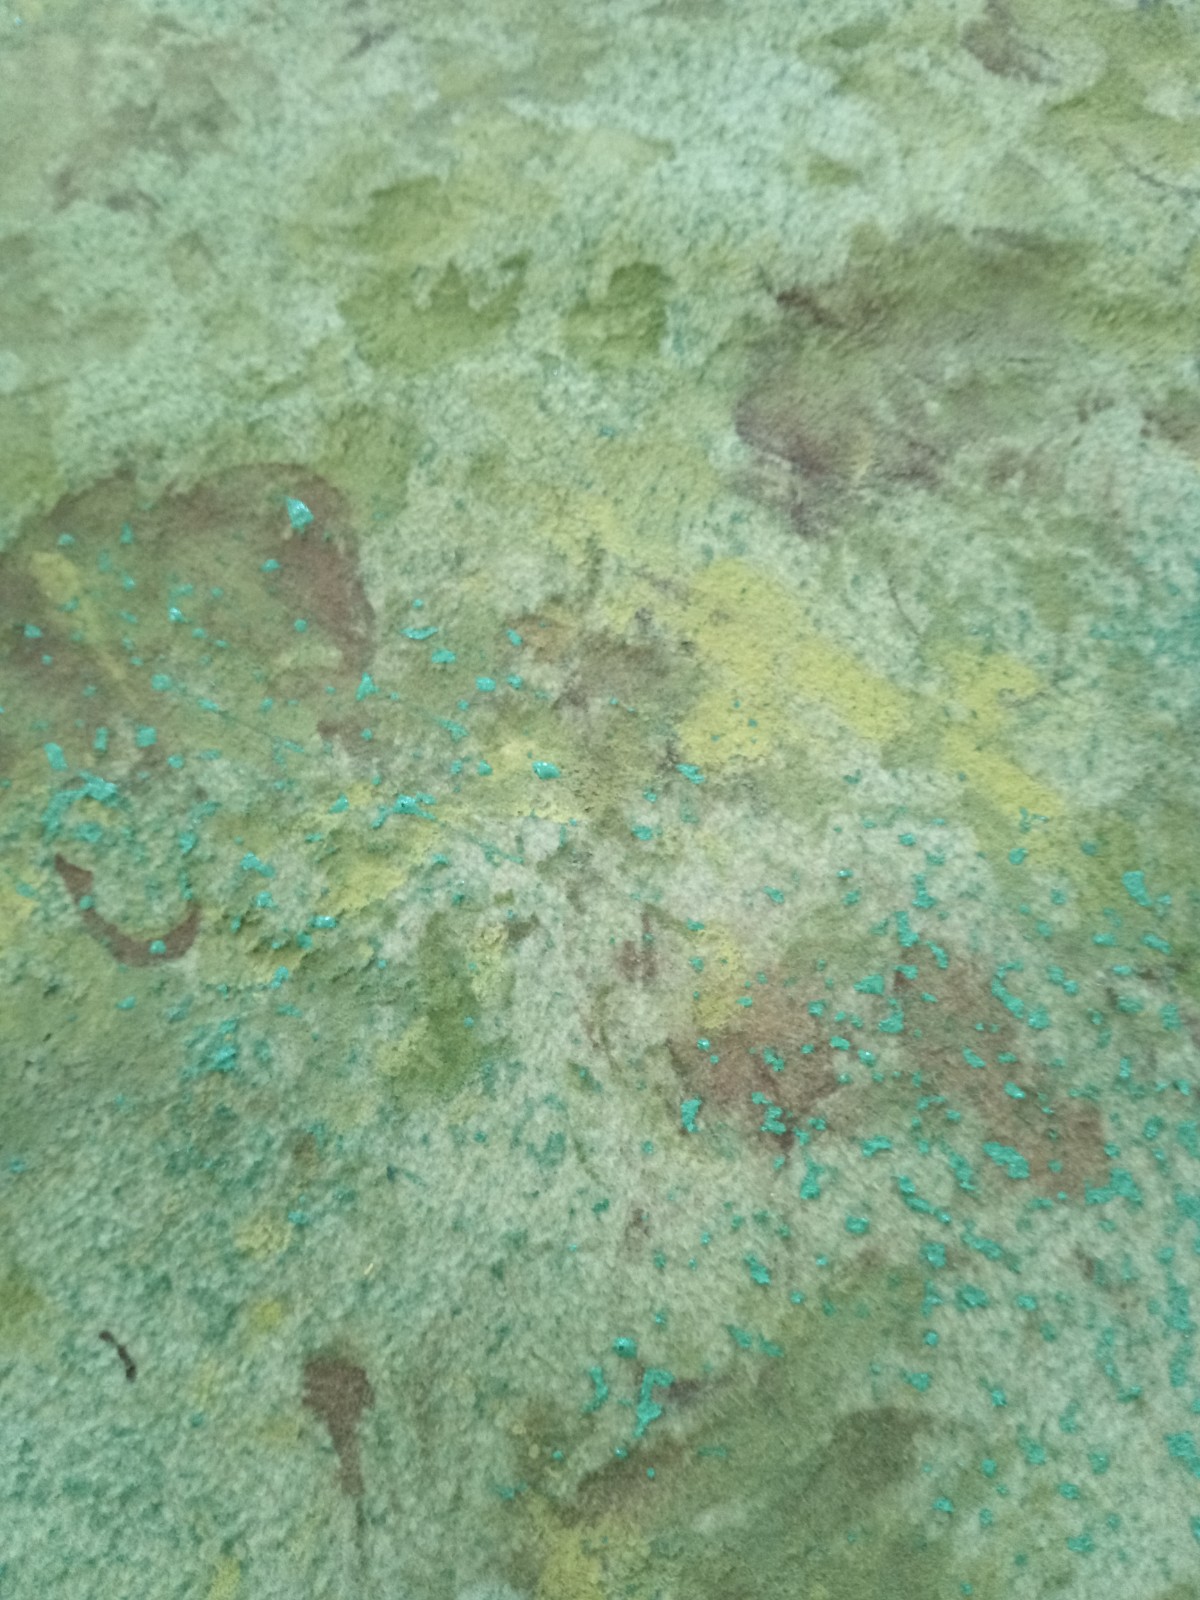
Use a rag covered in paint to make blobs on the mat. Start with dark colours like brown.
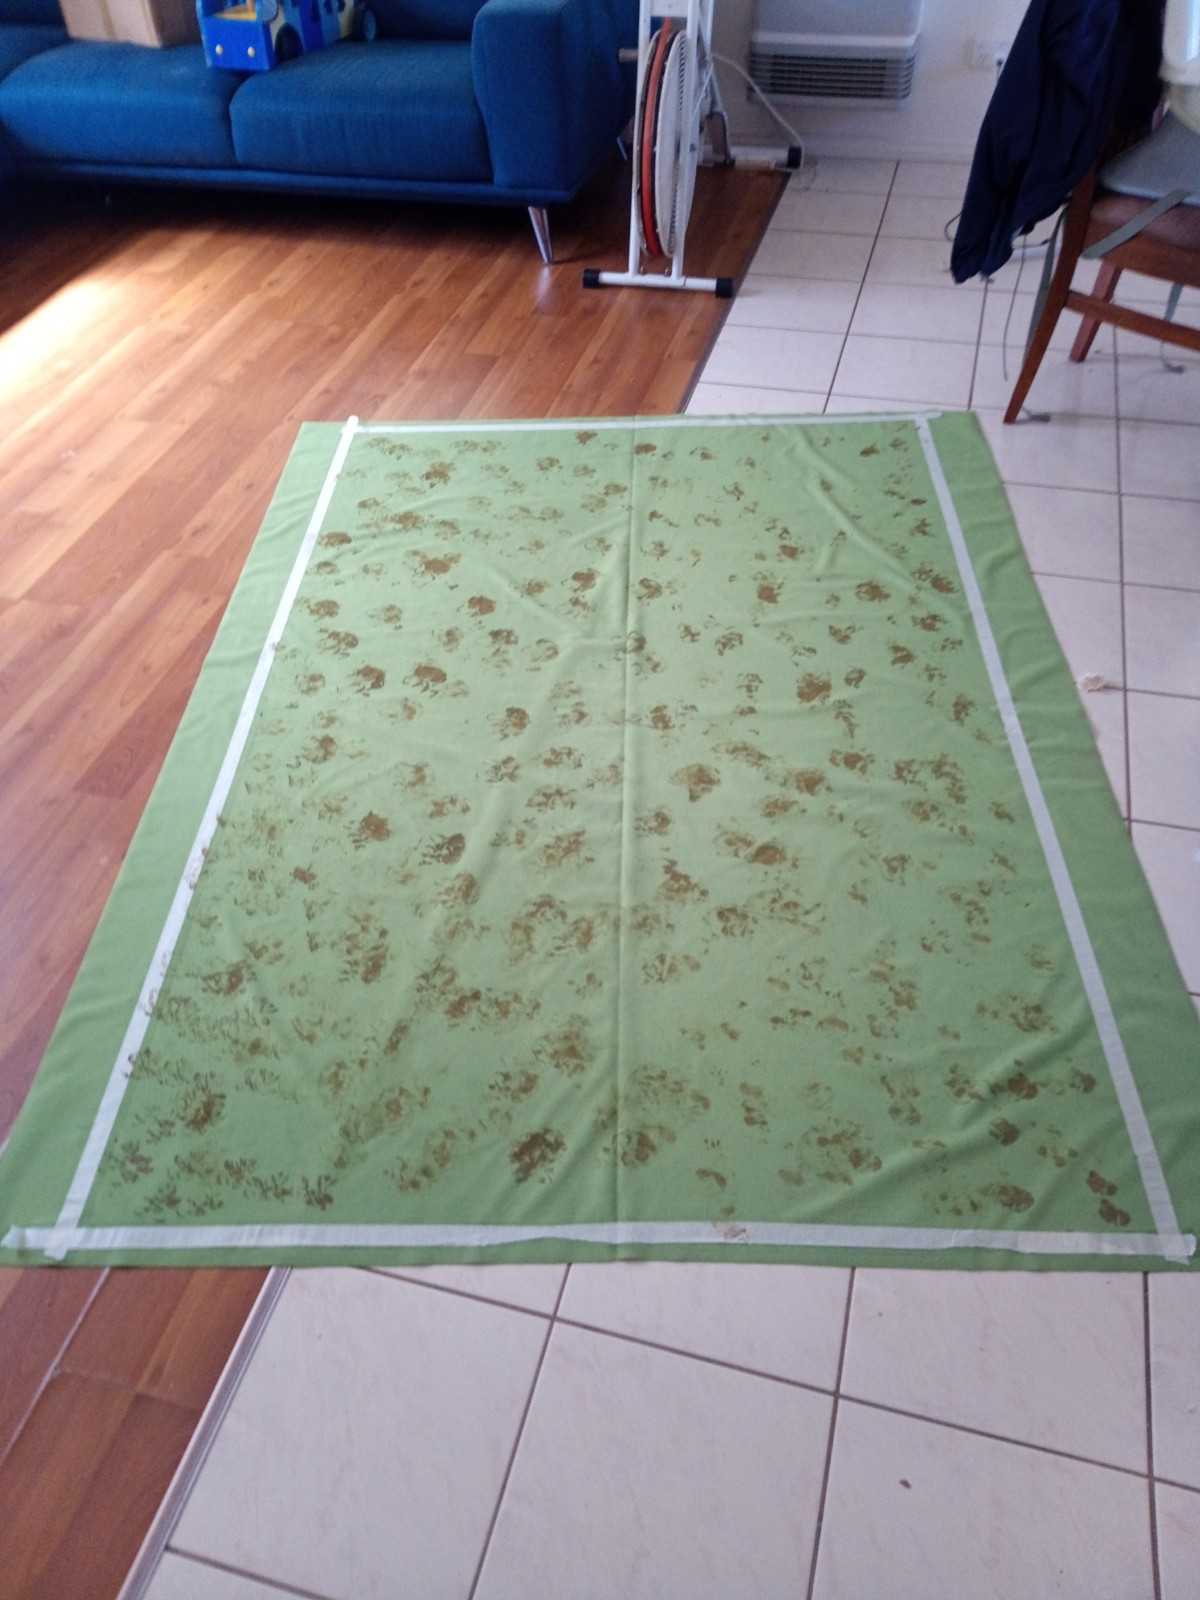
Add more colours as you go, making them lighter and more yellow.
You should end up with a kind of camouflage pattern.
Wait for that to dry completely
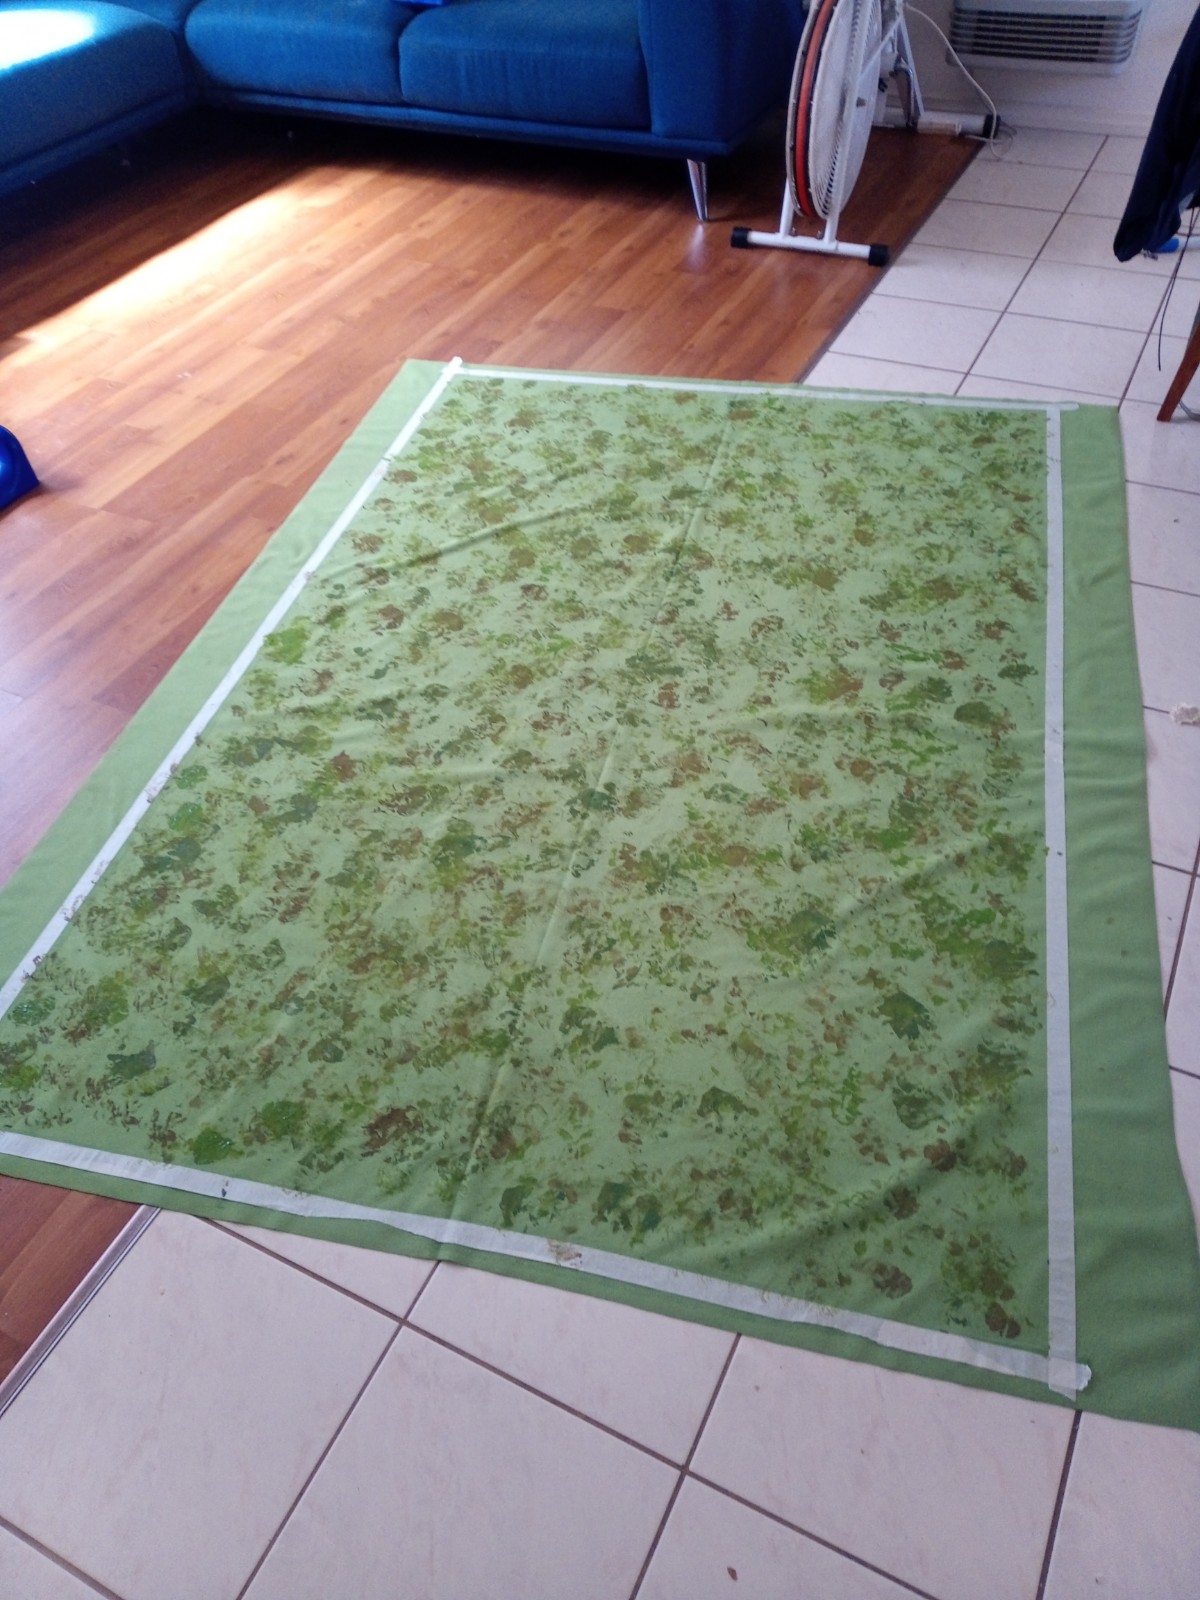
Step 3
Using a paint roller with a textured pattern, apply coats of paint, starting with dark colours
It's good to put weights on all edges and corners at this point.
Step 4
Make progressively lighter colours by mixing yellow and white, and some brown. The lighter colours on top need to be rolled very lightly. If you press too hard now you will just have a large light green blob.
I don't have a pic of this step sorry.
Step 5
With the edges and corners weighted, let dry on a flat surface.
Done
This takes about a day to complete (but I don't mean you have to watch paint dry). I had fun.
Final thoughts
If I could do this again I would cut away chunks from the sides of the paint roller. If you press too much on either side, you end up with a straight line going across the mat and it looks not quite right. The result is you have to do a lot more layers to blend that in and it would be better not to have to bother with it.
Thanks for reading. For $70, I'm happy with the result