May 15, 2021 @ 19:32
How to make an earth elemental/construct for tabletop gaming
During the pandemic and lock downs I took up painting miniatures and making terrain as a hobby. At this point I think making terrain has been my favourite part of the hobby since it allows for so much creative expression.
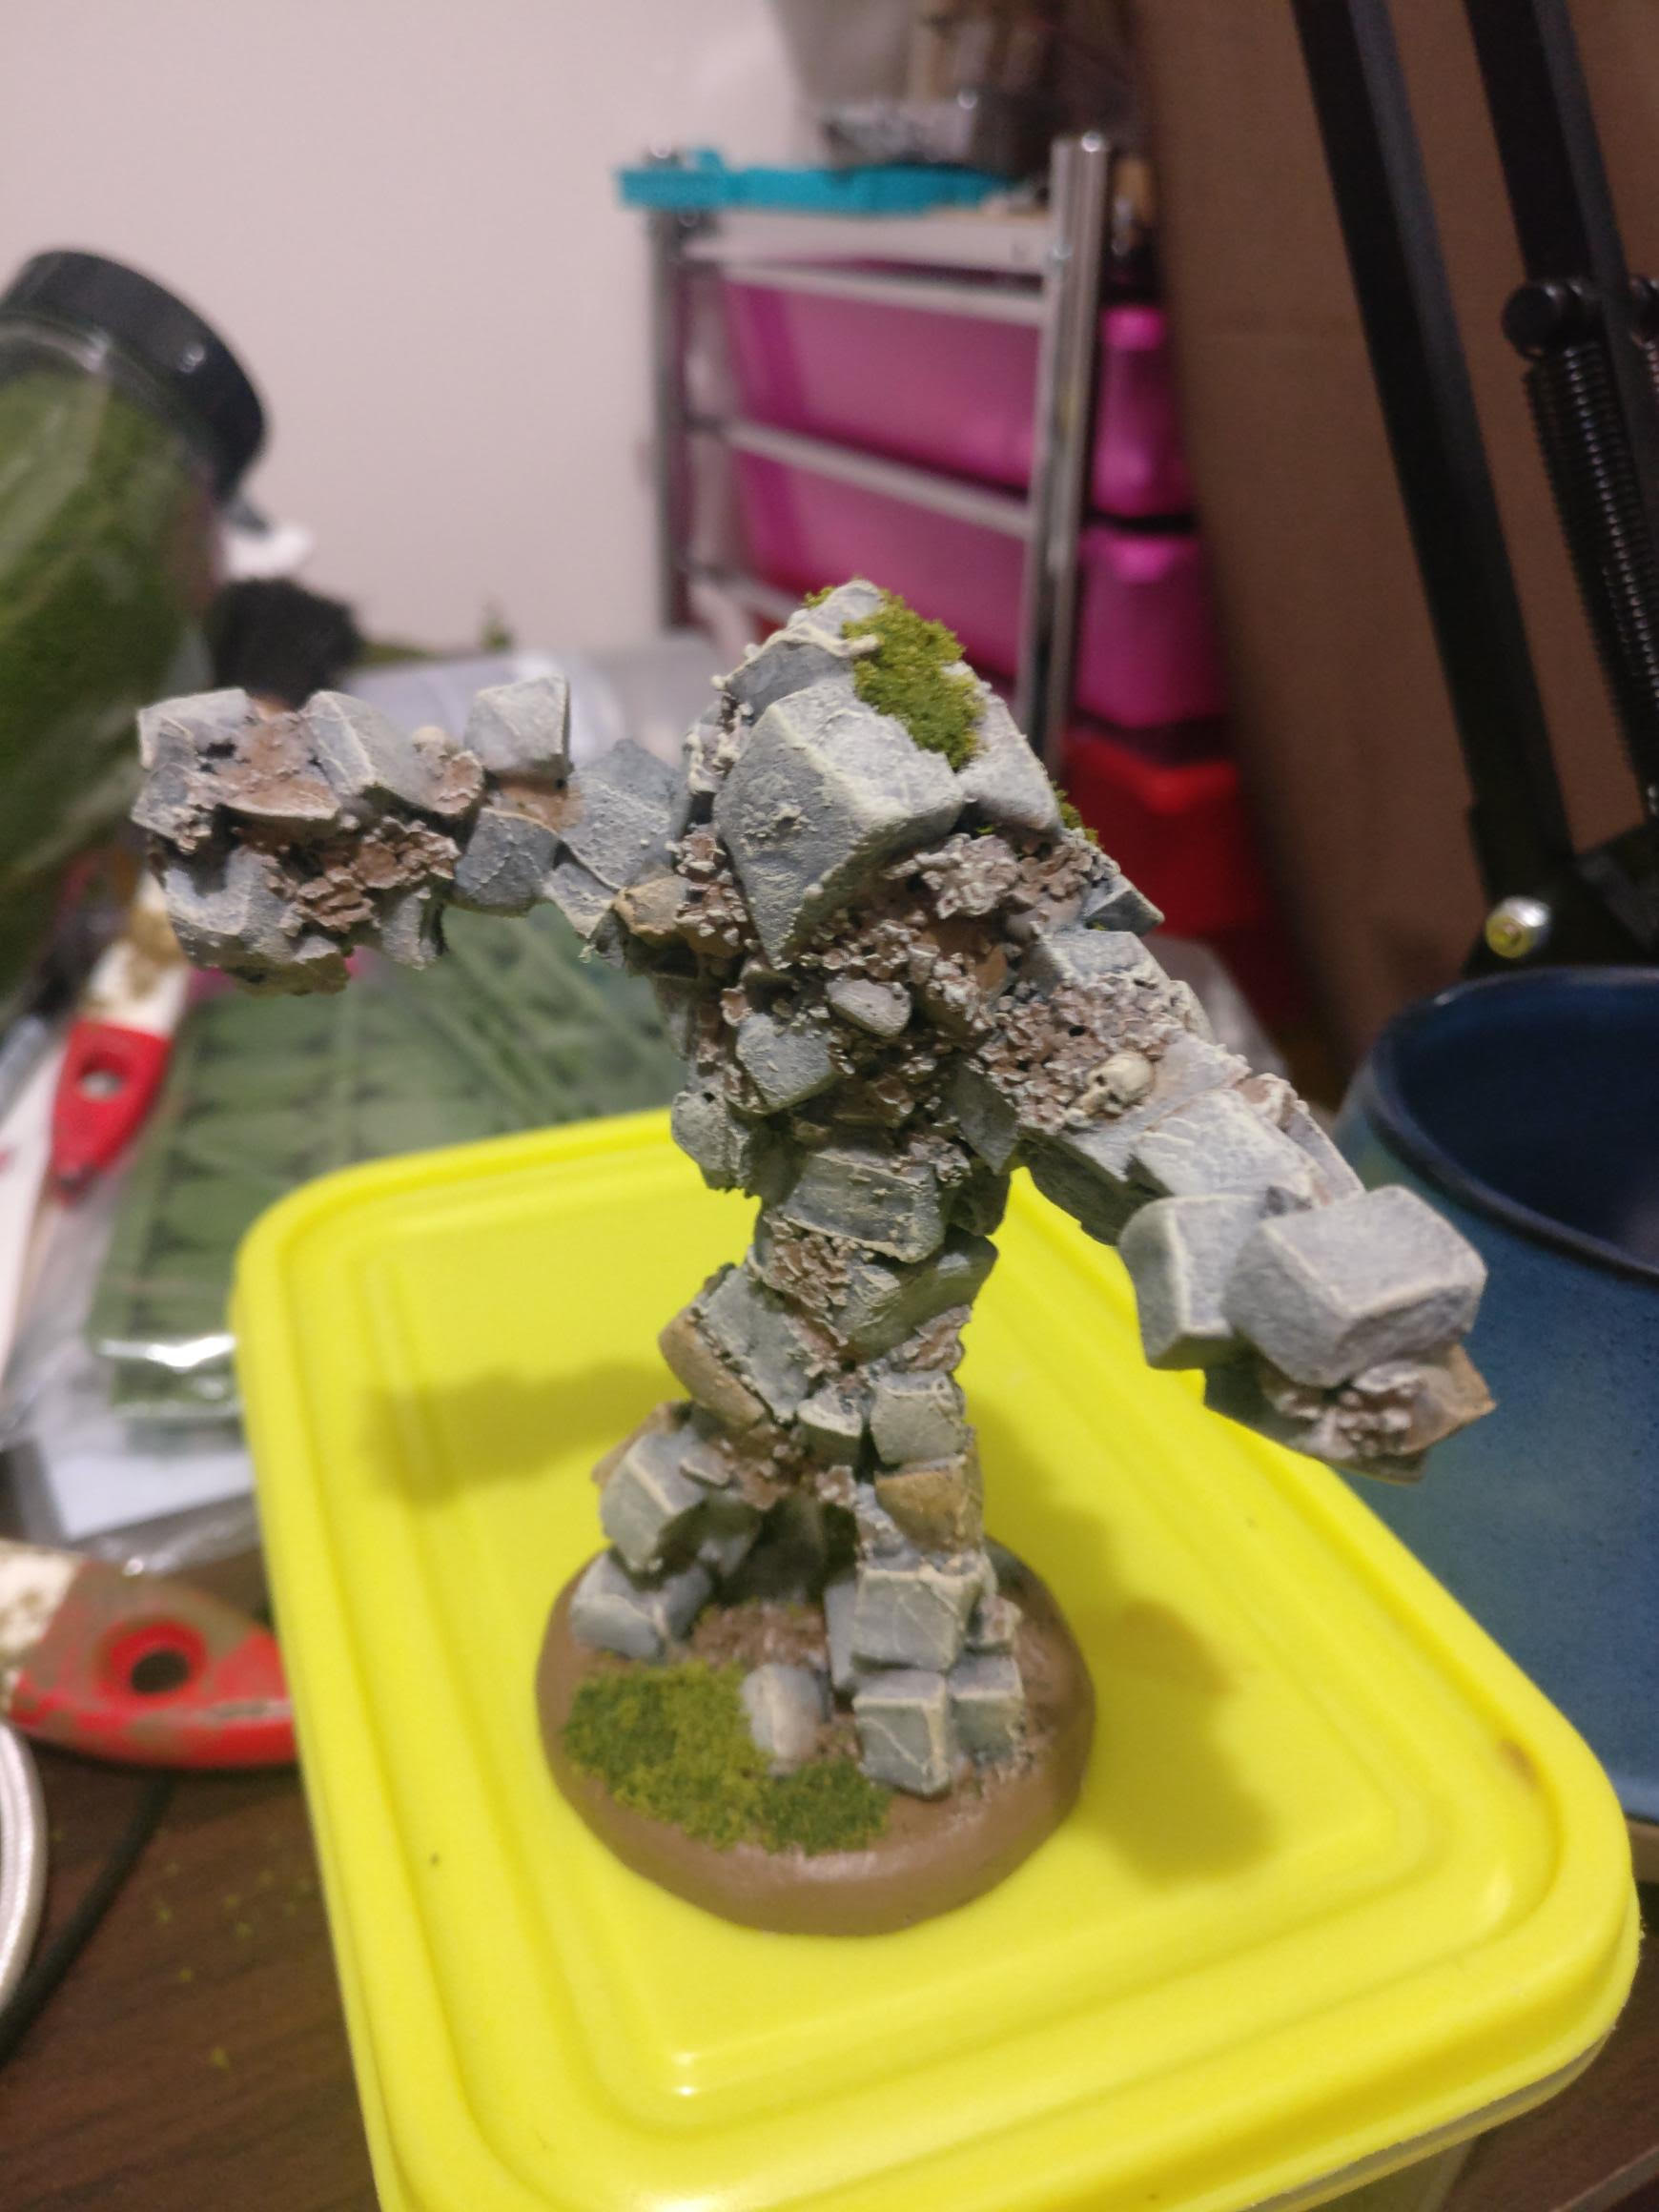
This is something I made.
Here, I will show you how I made an Earth Elemental/Construct for tabletop games. I originally made it for Frostgrave but decided to hold off on adding snow so I can use it for future DnD games.
Topics covered here:
- Making a figure from wire and EVA foam
- Making it sealed before painting
- Making a silicon mould for lots of skulls
- Adding texture
I haven't given details about adding paint because there are so many articles and videos out there covering that subject in detail. Actually there are some great videos on painting terrain available on YouTube.
Let's go.
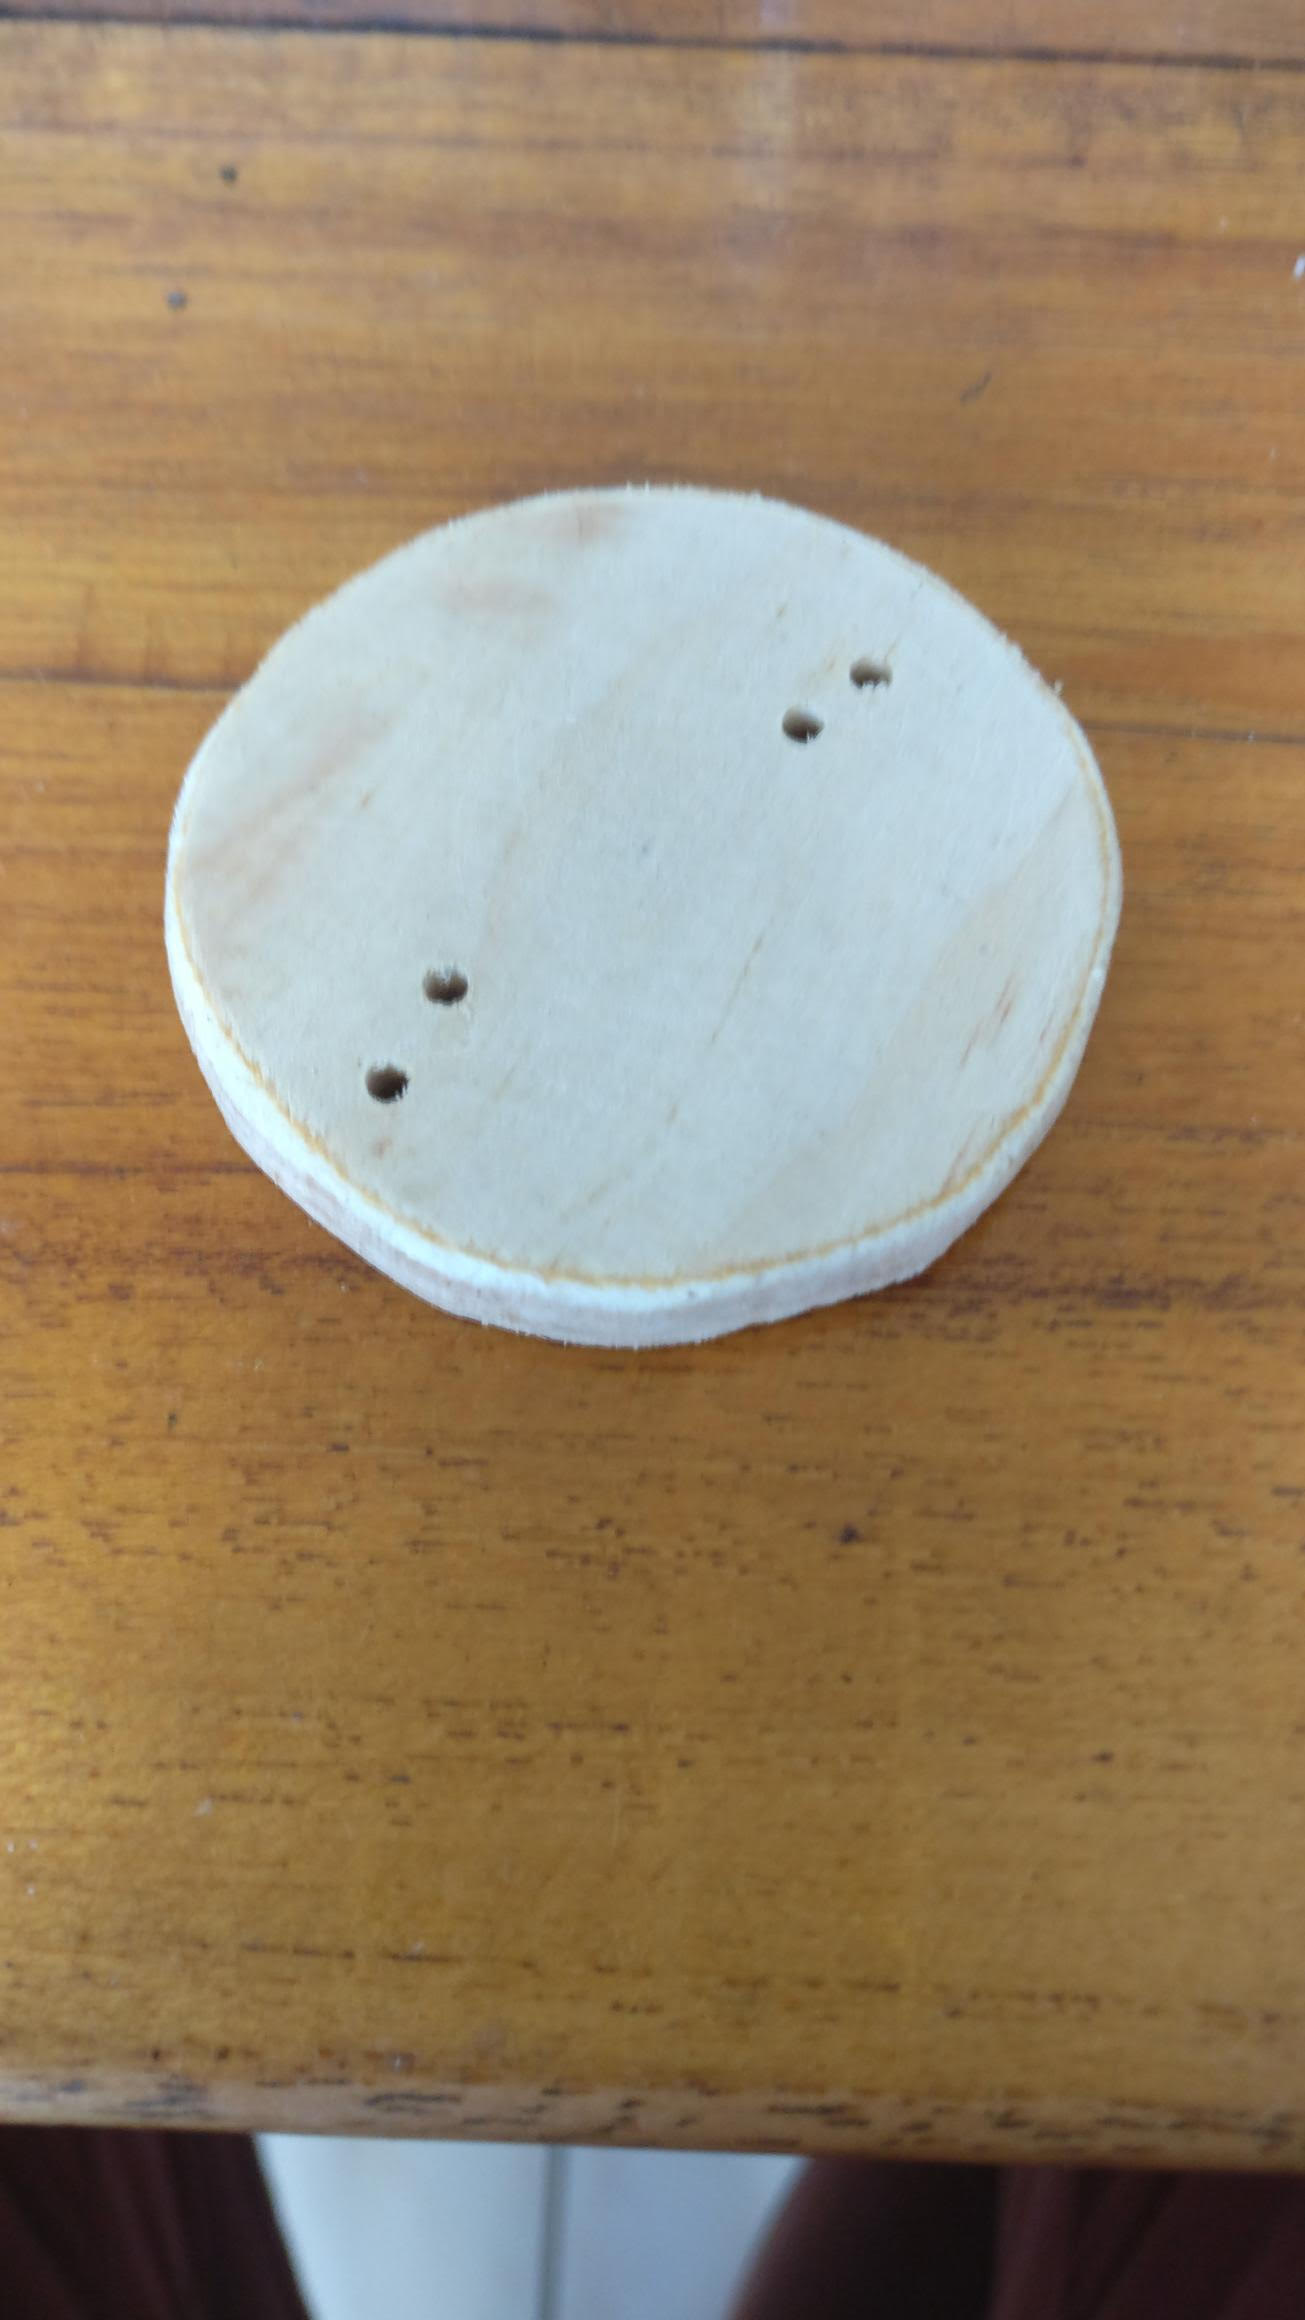
Start with a base
The first step is to make a base. I had some spare plywood so I used that.
Sand the edge off and drill four holes, roughly where the feet will be.
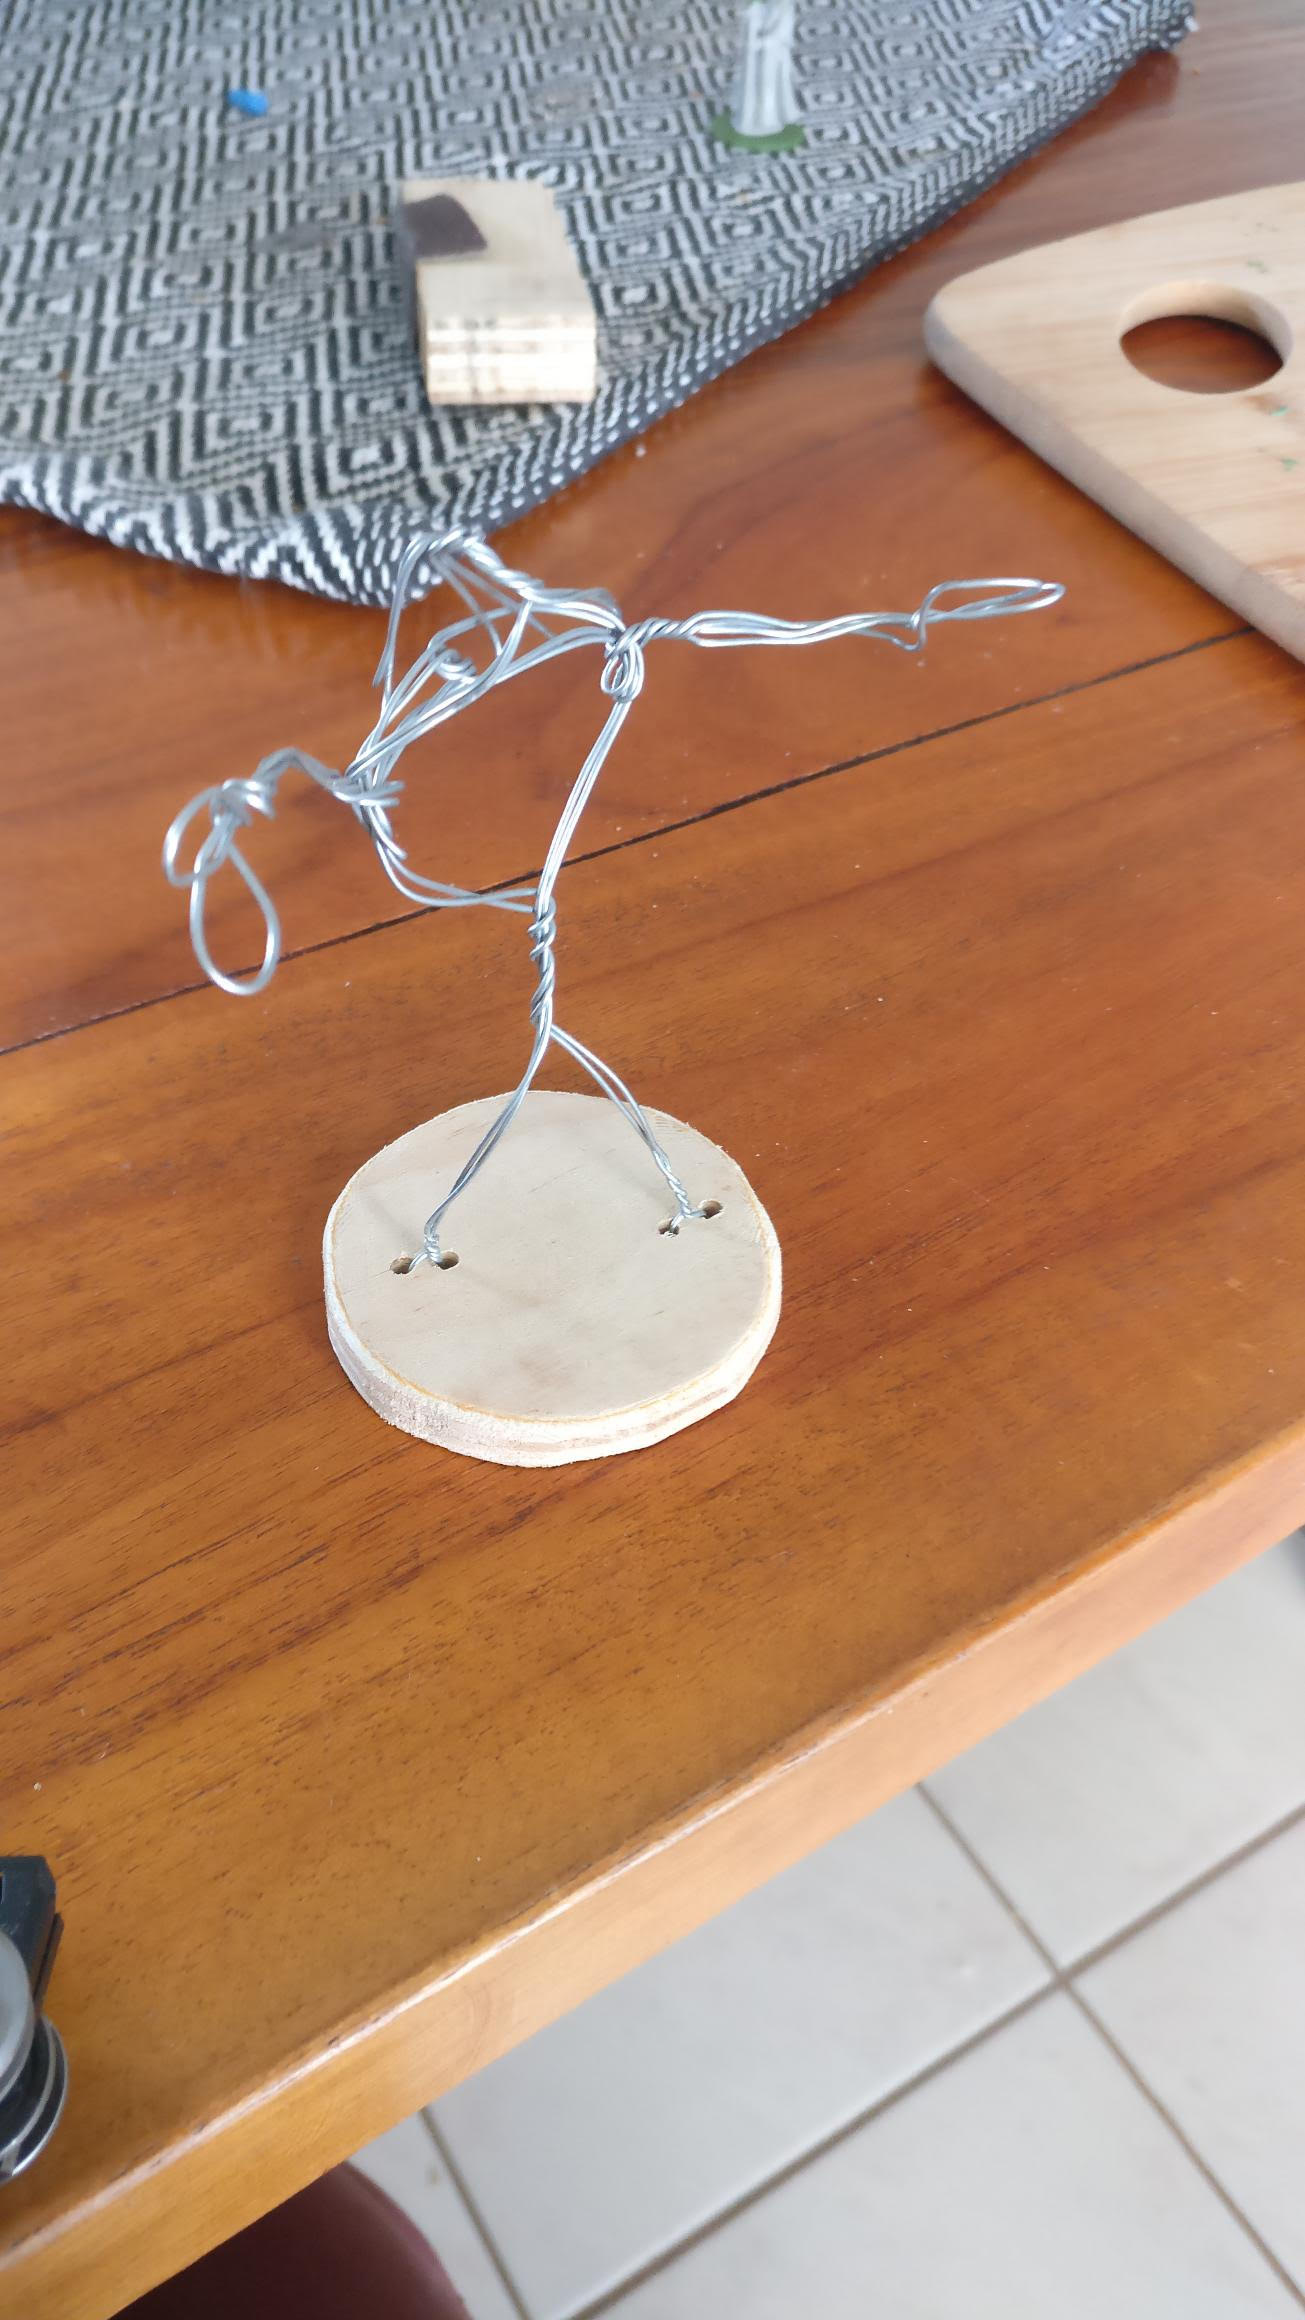
Get bent
Simply get two lengths of wire. You want one for each leg. Then twist each bit round and round and make a figure of some sort. Be mindful the figure will be larger because we're going to cover it in foam blocks.
Make it the shape of a skull smashing monster.
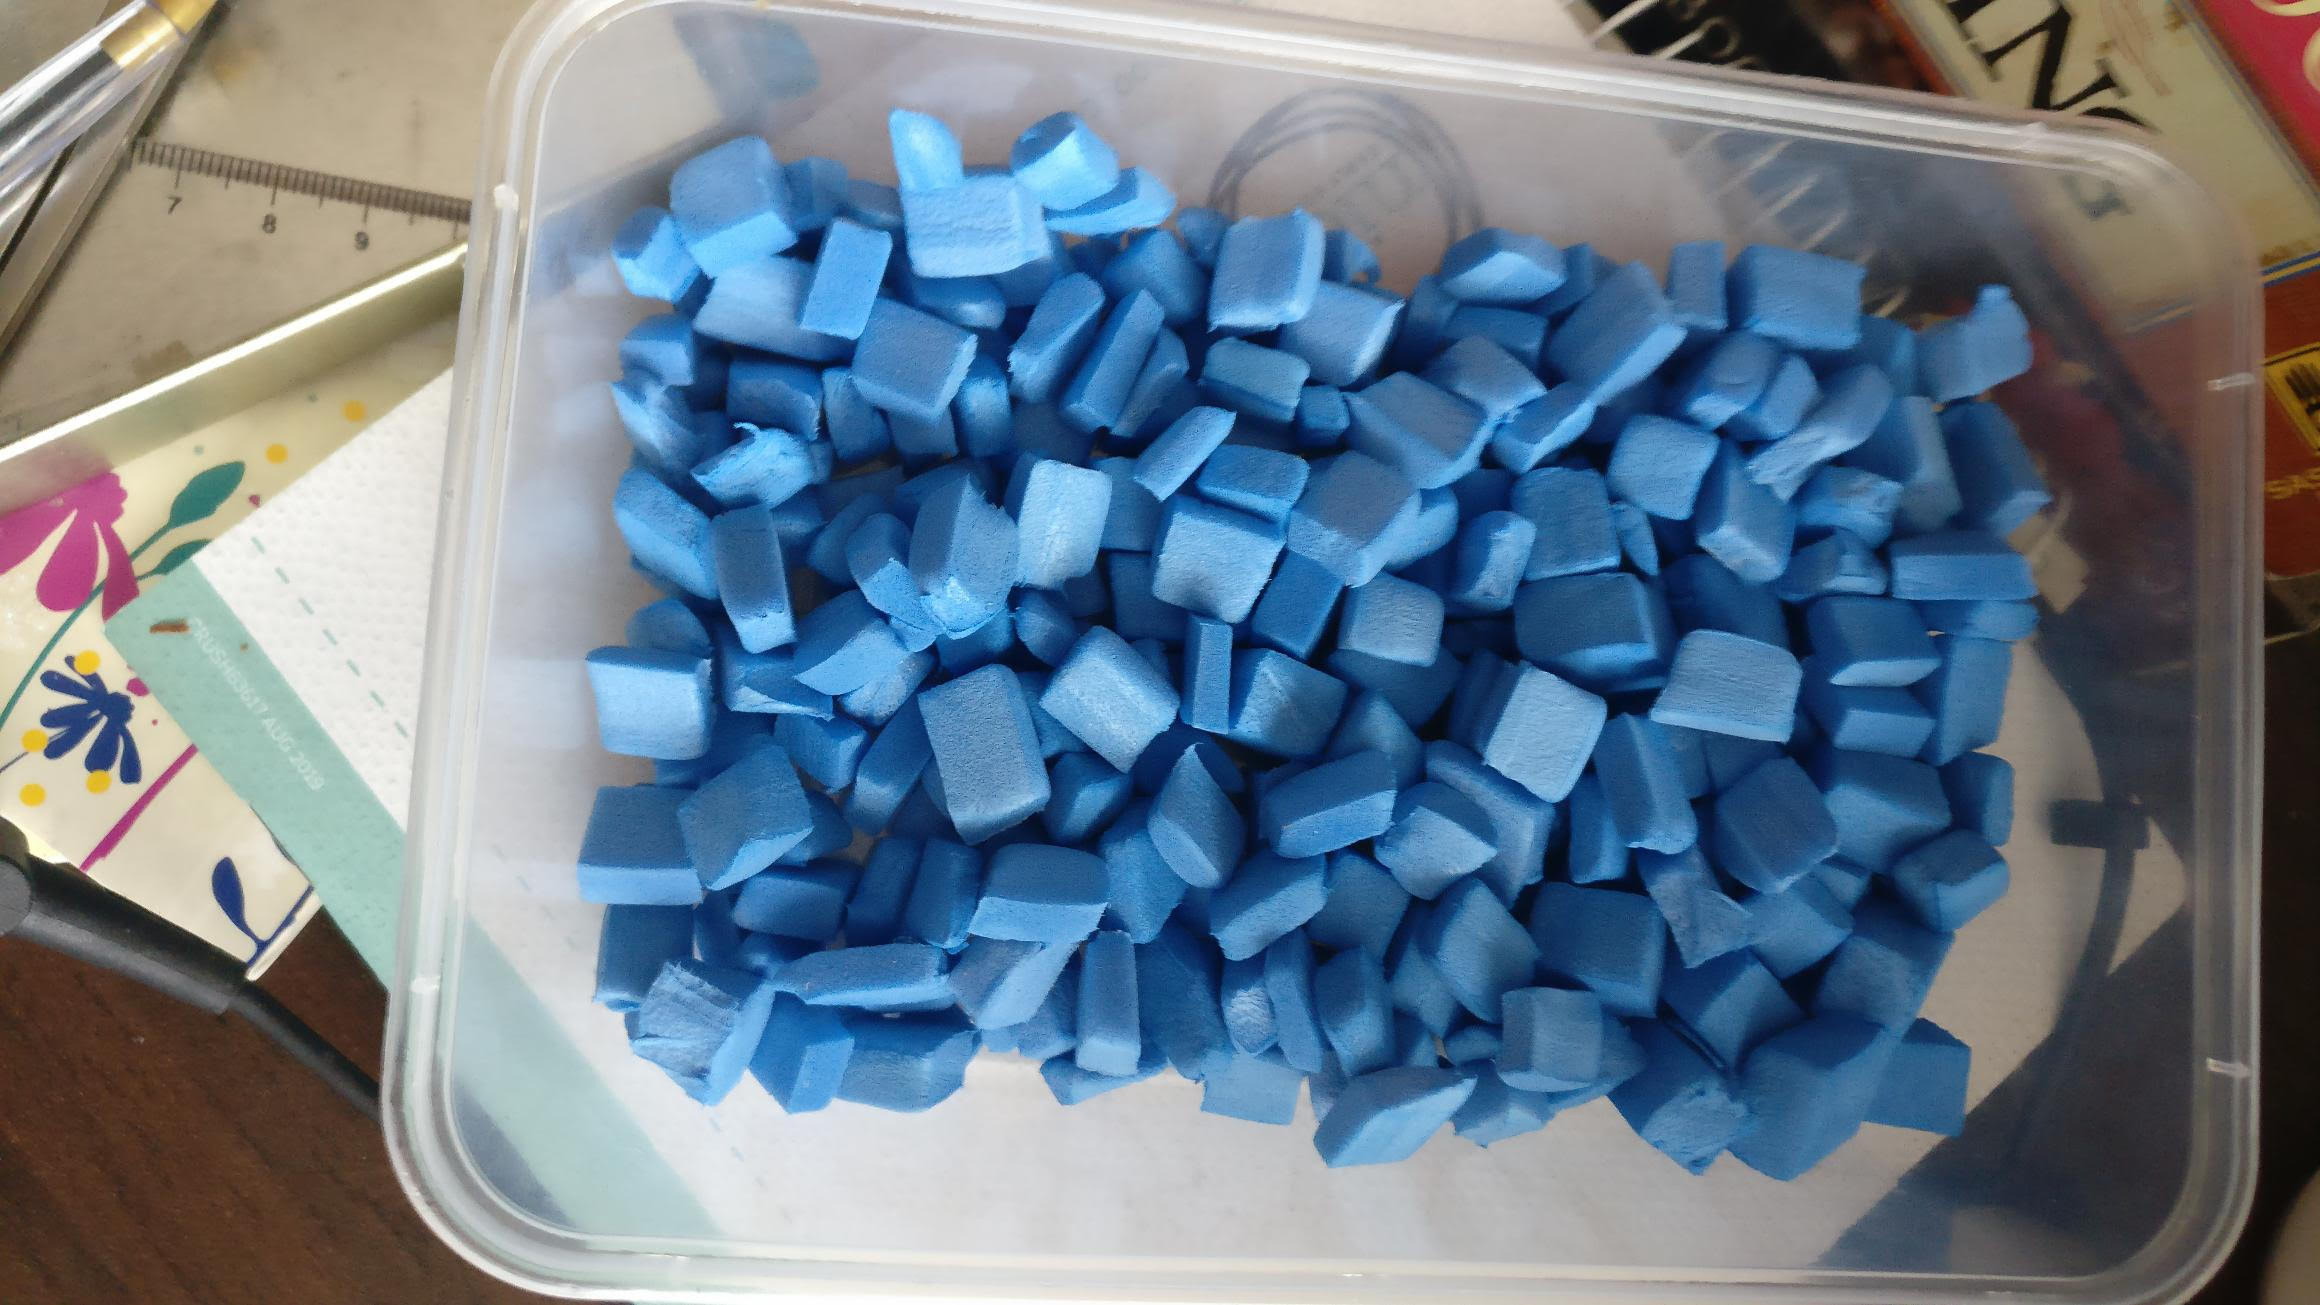
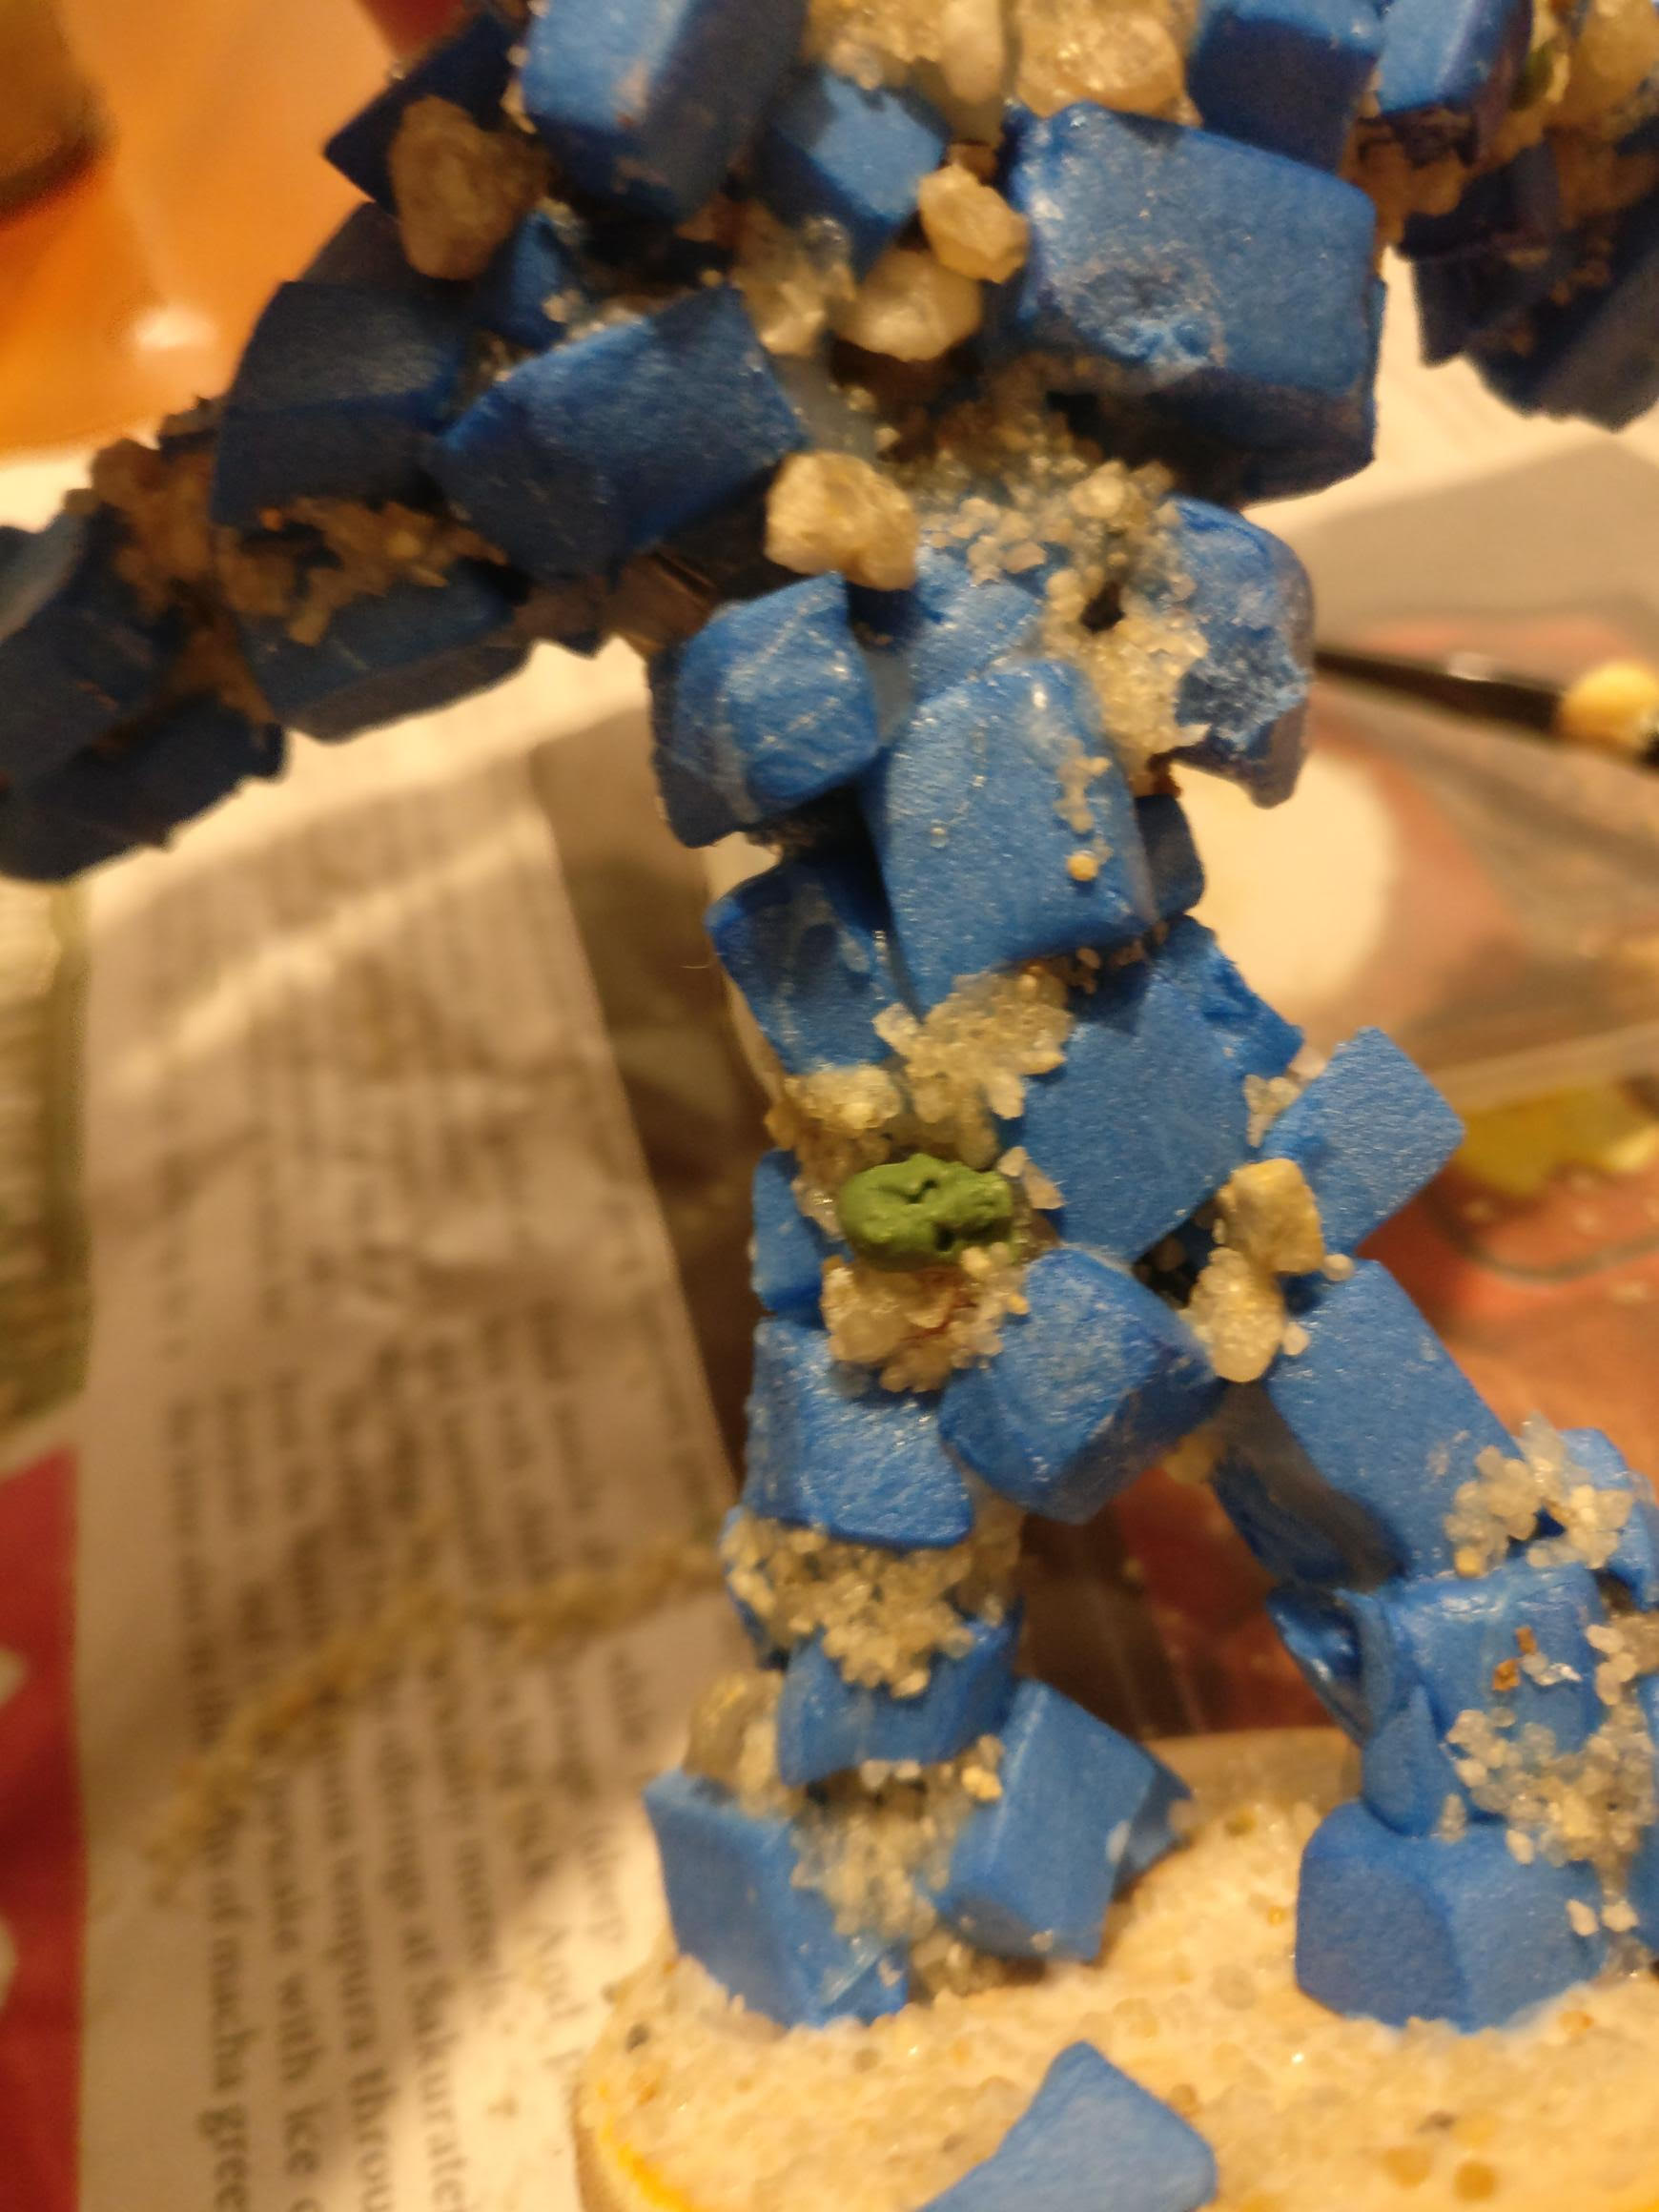
Make some stone bits
Get some EVA foam and cut out little bits. You can roll them in your hand to make them a bit round. All sizes are good.
I used a chopping board and sharp knife to cut it out to speed up the process.
Skulls, obviously
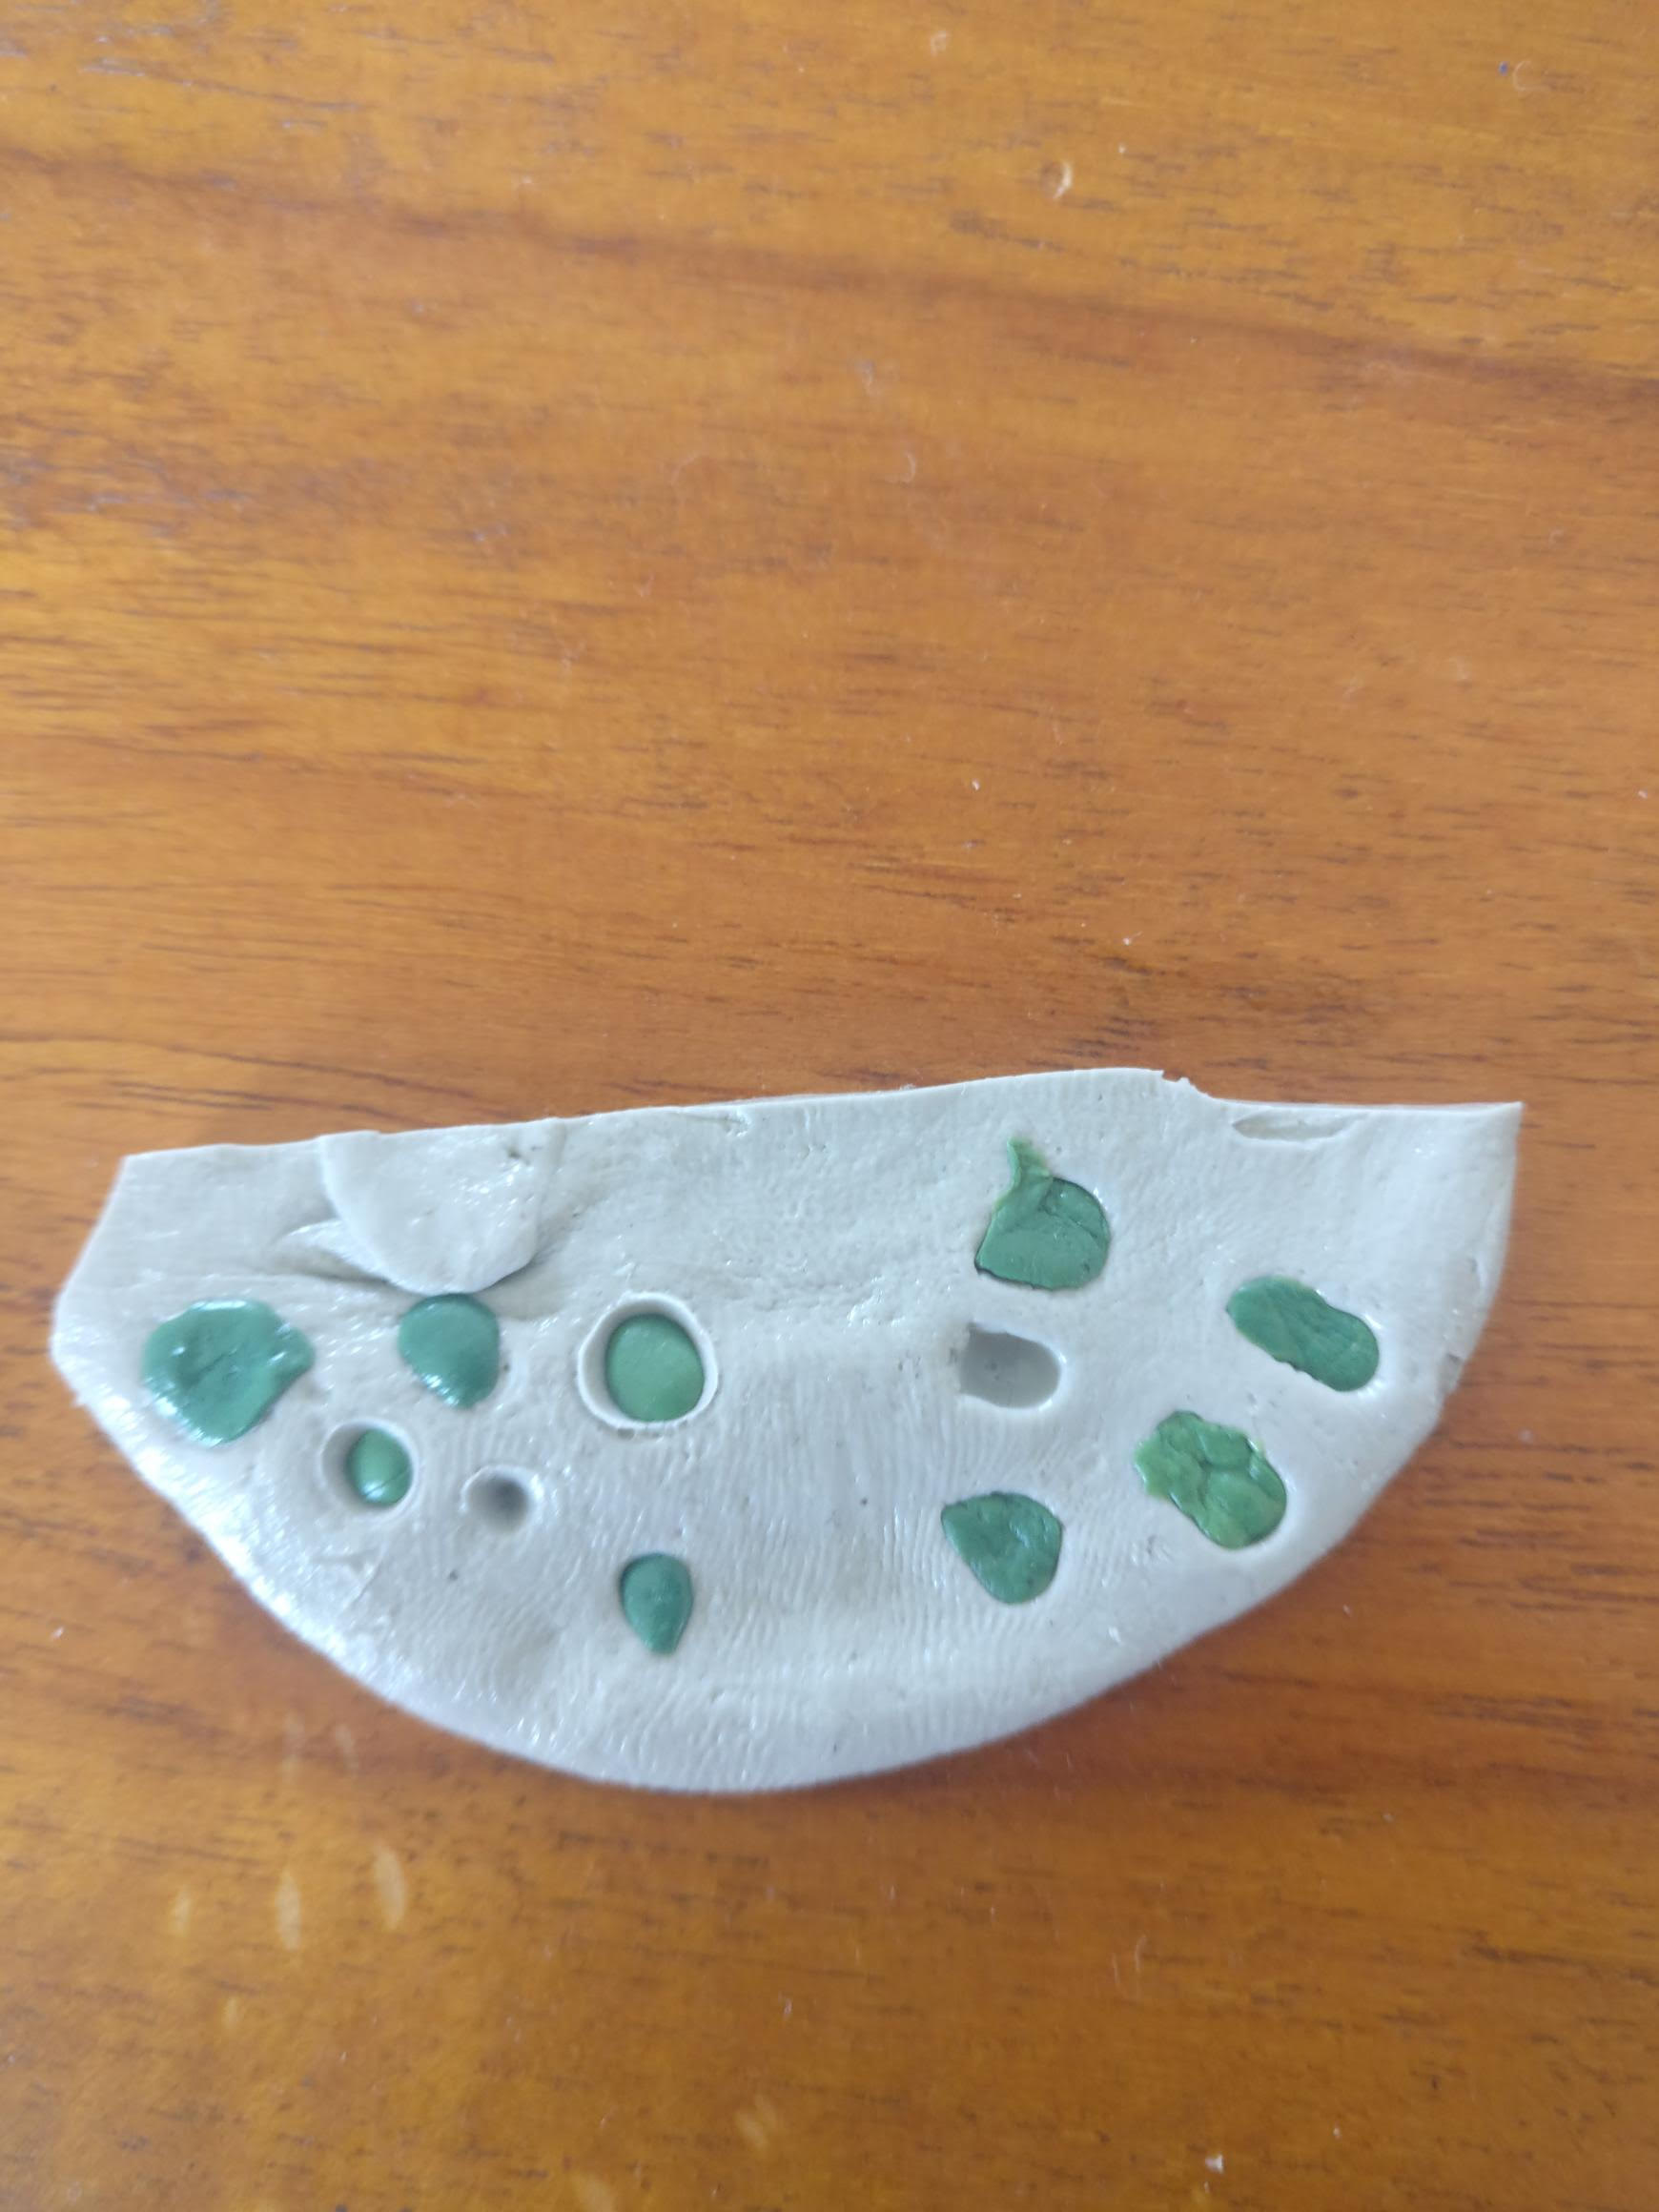
I have some skulls but I could always use more. To address this I made a mould.
It's super simple to do: make up some water with detergent in a bowl, and then squeeze some cheap silicon from the hardware shop into the bowl. Massage the silicon. Make sure your hands are covered in the soapy water or the silicon will stick to your hands. Leave it for some time and repeat until it feels pretty good (you'll know what good feels like after very little practice).
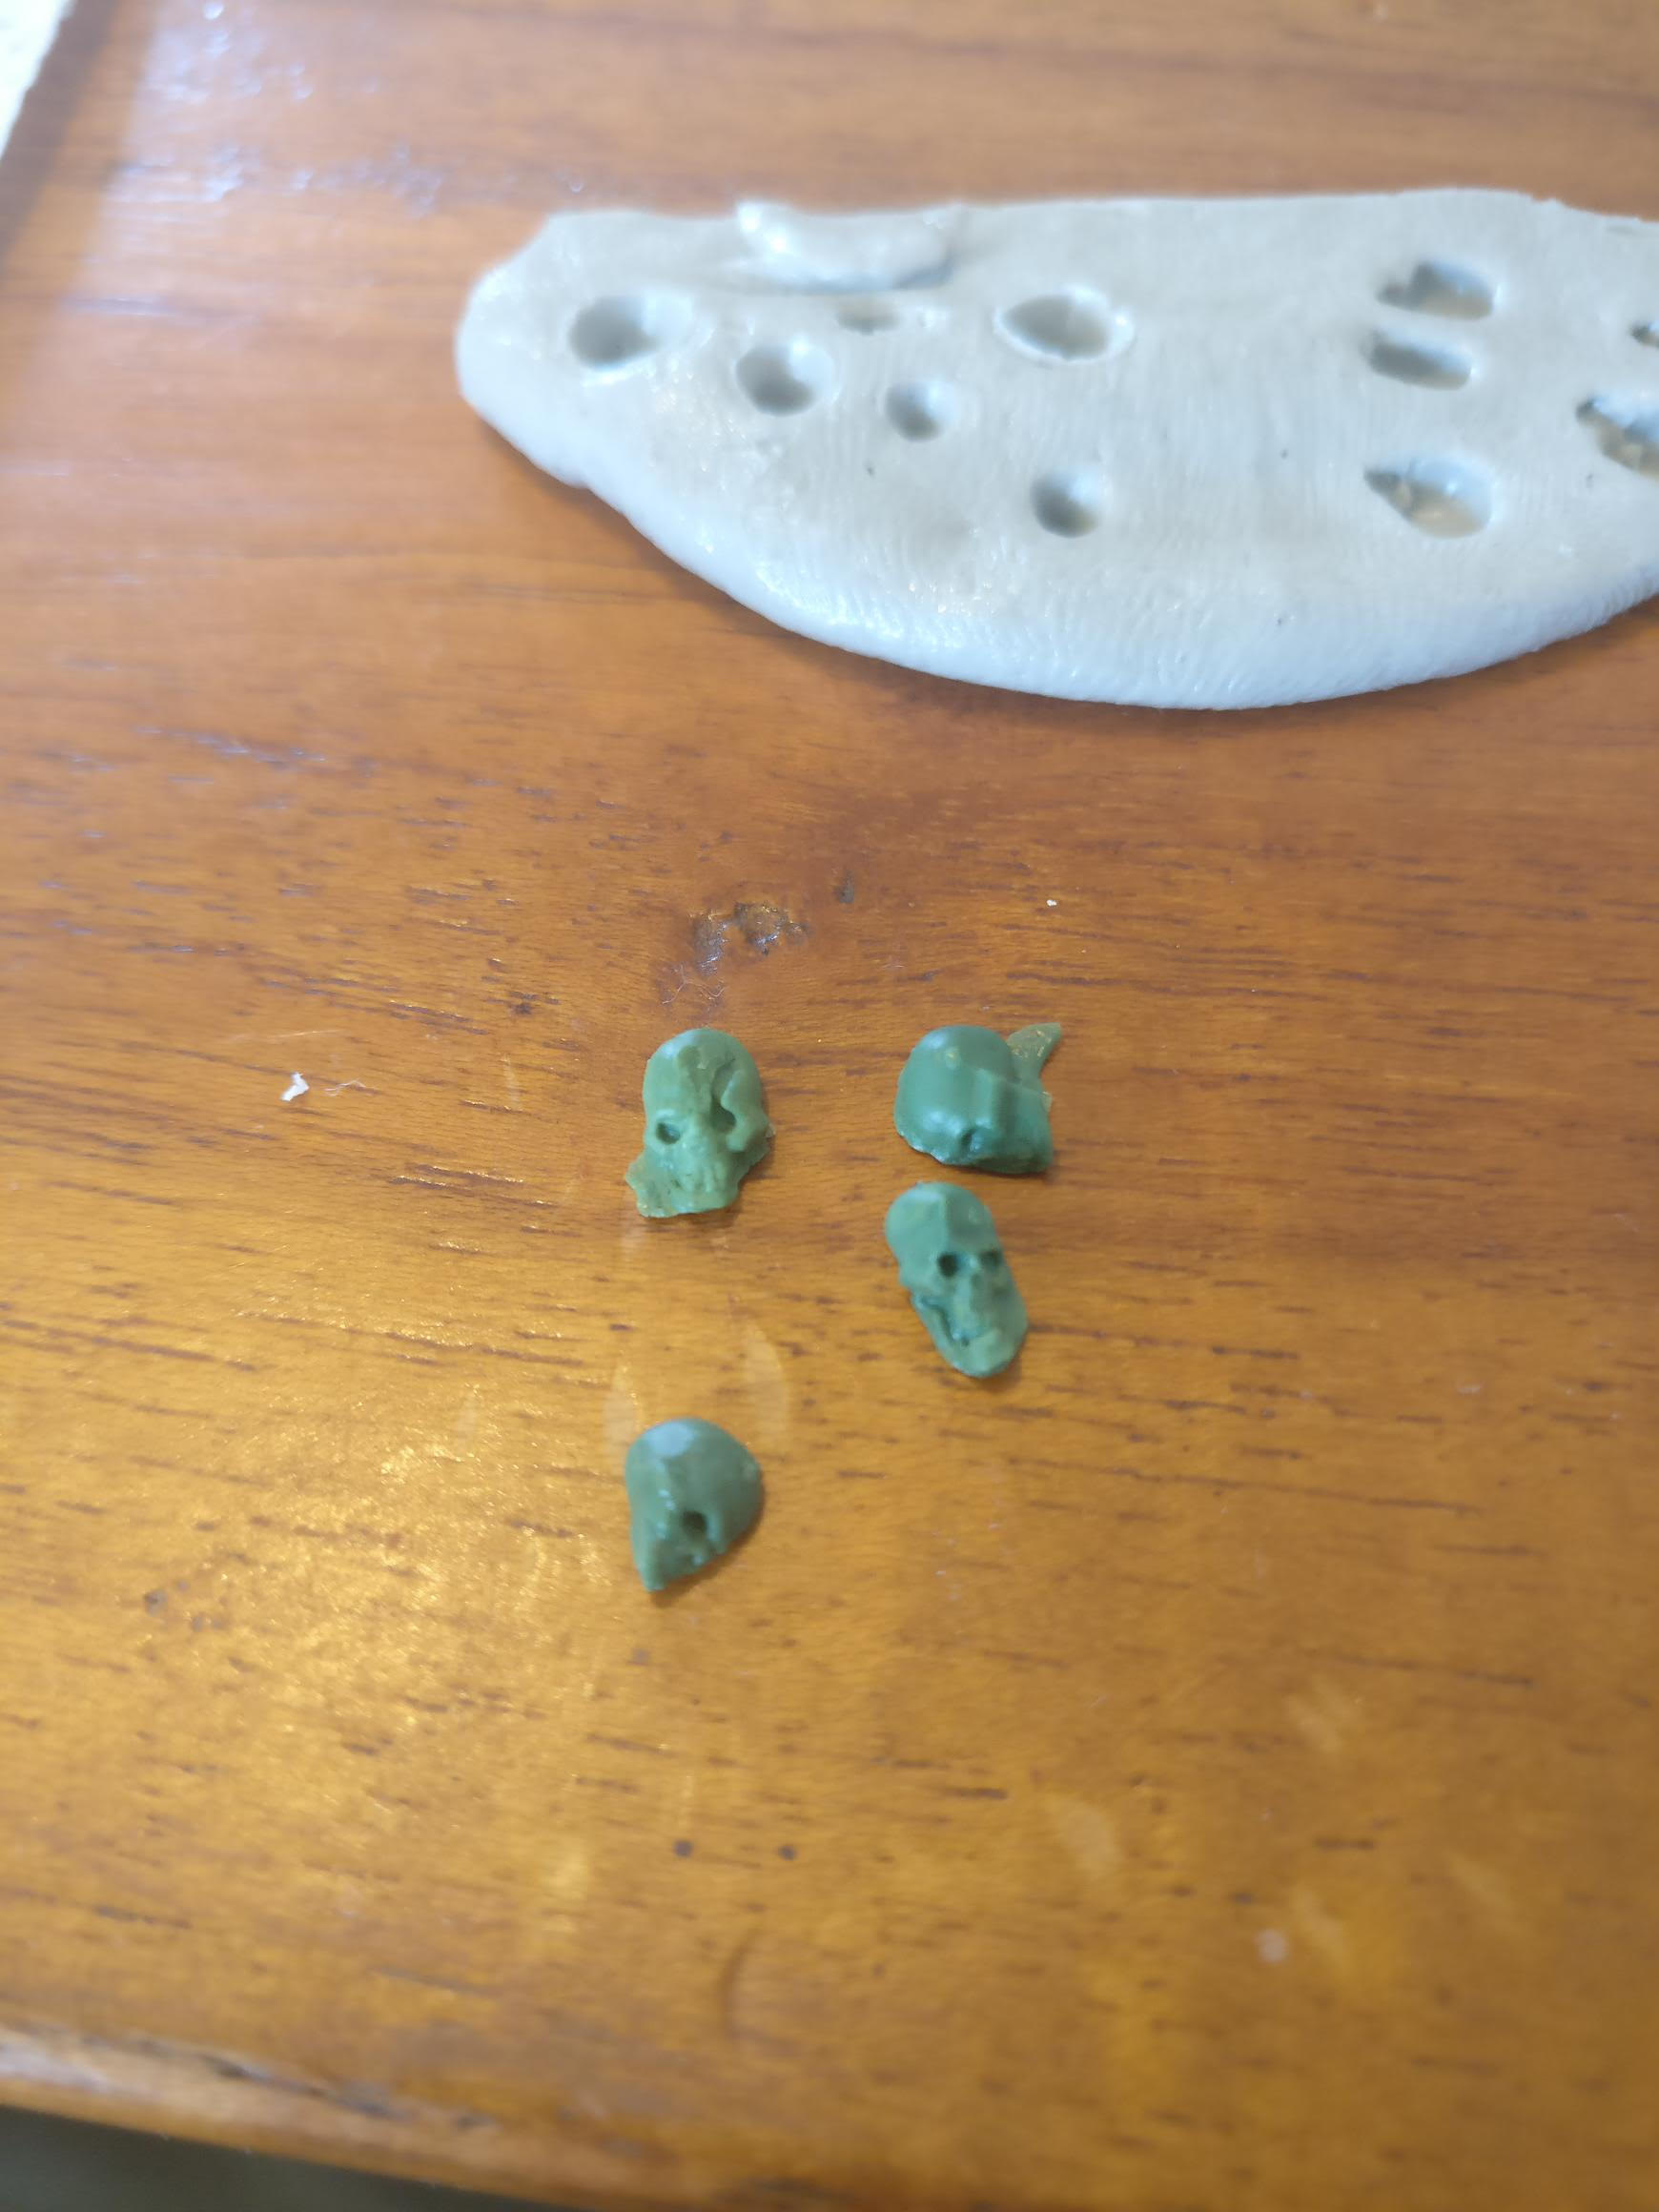
Then, plant bits into it that you have spare. I guess you could use any spare bits if you're not a skull nutter like me.
This is useful for any spare bits of green stuff you have that would otherwise get the toss. You only need a small amount of green stuff for each skull since they serve to look like they're buried in the dirt; in other words you want each skull to be half a skull.
Glue the bricks on
I used a glue gun because it's quick to dry. The problem with a glue gun is it will leave stringy bits of glue all over. You can get rid of the ugly strings with a heat gun. I guess a hair dryer might work but I have not tried that.
Using a heat gun at this point will achieve two beneficial results: you'll get rid of the strings that the glue gun left behind and you'll round off the sharpest edges of the EVA foam.

More glue
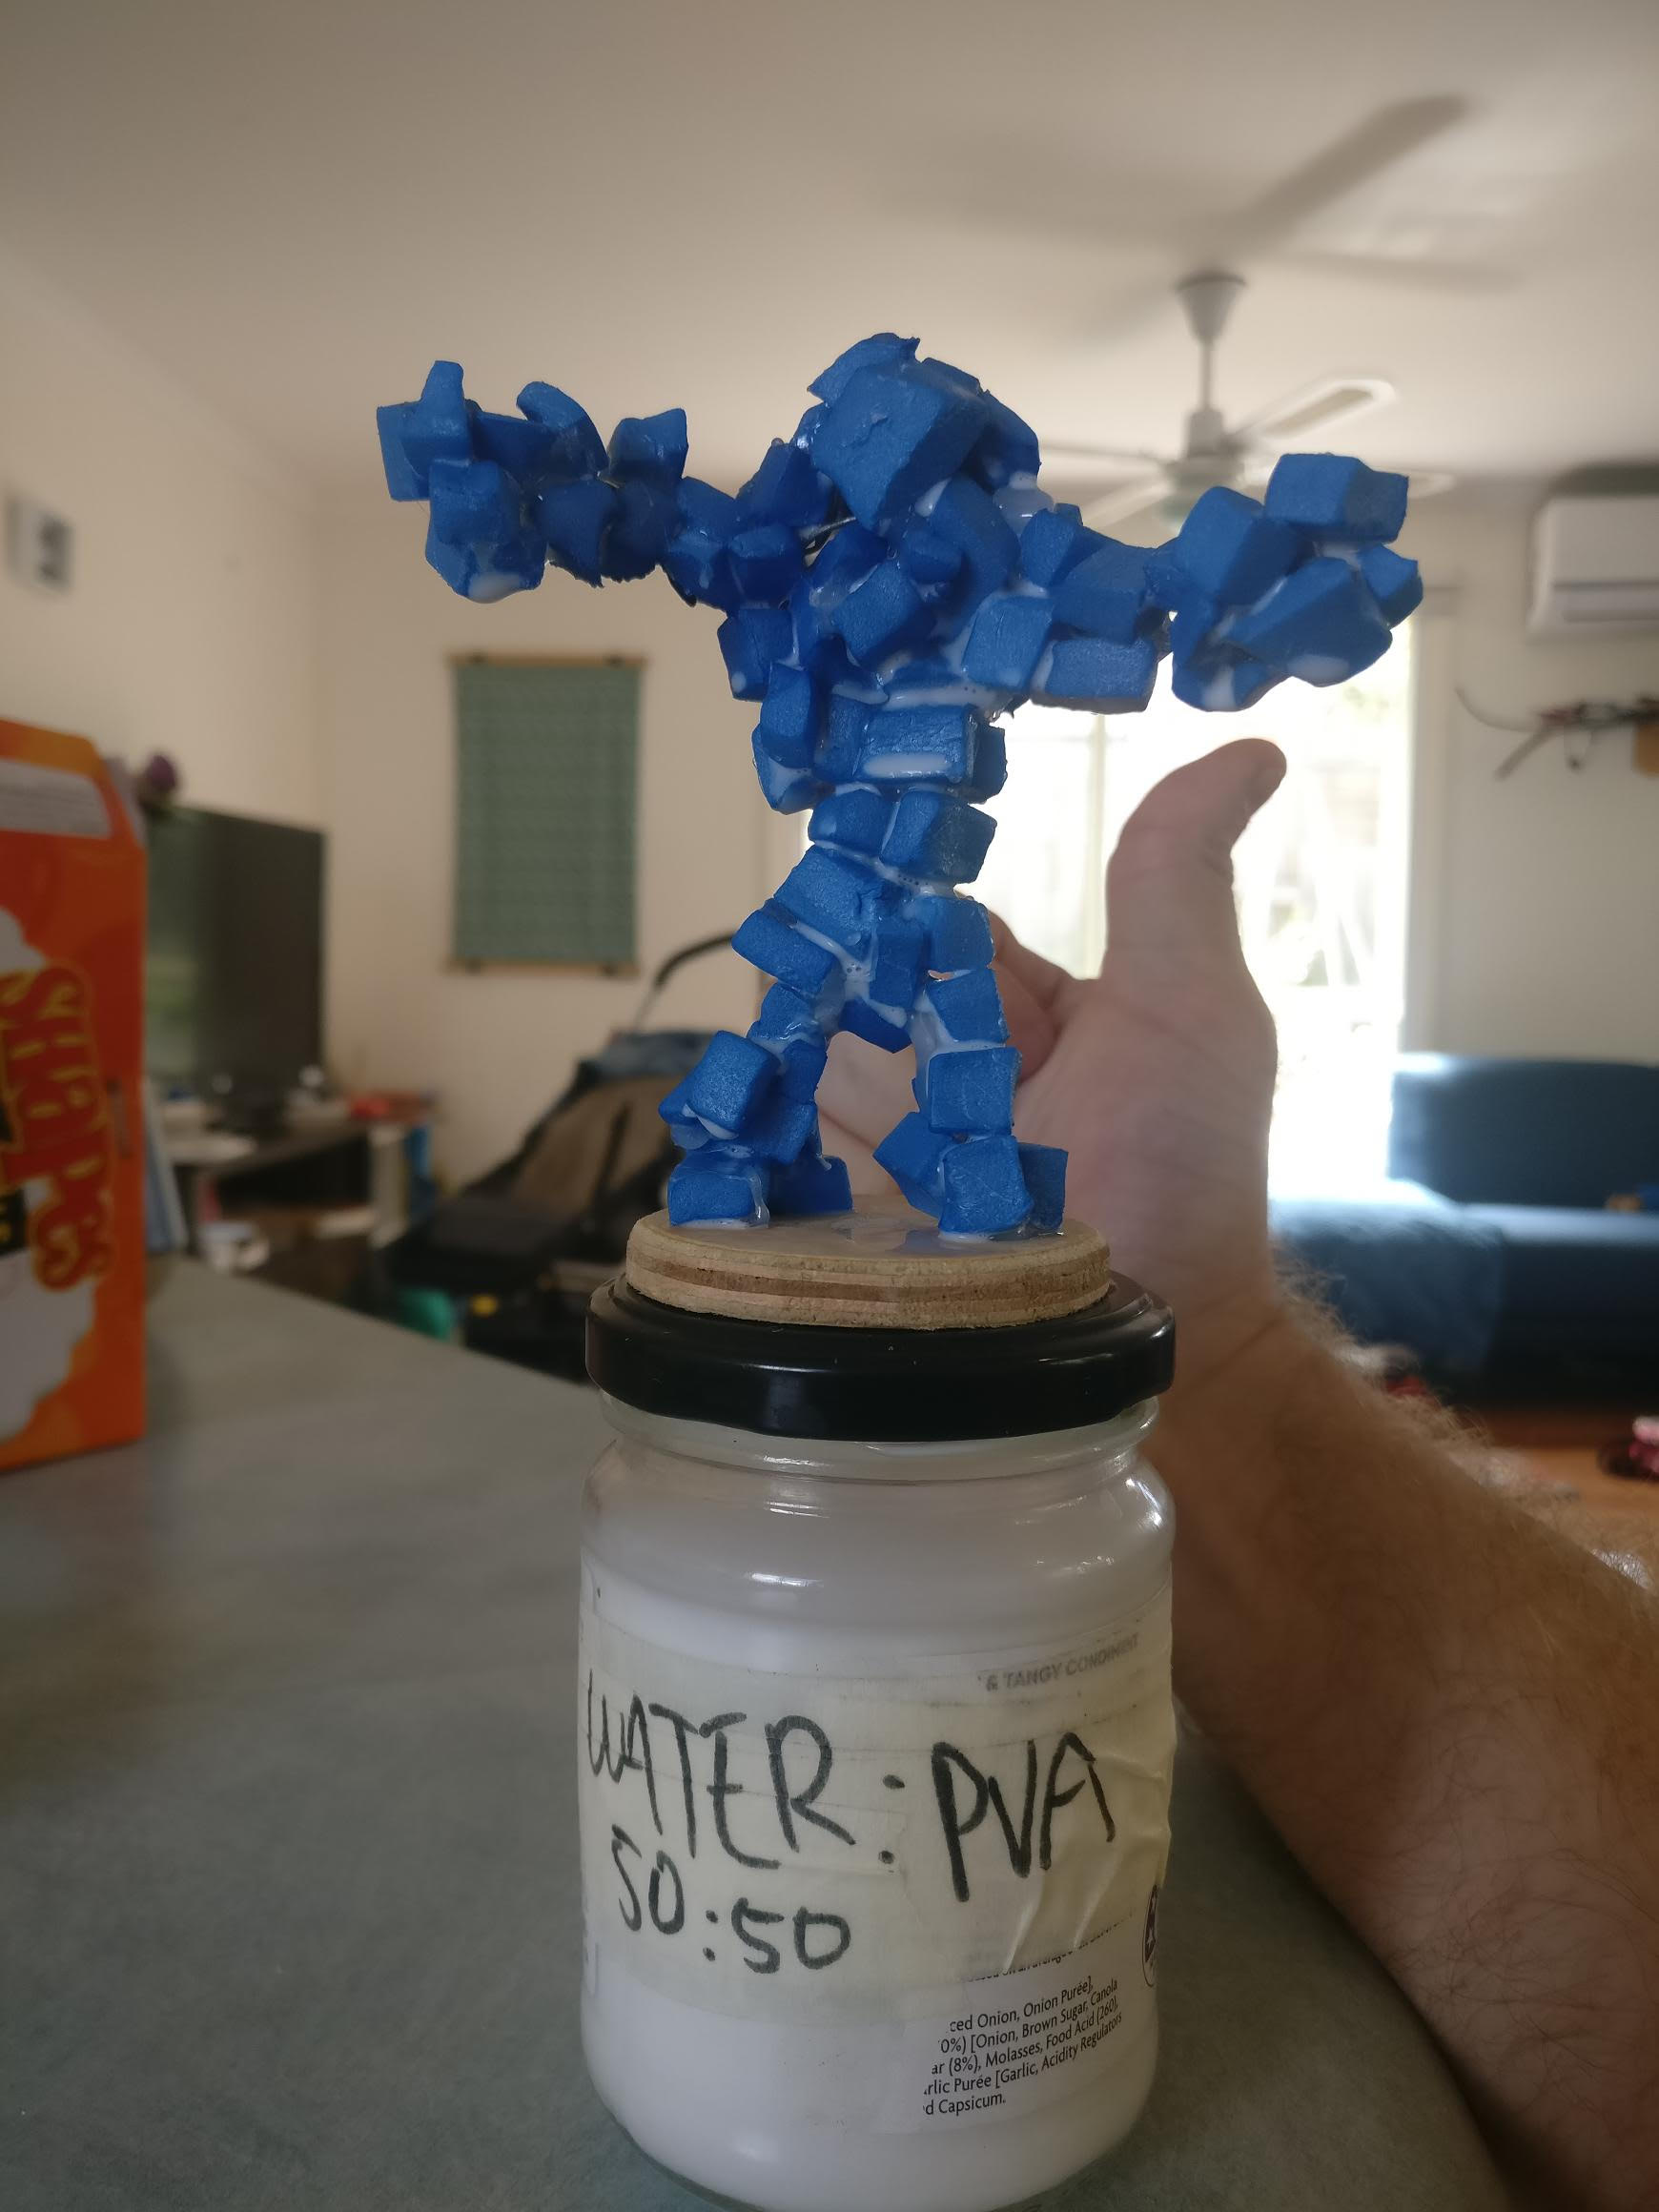
Once the main bits were all attached I squeezed PVA glue into the crevices. Don't use too much PVA at once because it will come out the bottom. You only need enough so that it bonds to the surfaces it touches.
Let that dry.
Giving the model a complete, but very thin, coat of PVA at this point will also get the model ready for the base coat of paint. If you use spray paint then this is especially important to seal it first because spray paint will melt foam.
Some people use mod podge but I usually go with my own mix of 1:1 water:PVA. It applies easily and is obviously very cheap. Once you've done this, you can spray it with your base coat of paint and paint it up.
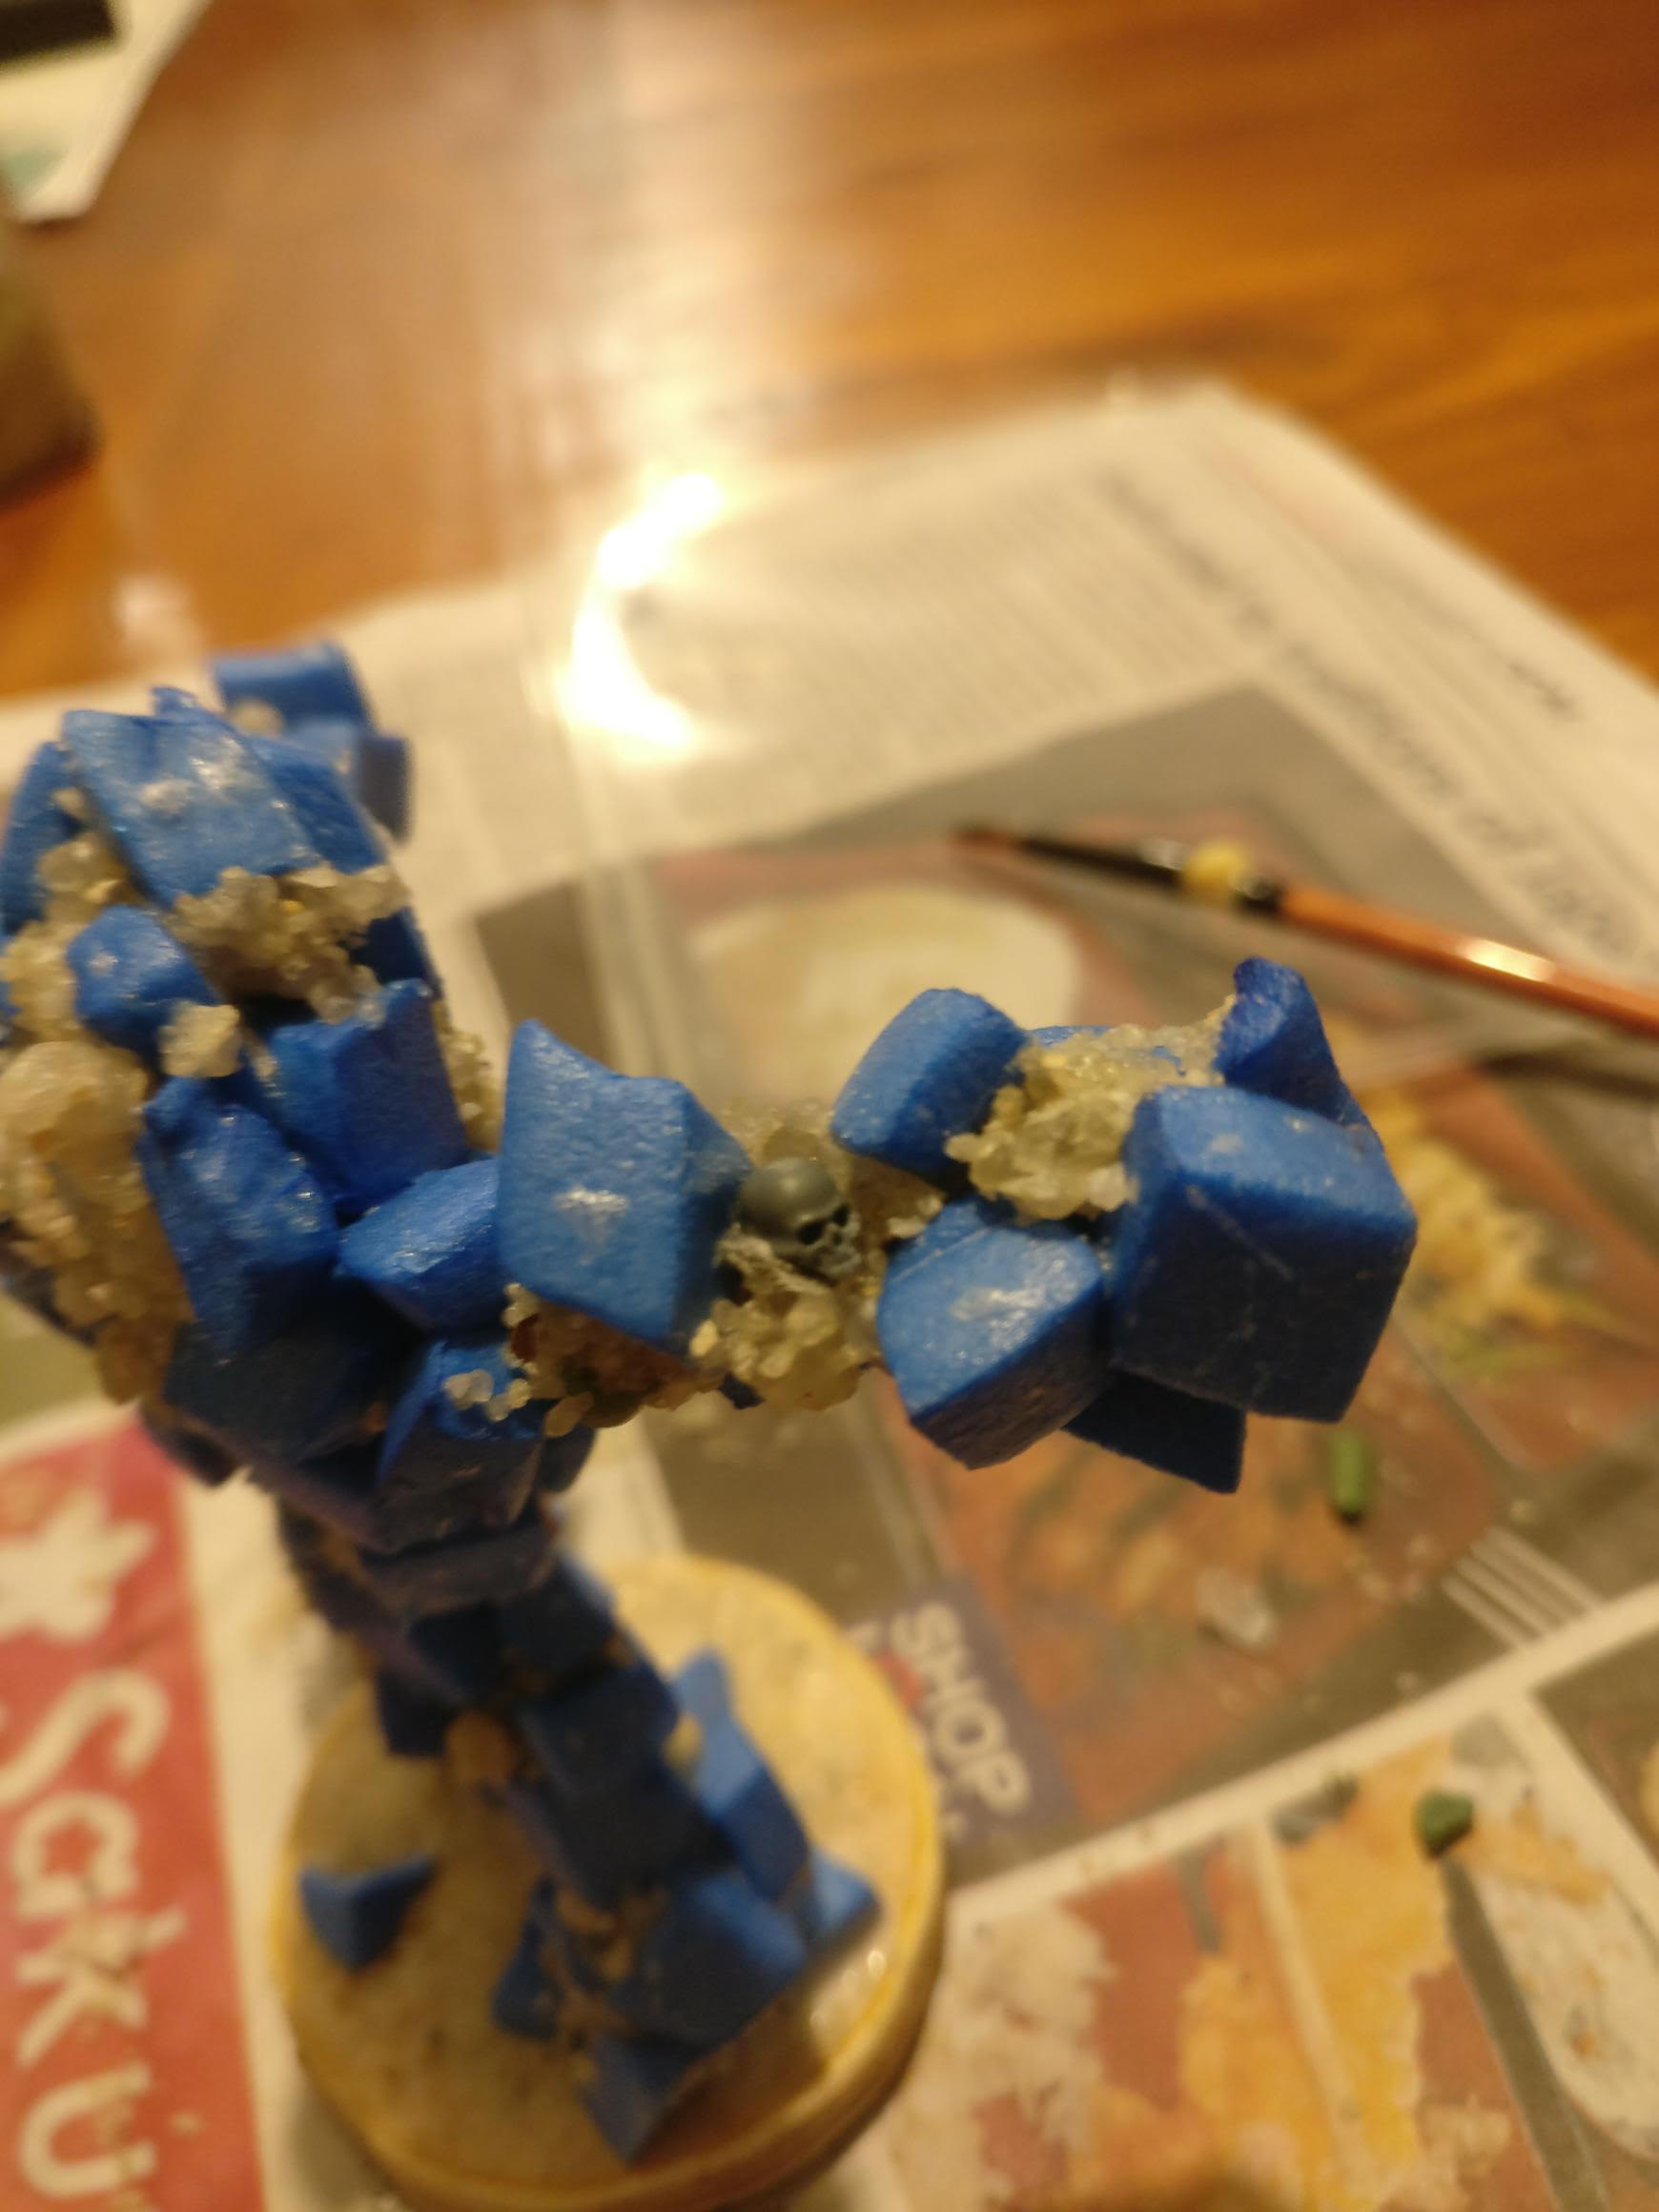
Add some other bits
Like small rocks and sand. Add the skulls from earlier. Fill in any obvious gaping holes with fine sand too for some variety.
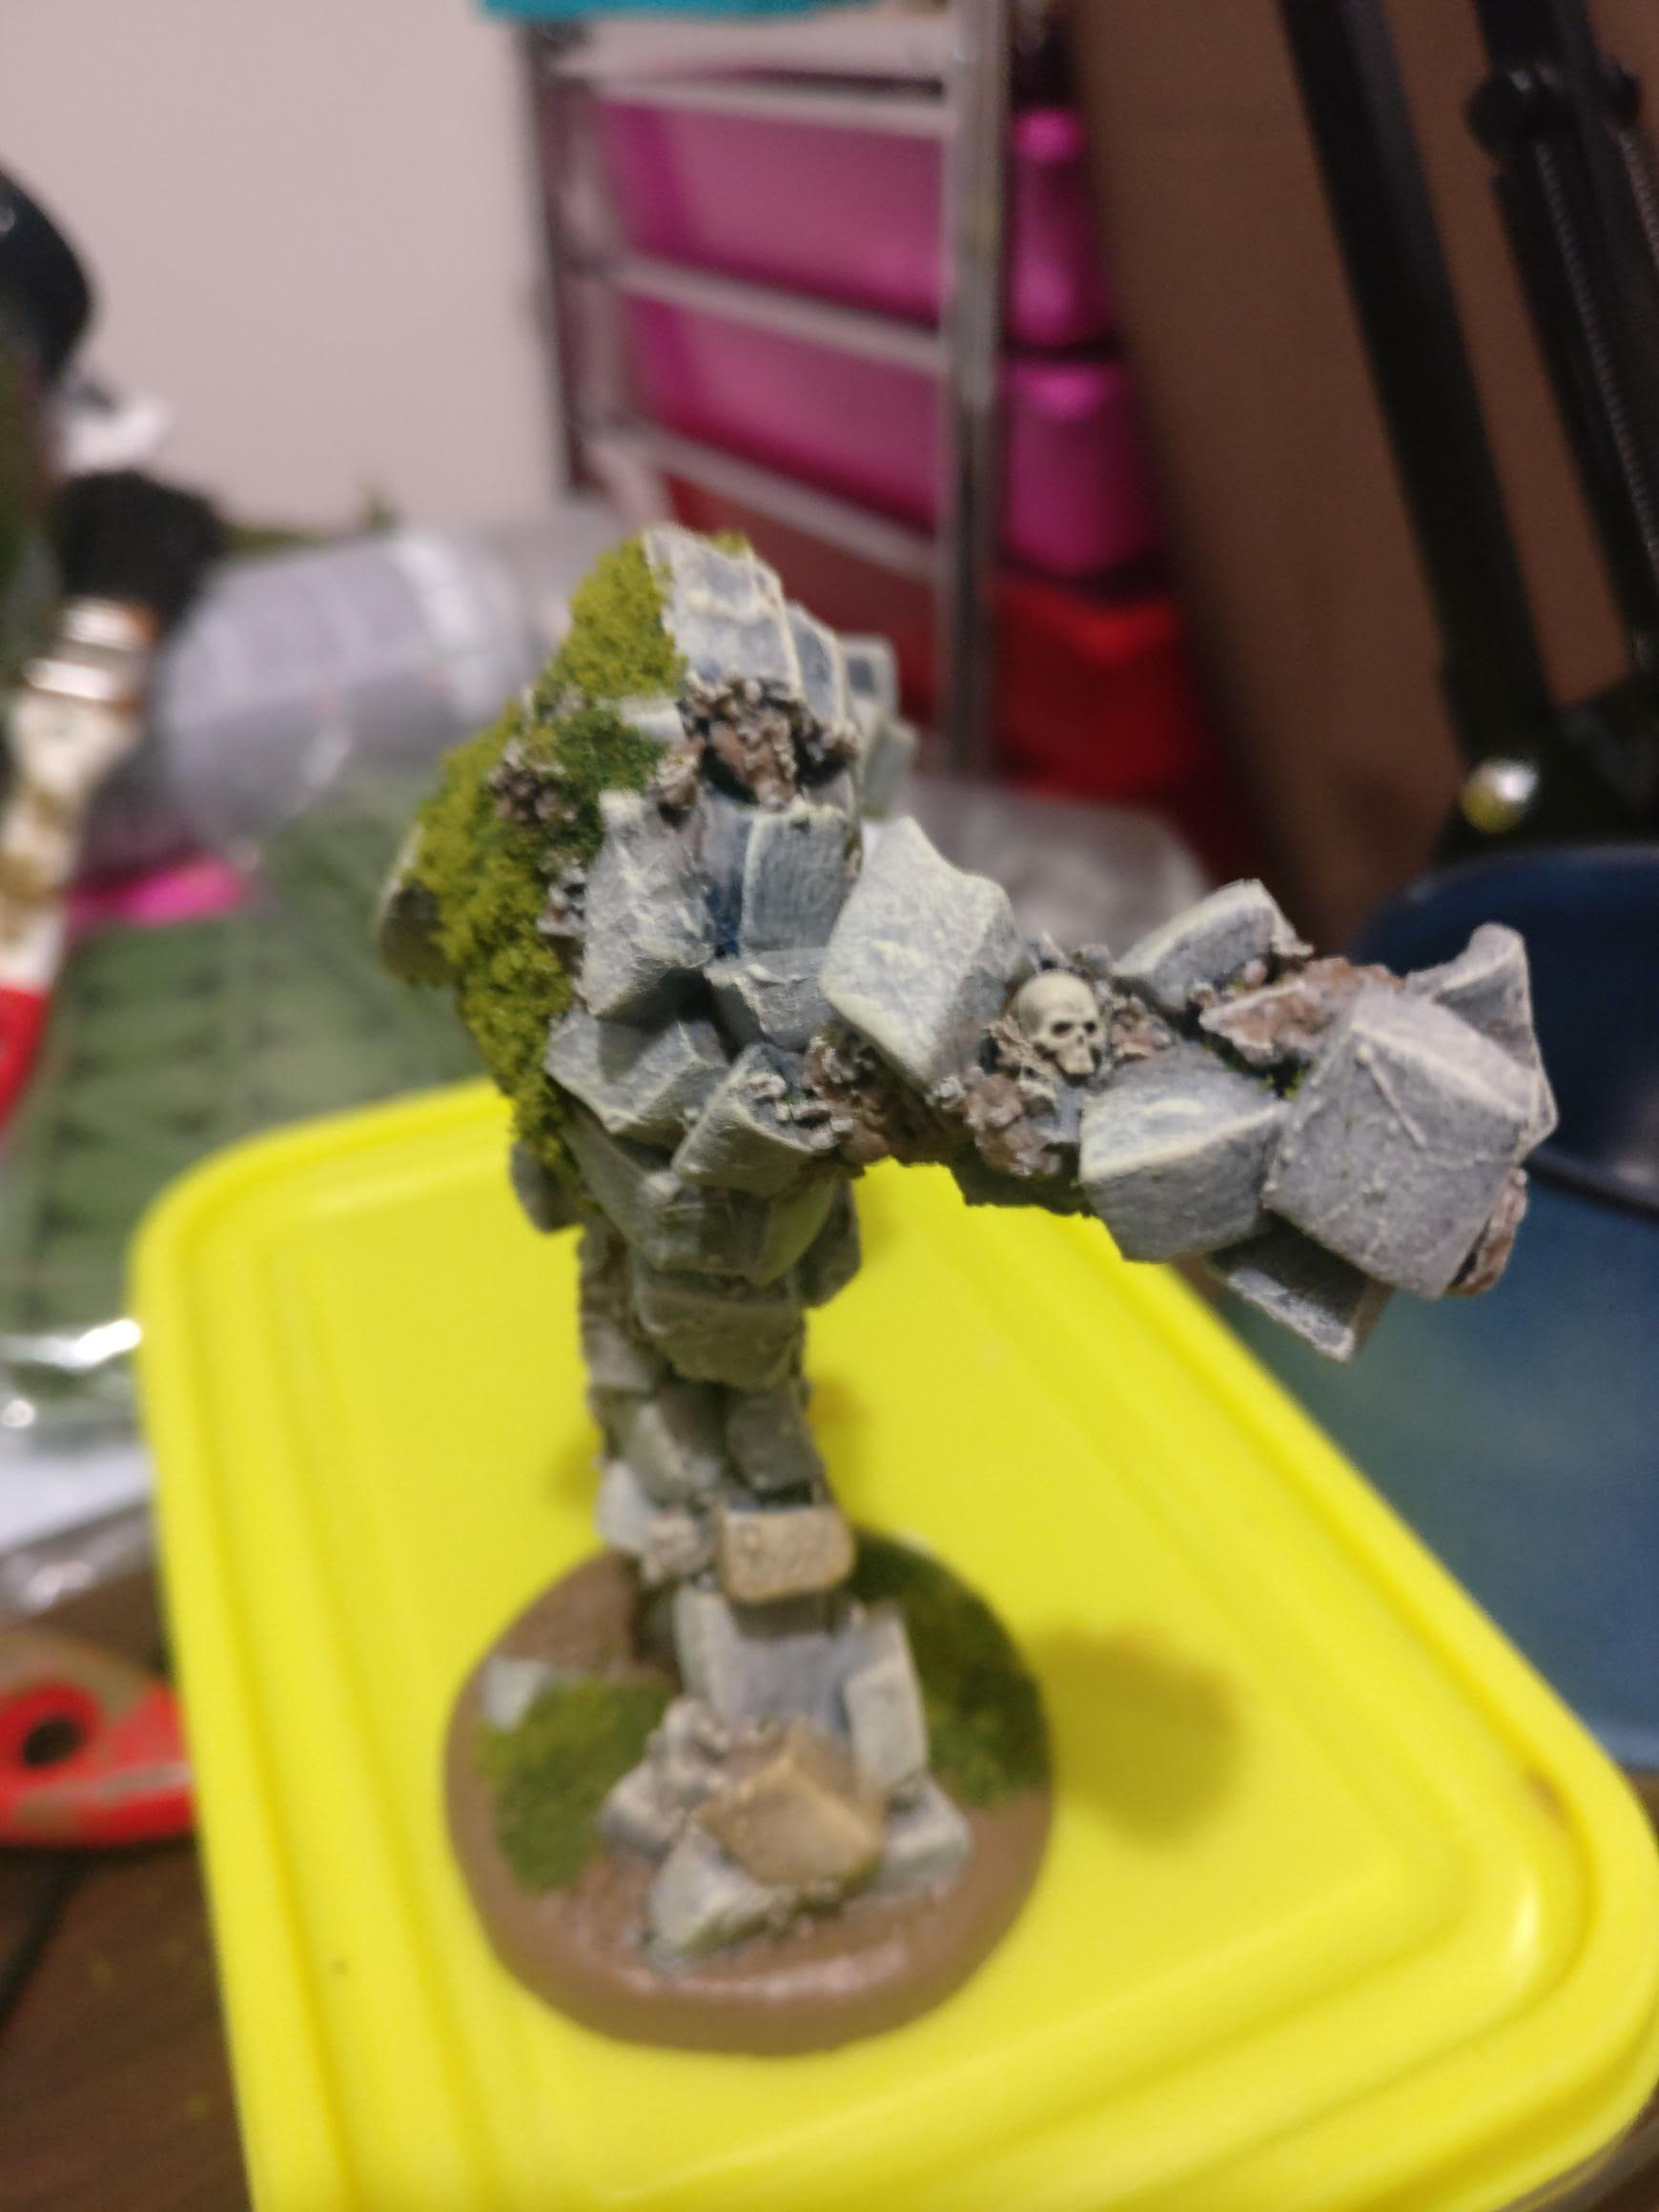
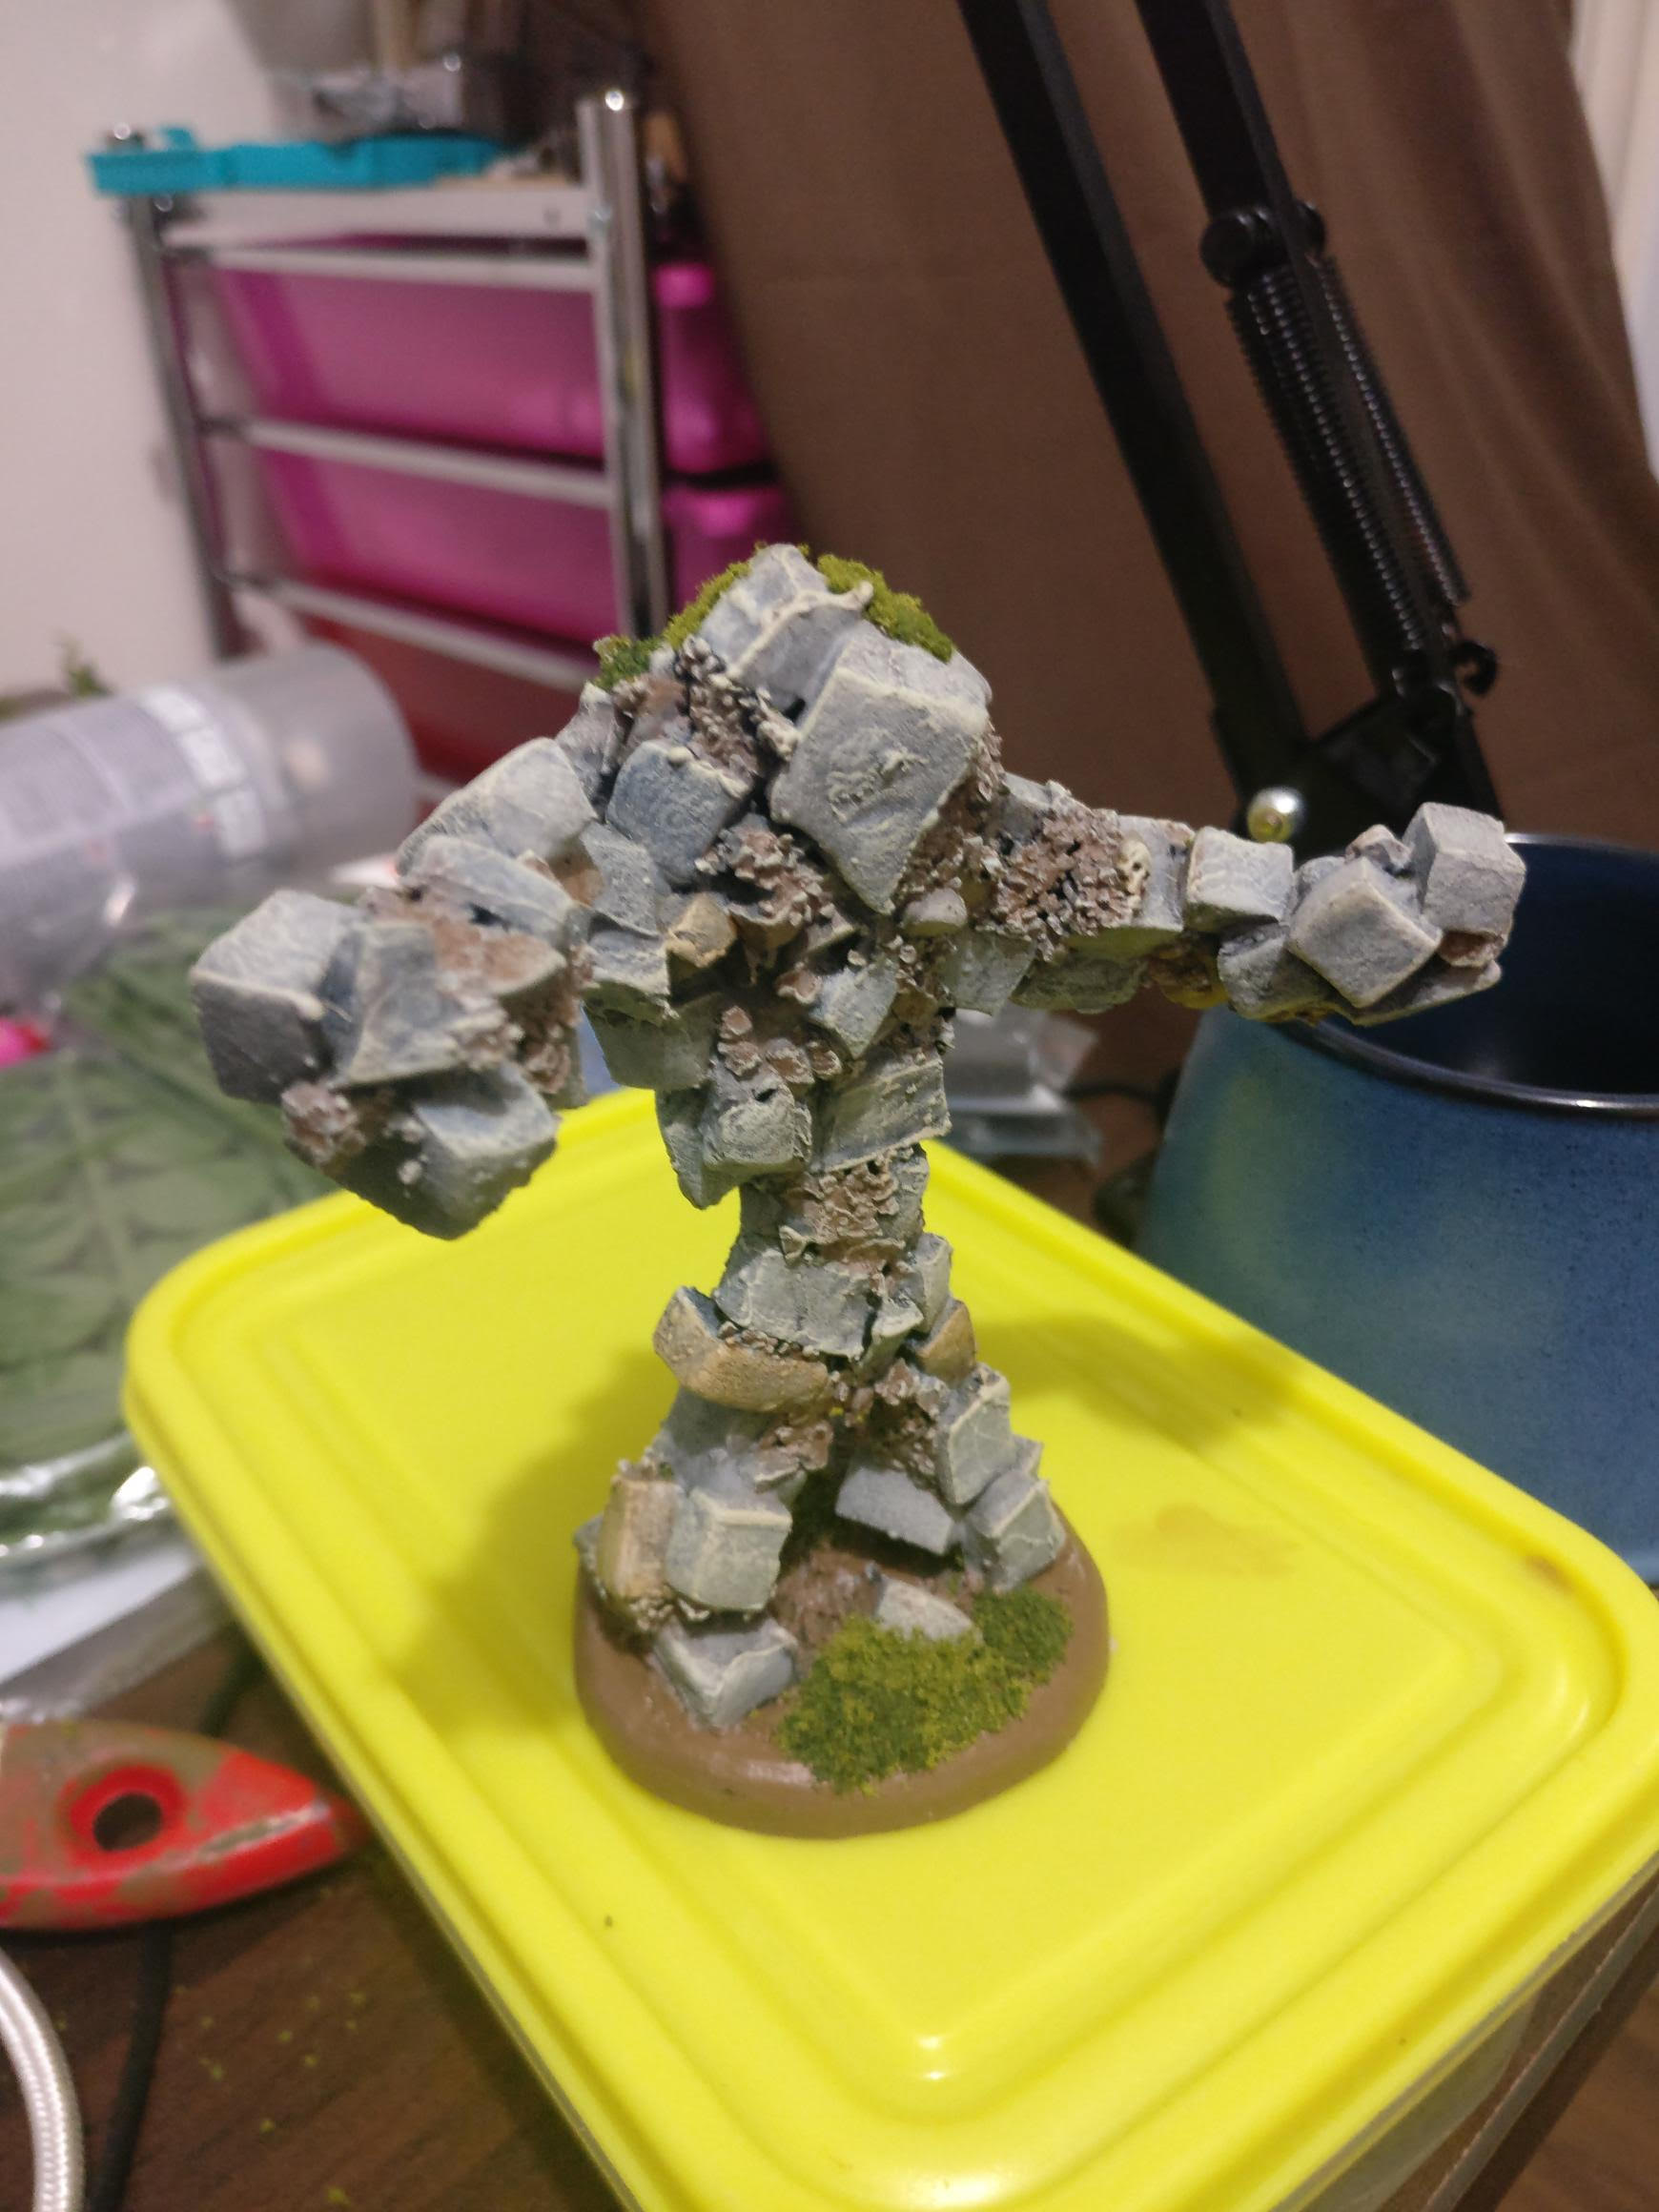
After painting
I wanted this mini to look really like it came out of the ground so I added different colours of brown and different highlights to the rocks. I added some different sizes of grass flocking to achieve some variety. I think the skulls look cool as well.
Wrapping it up
If you've never made terrain for a tabletop RPG/skirmish/wargame then I think you should give it a go! It's very cheap, very accessible and allows you to use rubbish that you would otherwise throw away. I could have used the cheap XPS foam that comes with electronics, rather than EVA, but I had EVA handy.
I have a completely unique figure for my table now.
The result is not exactly "terrain" but the same skills I've used here can be used to make terrain for your table, also.
Thanks for reading.