June 02, 2019 @ 00:03
DIY wooden bow rack
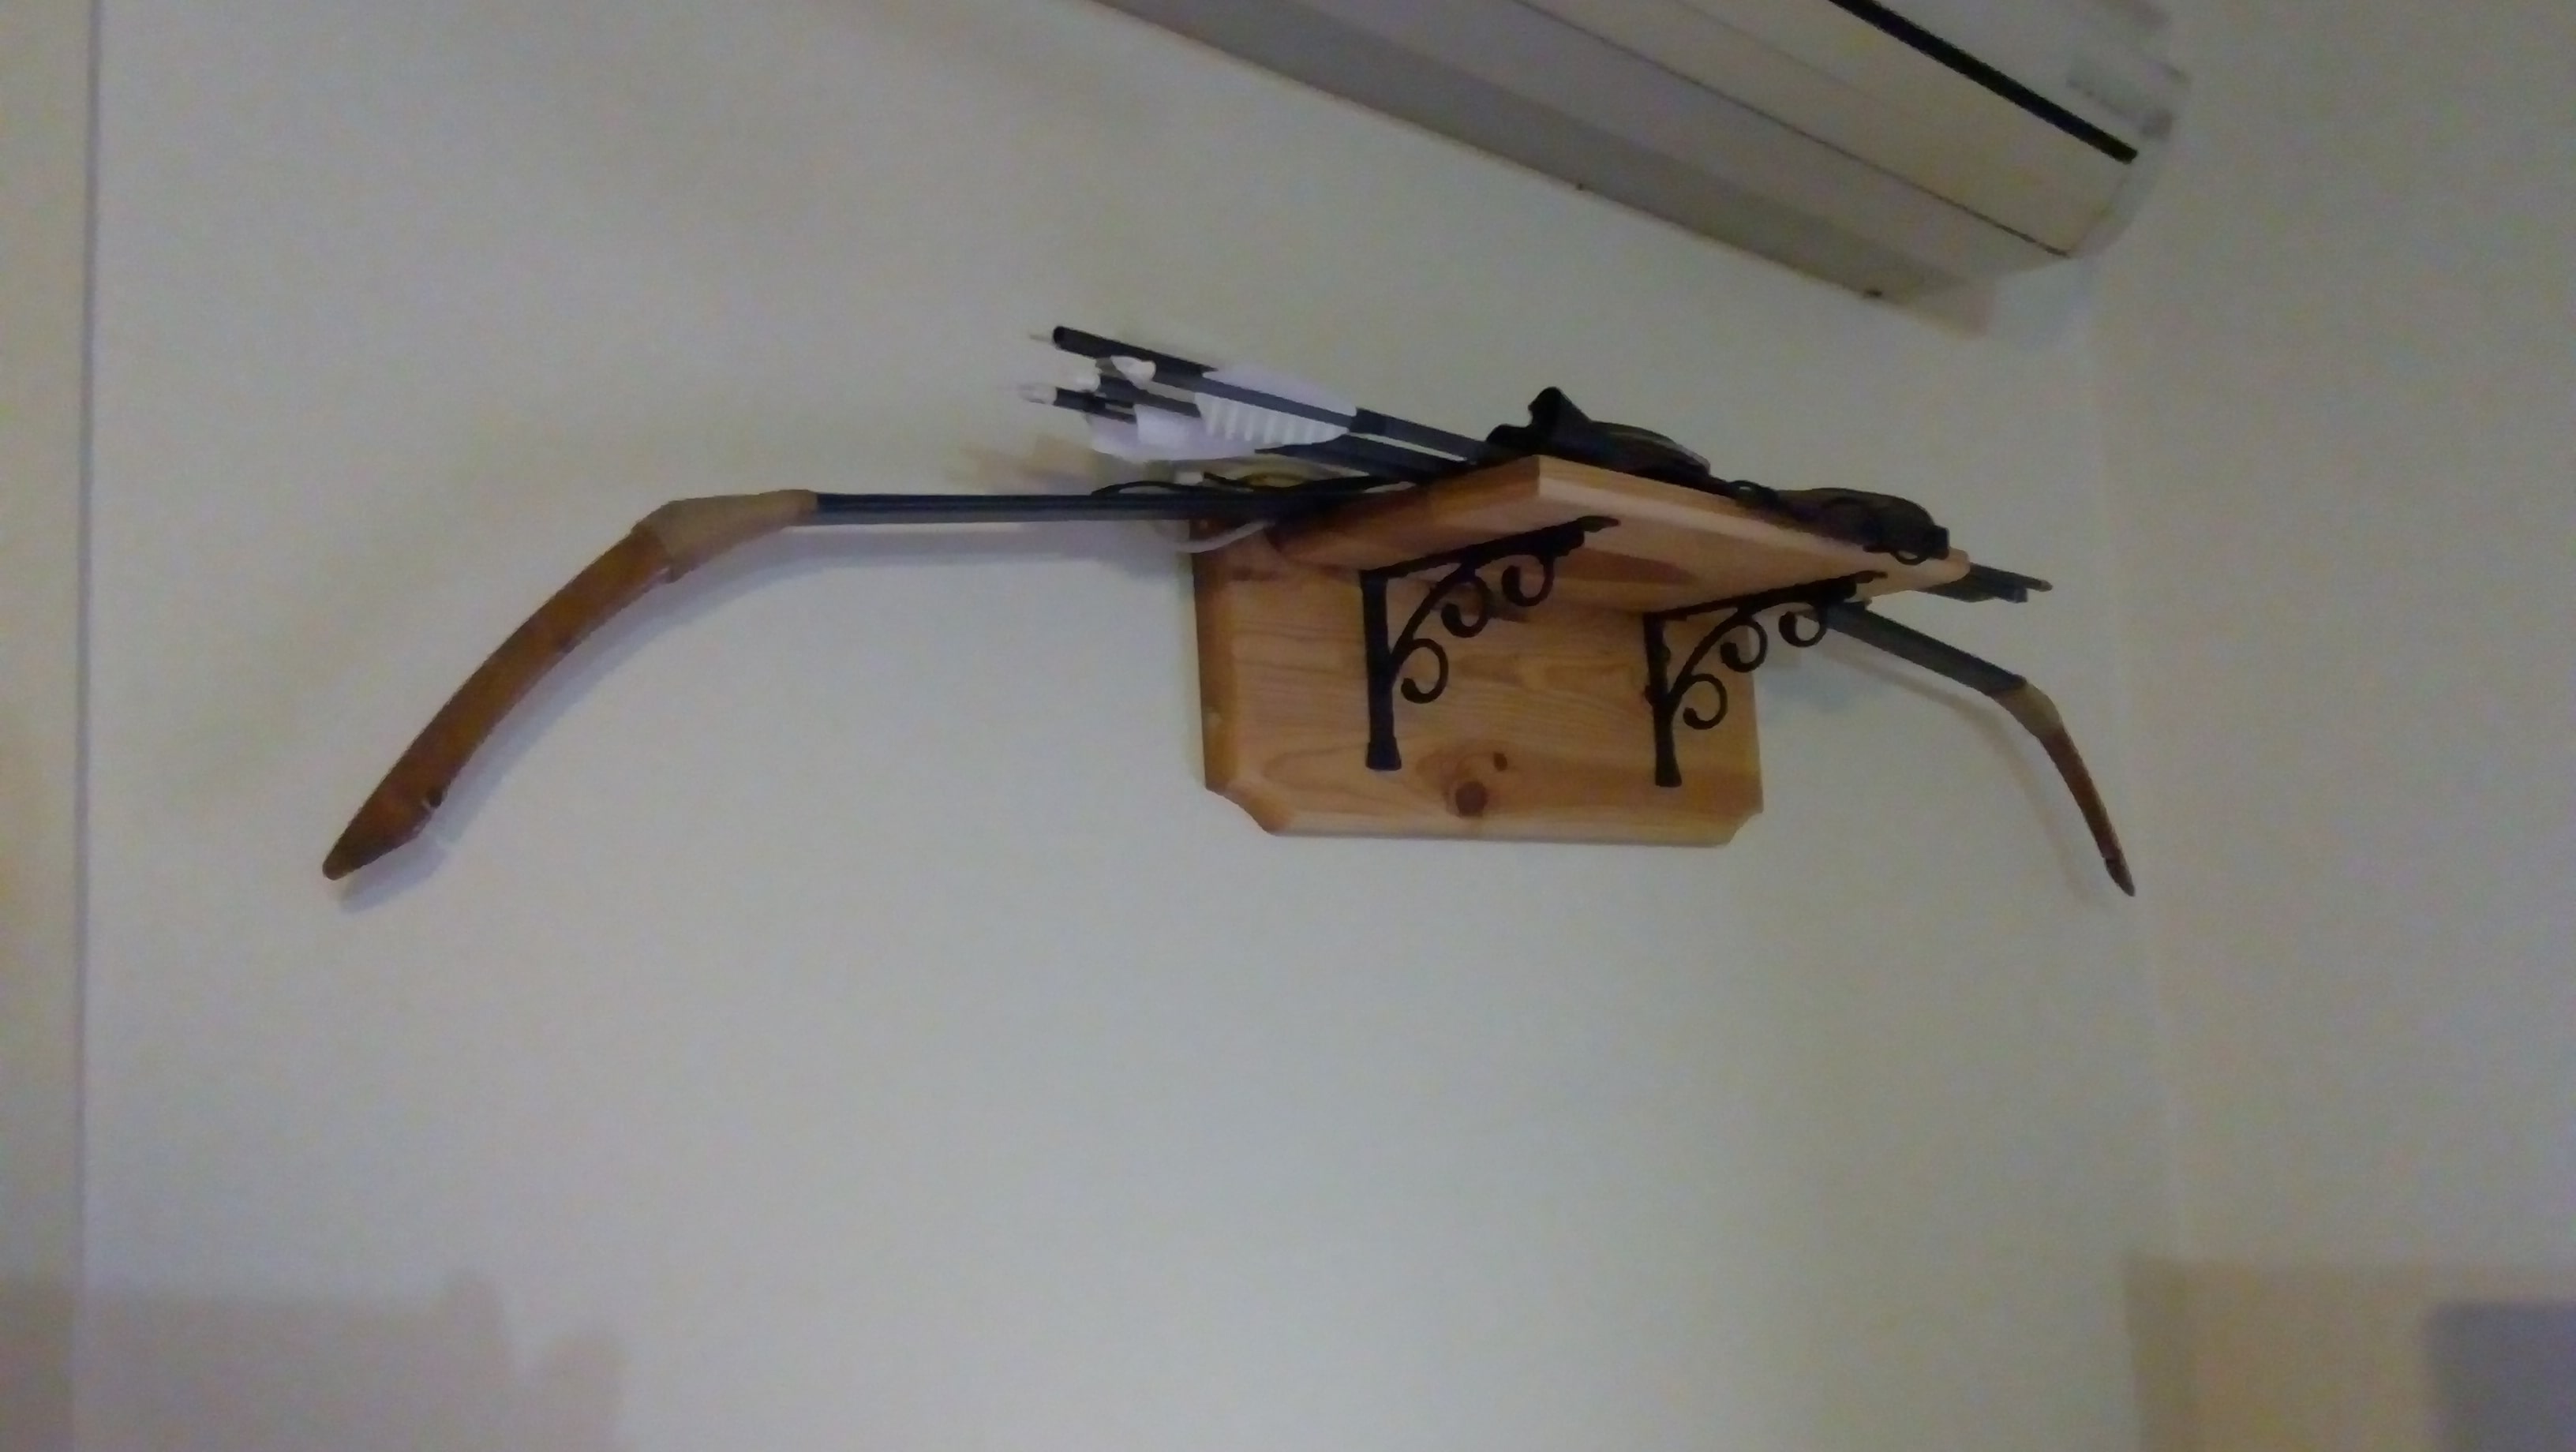
A traditional wooden bow is a beautiful thing to shoot. It's also a beautiful object to look at. I wanted something to mount on my wall to hold my archery stuff, so I made this shelf from recycled wood. This project took me an afternoon.
You will need:
- A router, flush trim bit, some other kind of edge bit (these pictures are of a round over bit)
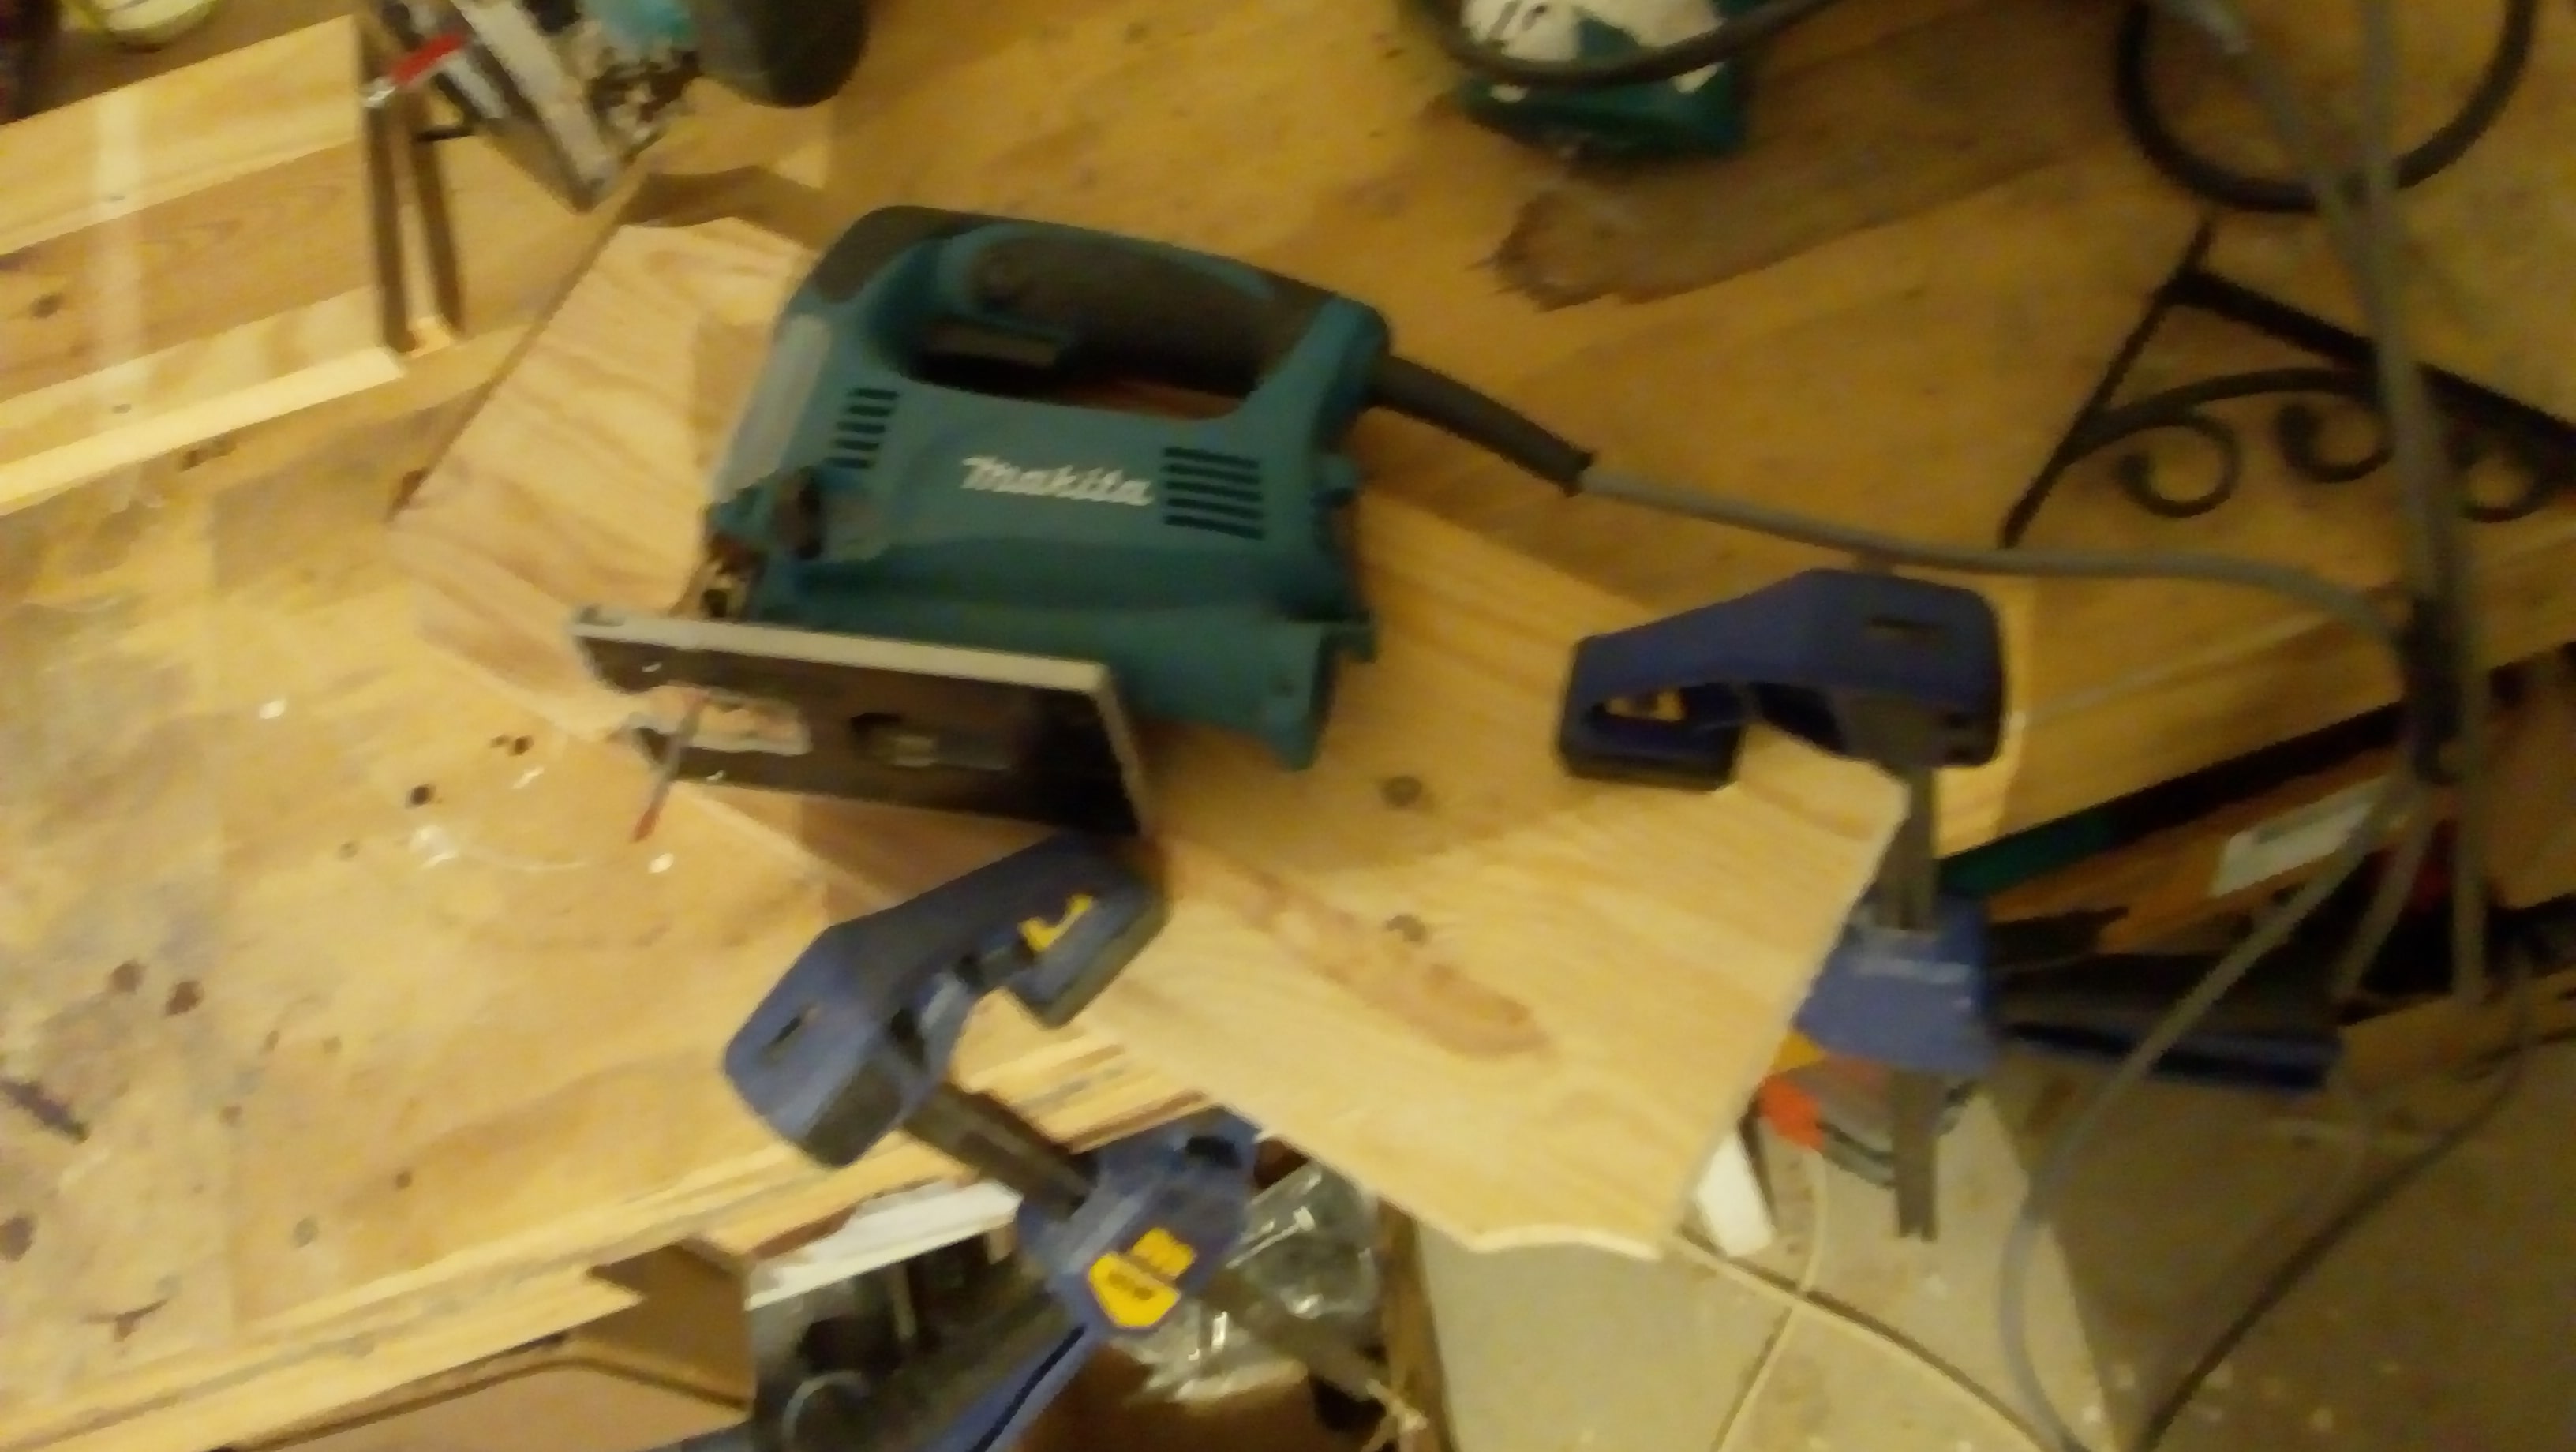
- A jigsaw, blade for cutting curves
- A saw (straight line cut)
- A drill
- Screws
- Putty
- Stain/varnish
- Paint brush
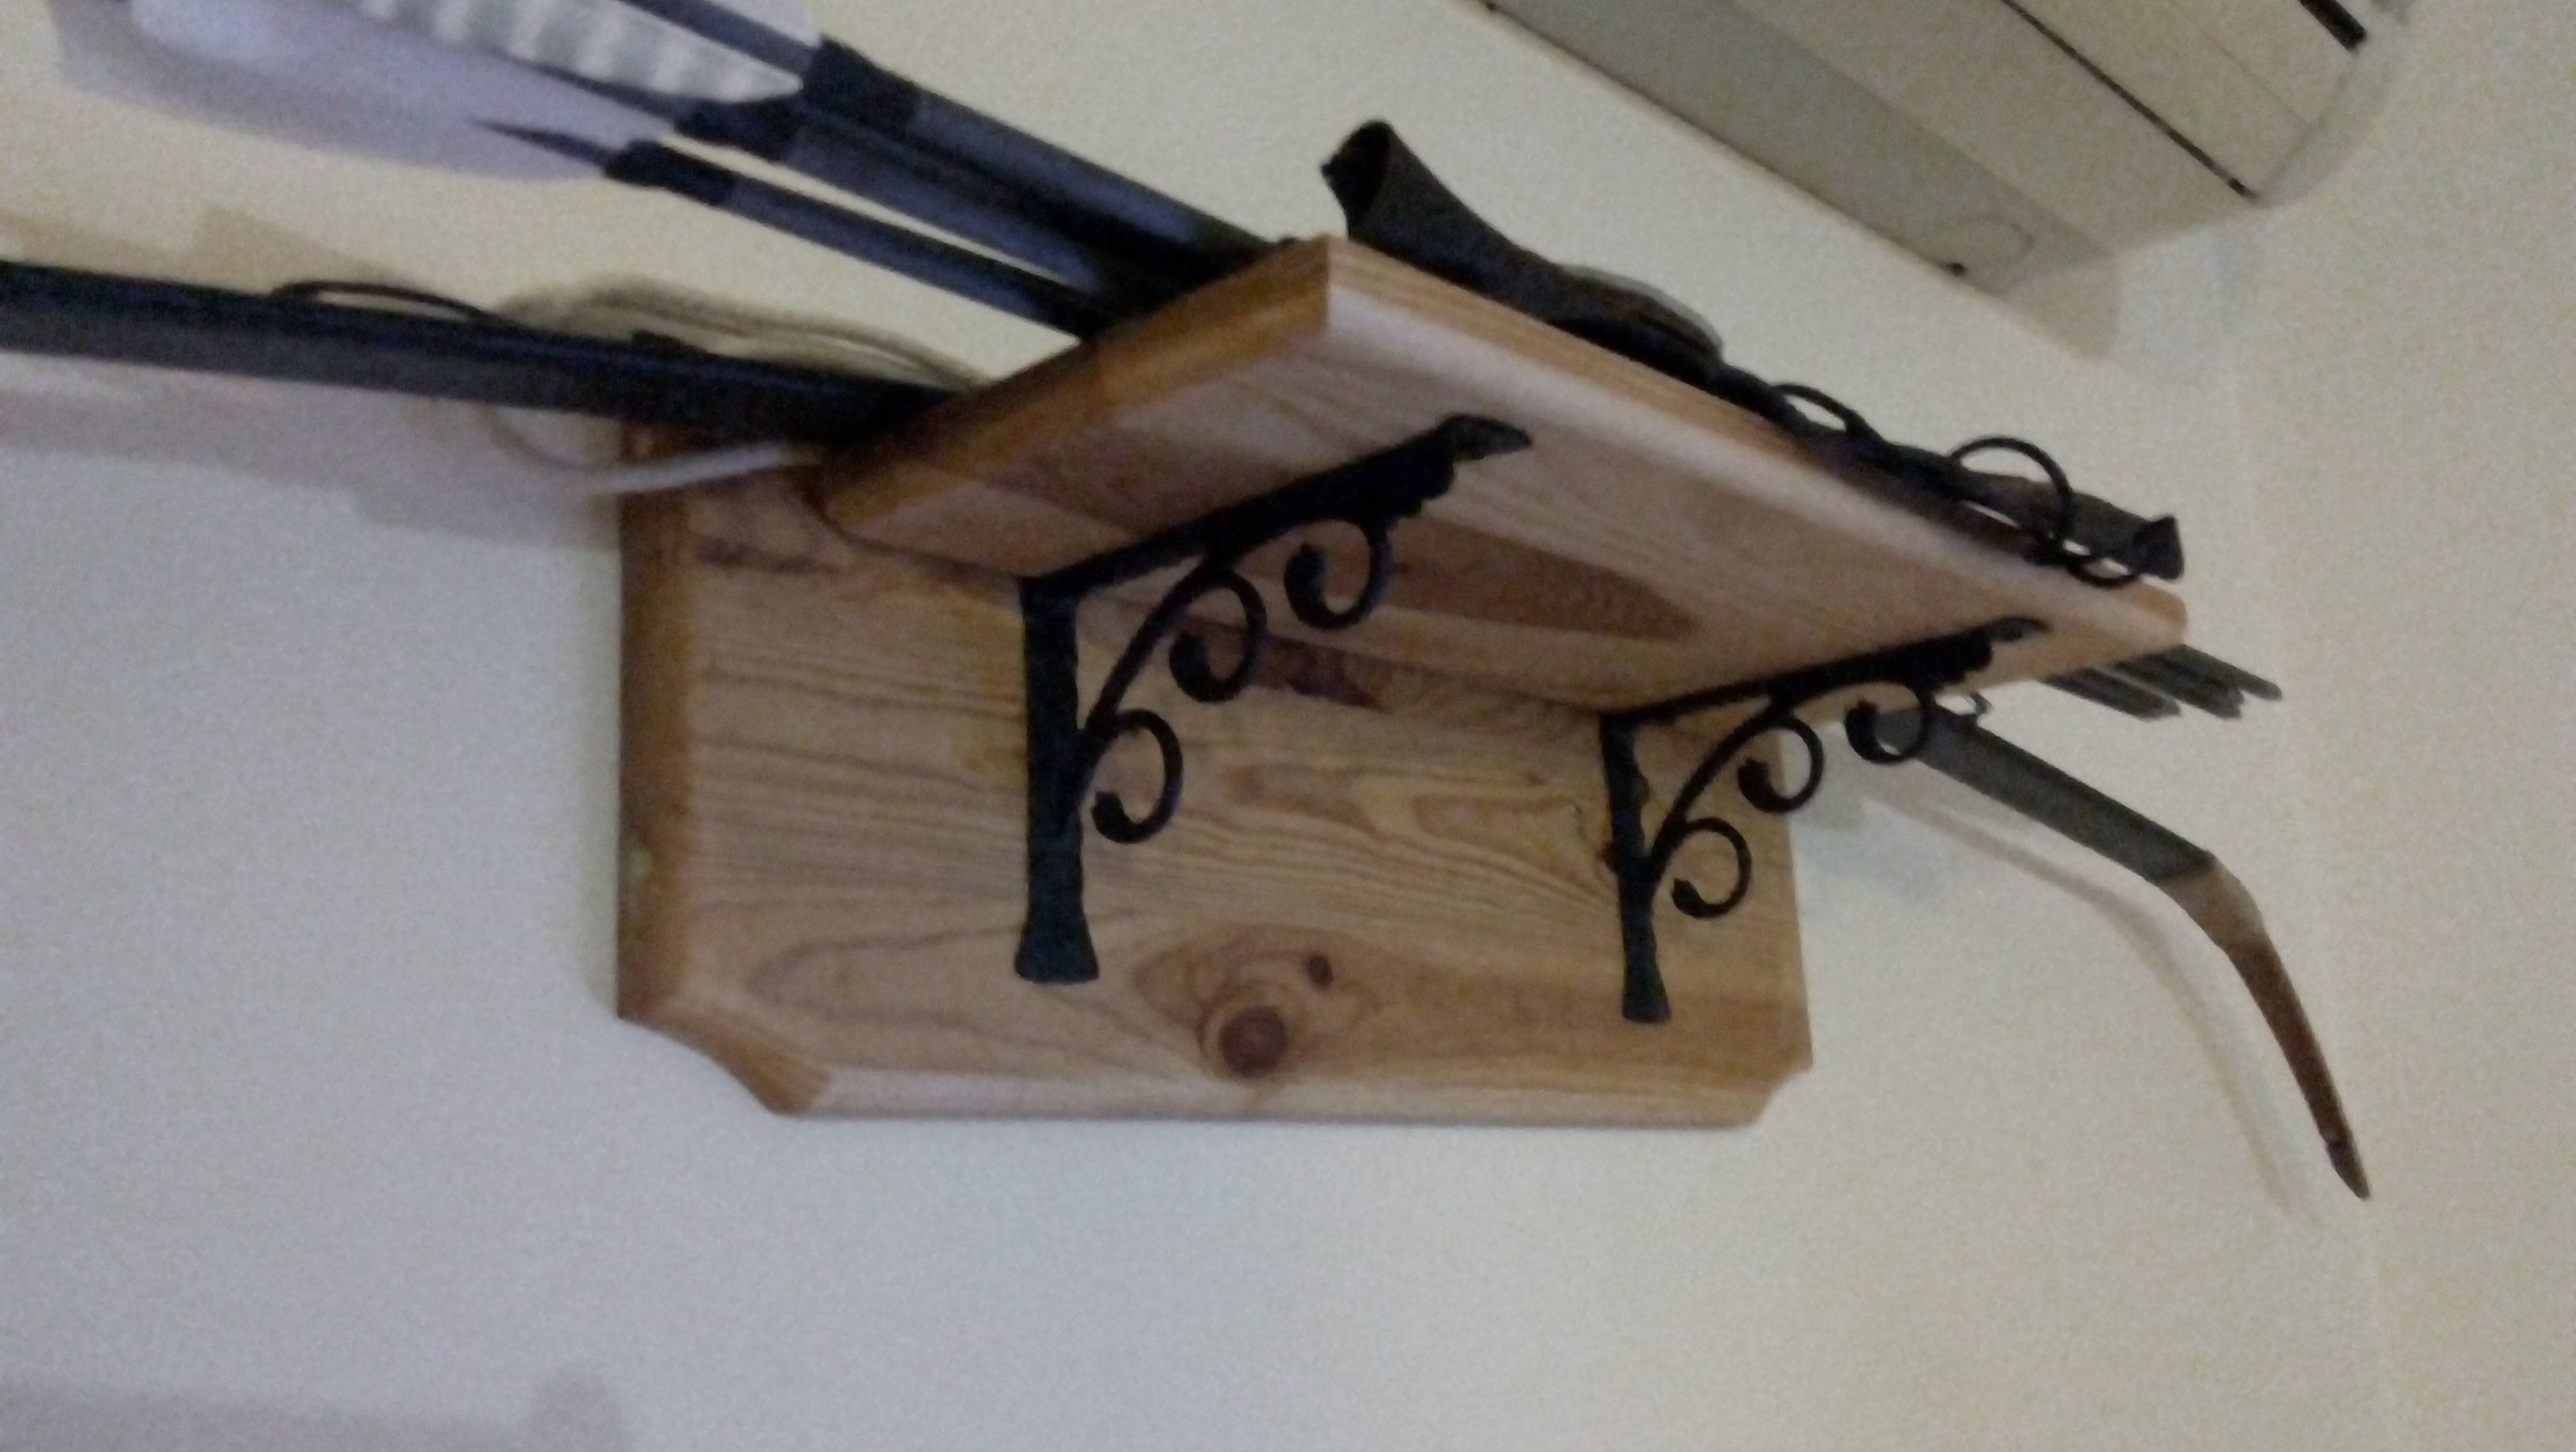
- 2 shelf brackets (I got some ornate looking ones on Ebay)
- Screws to screw the shelf brackets to wood
- Plasterboard anchor screws (if you are mounting to plasterboard)
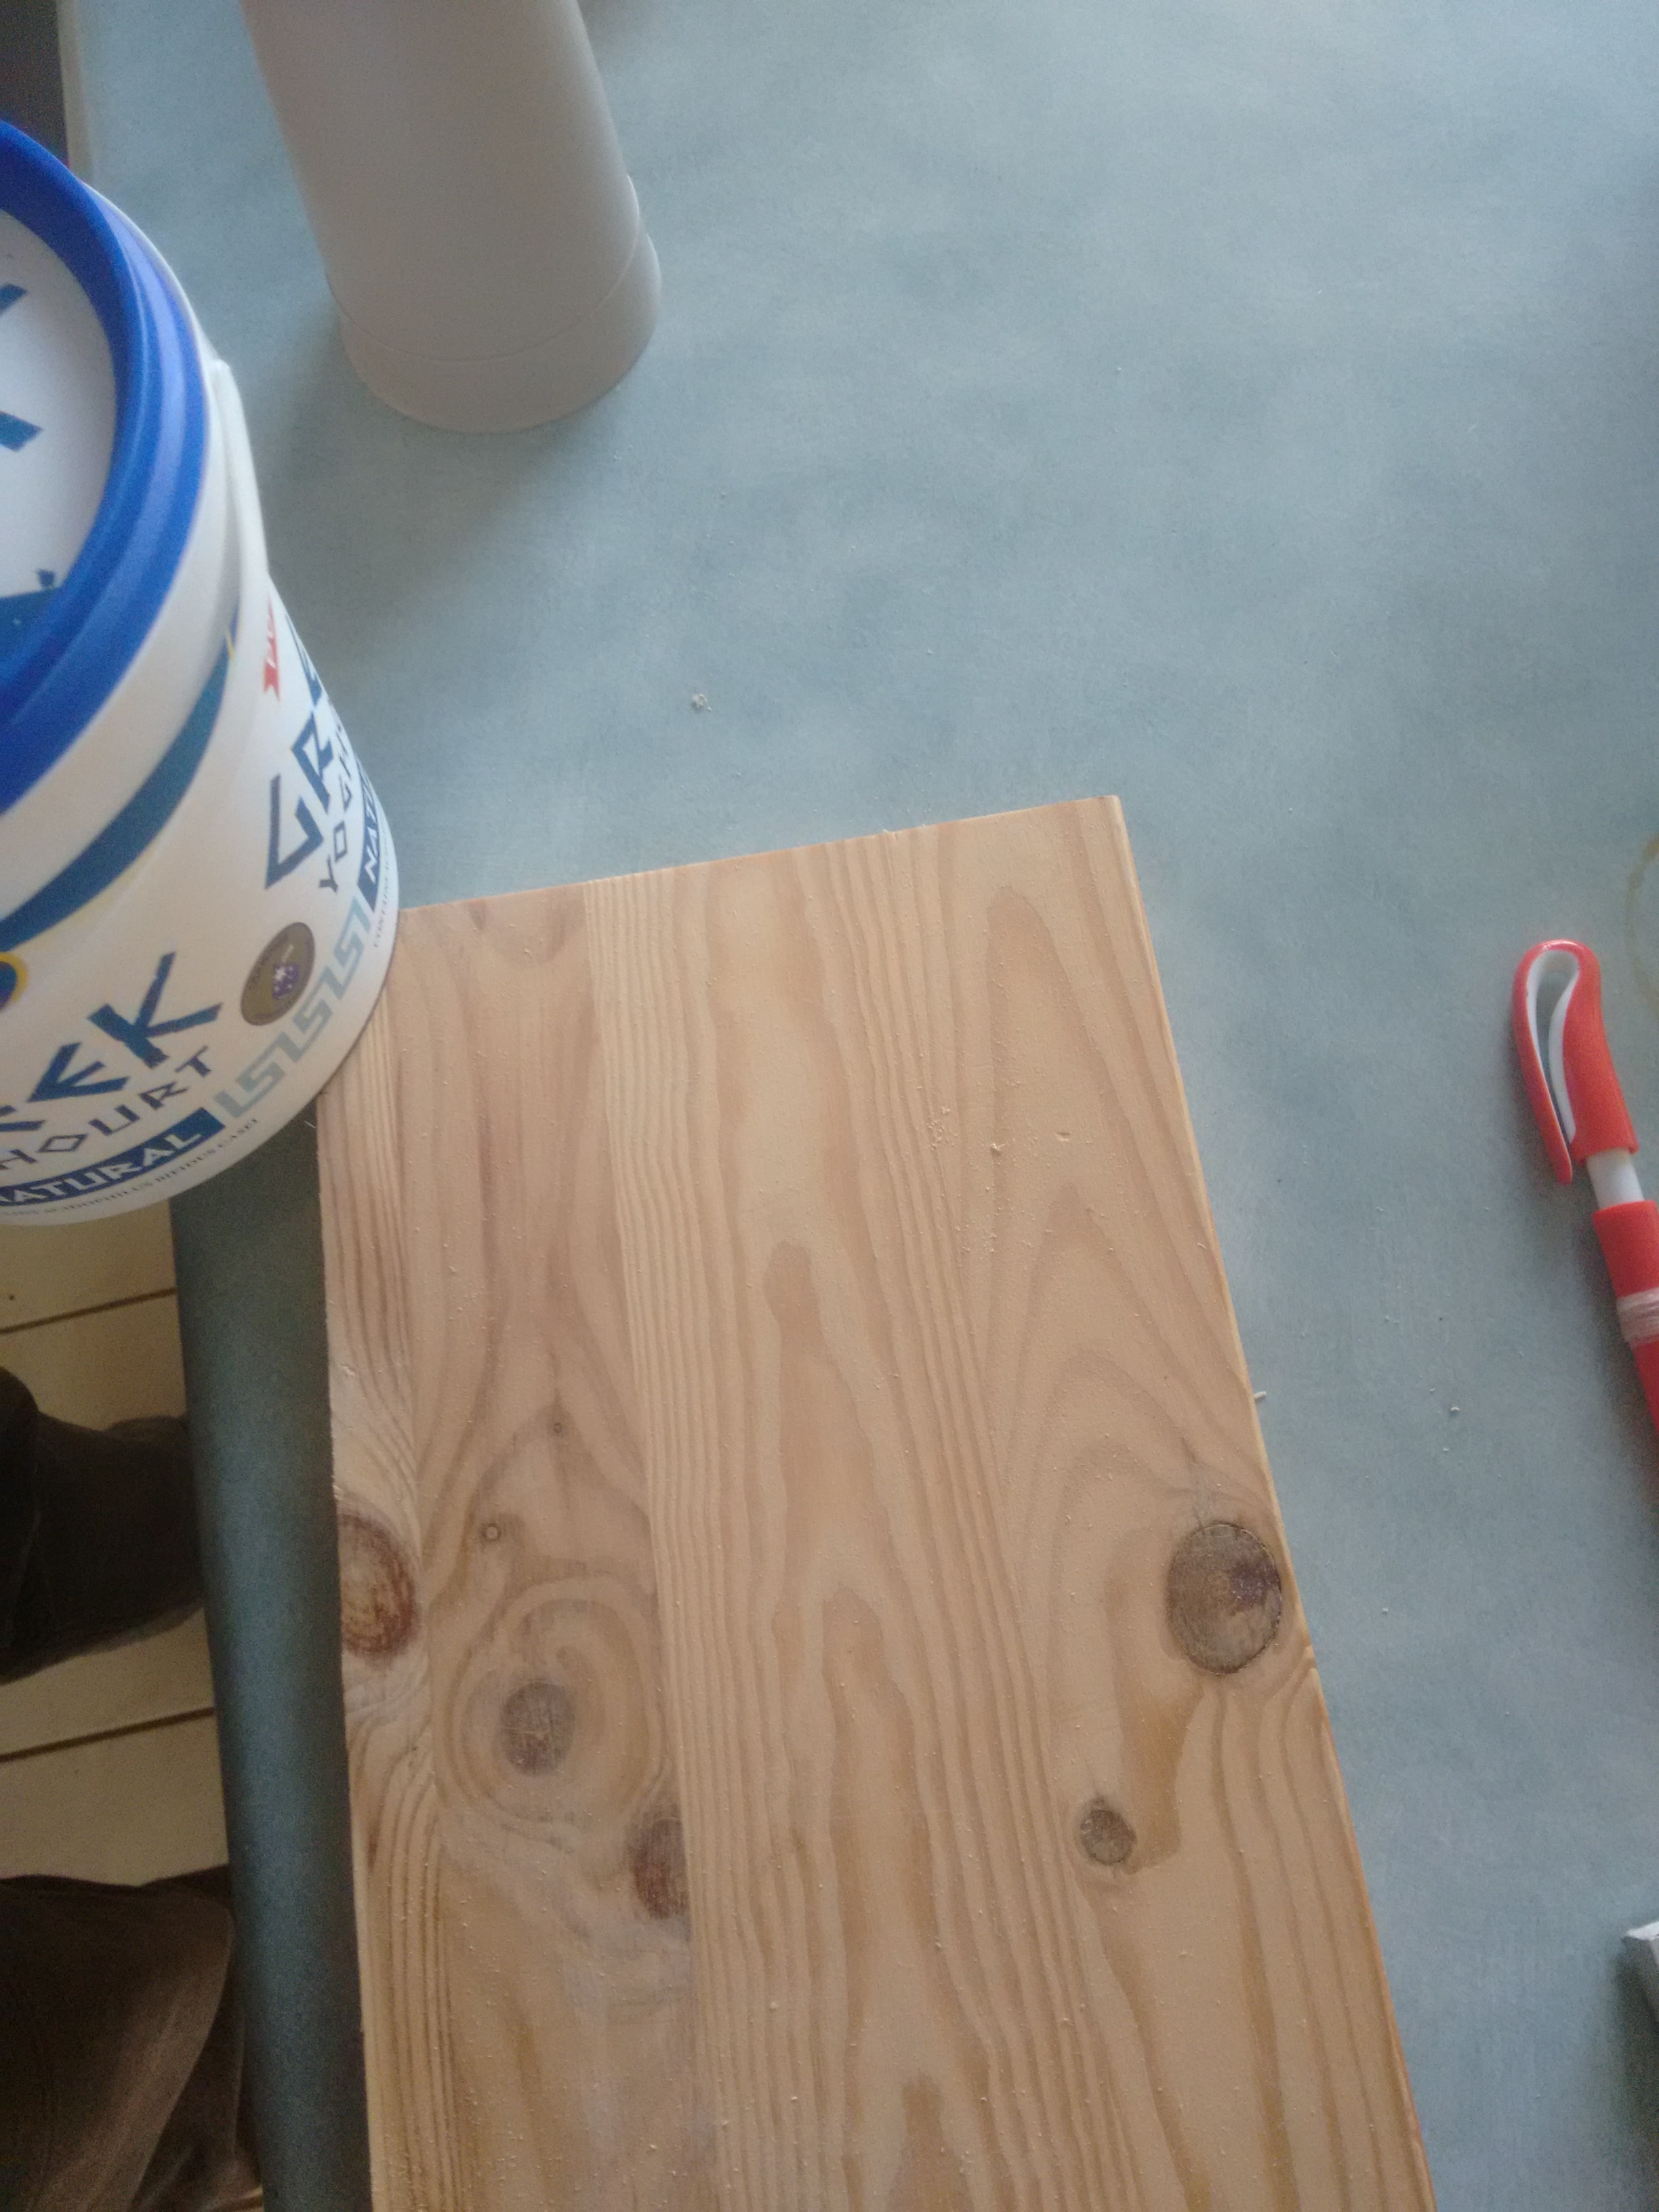
- Wood (this article uses some wood I found on a roadside, roughly 50cm - 55cm wide)
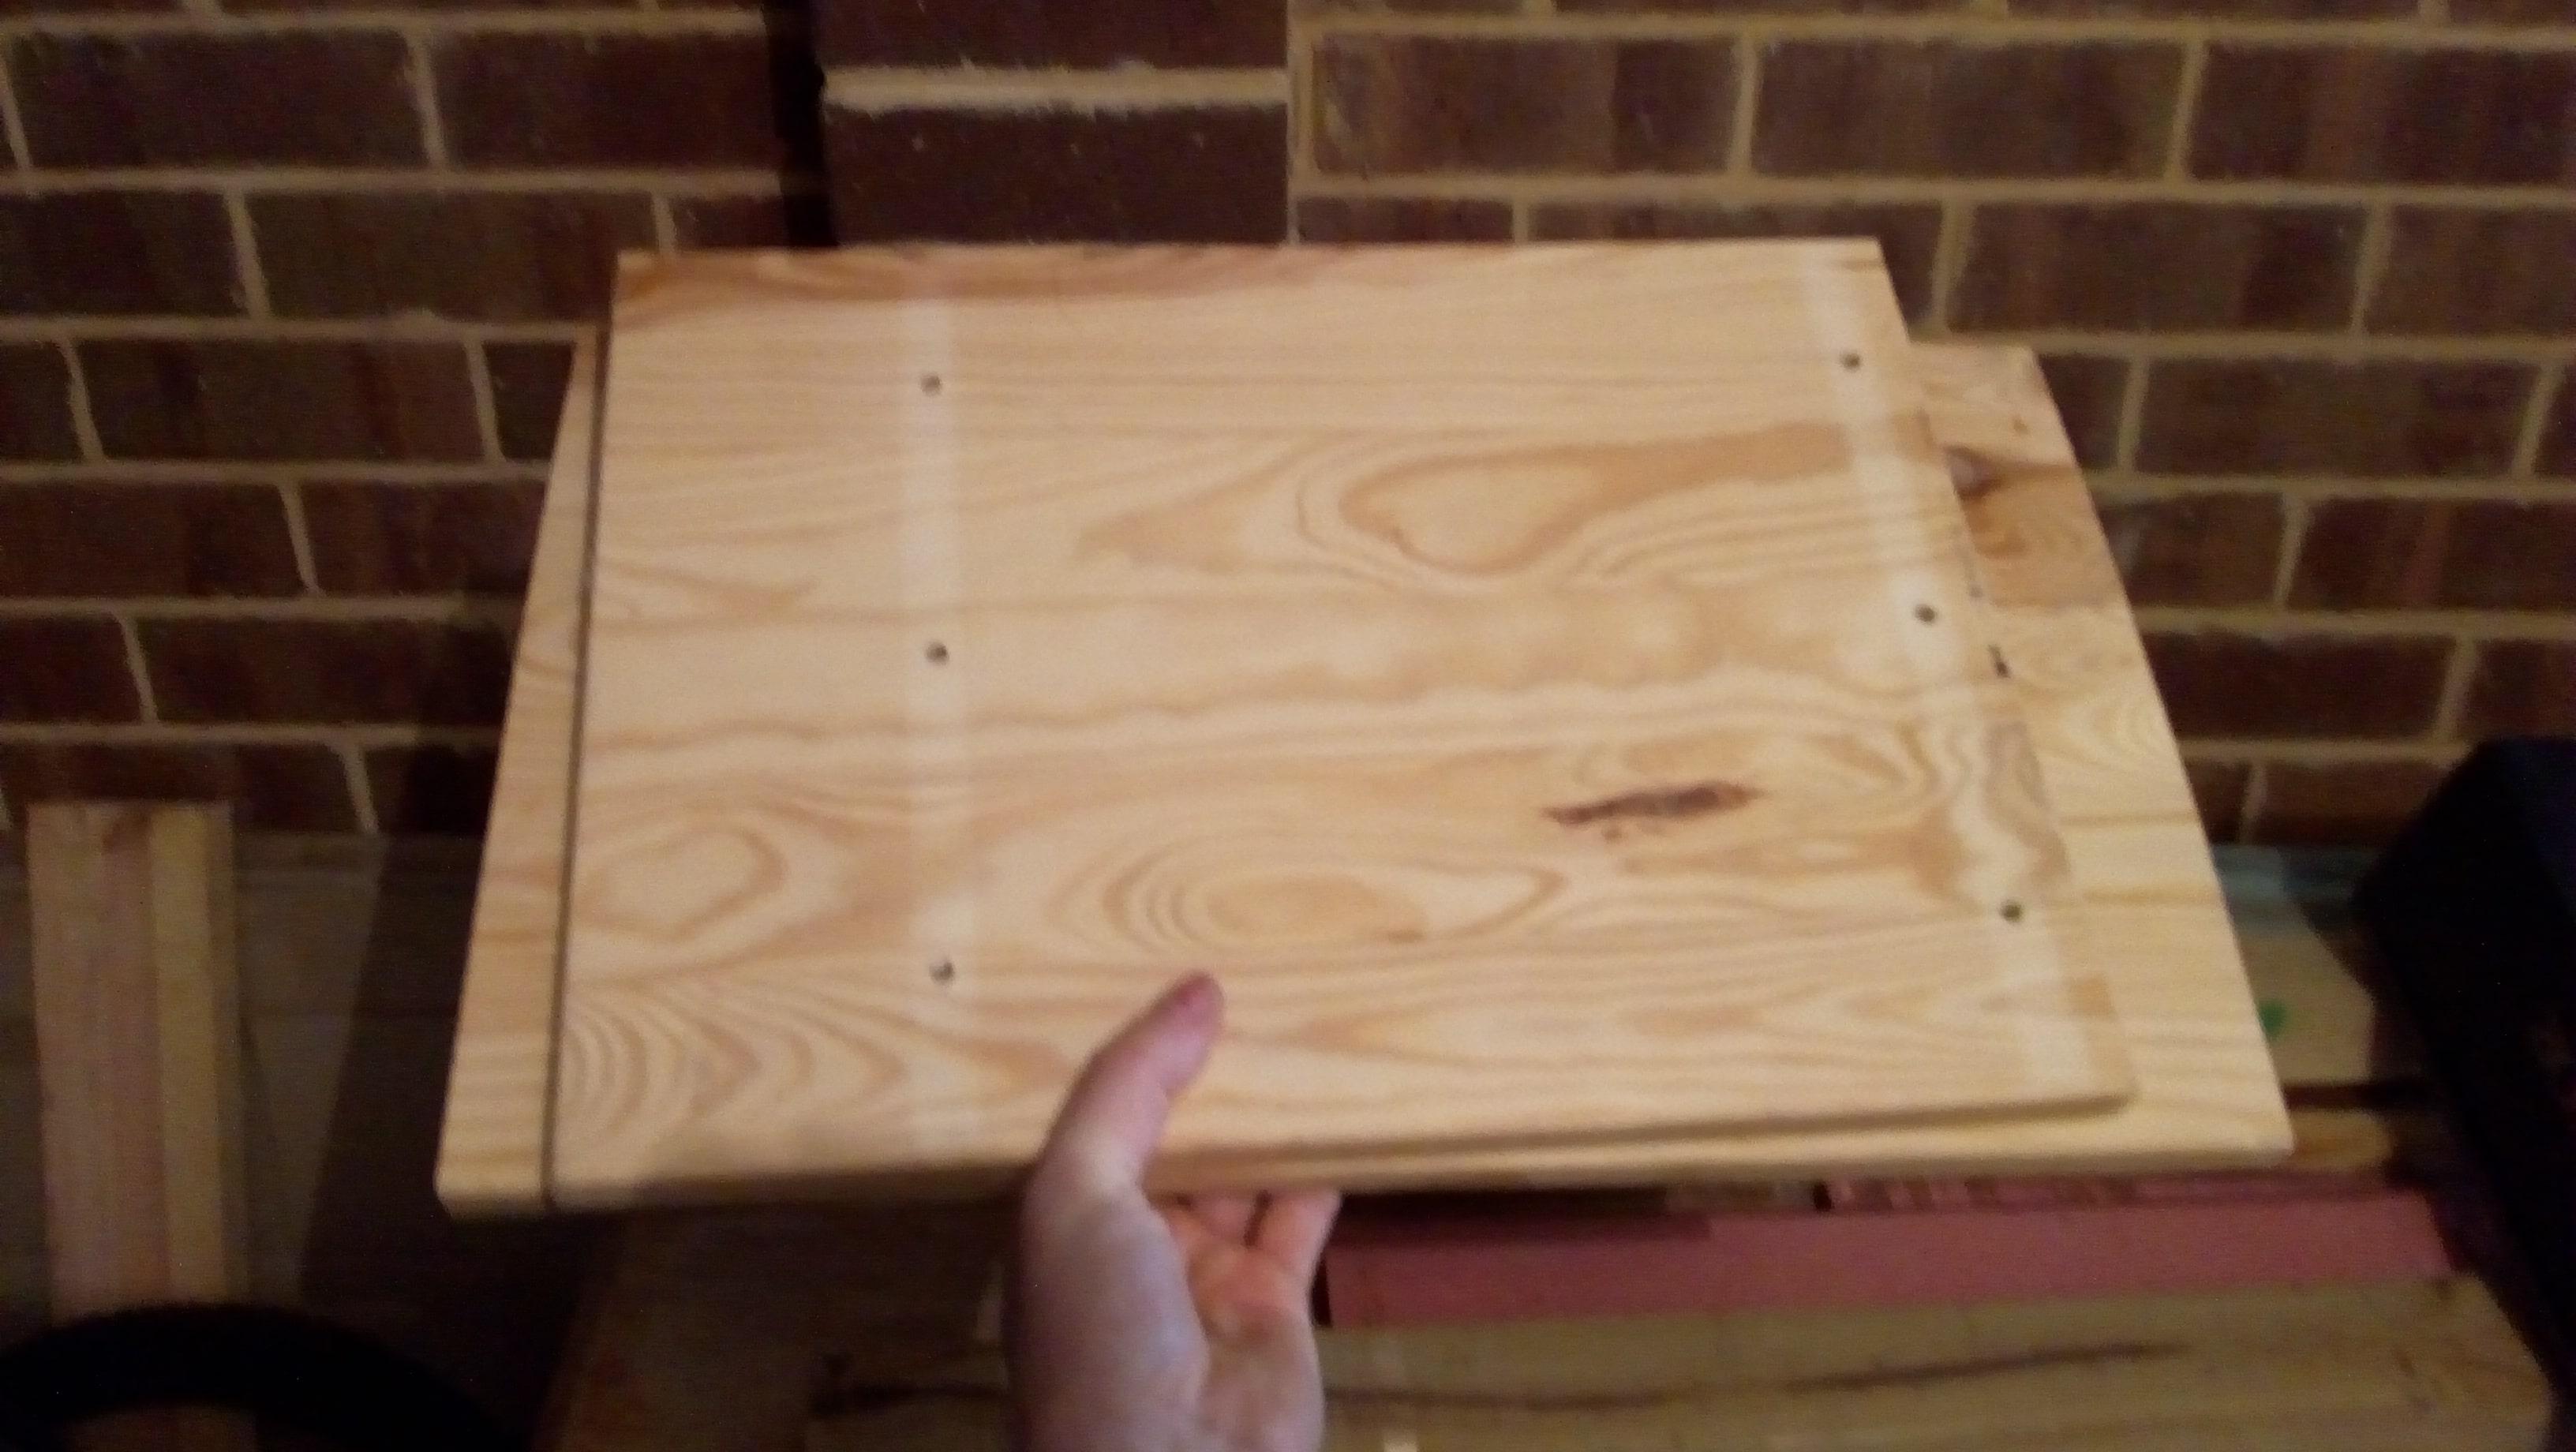
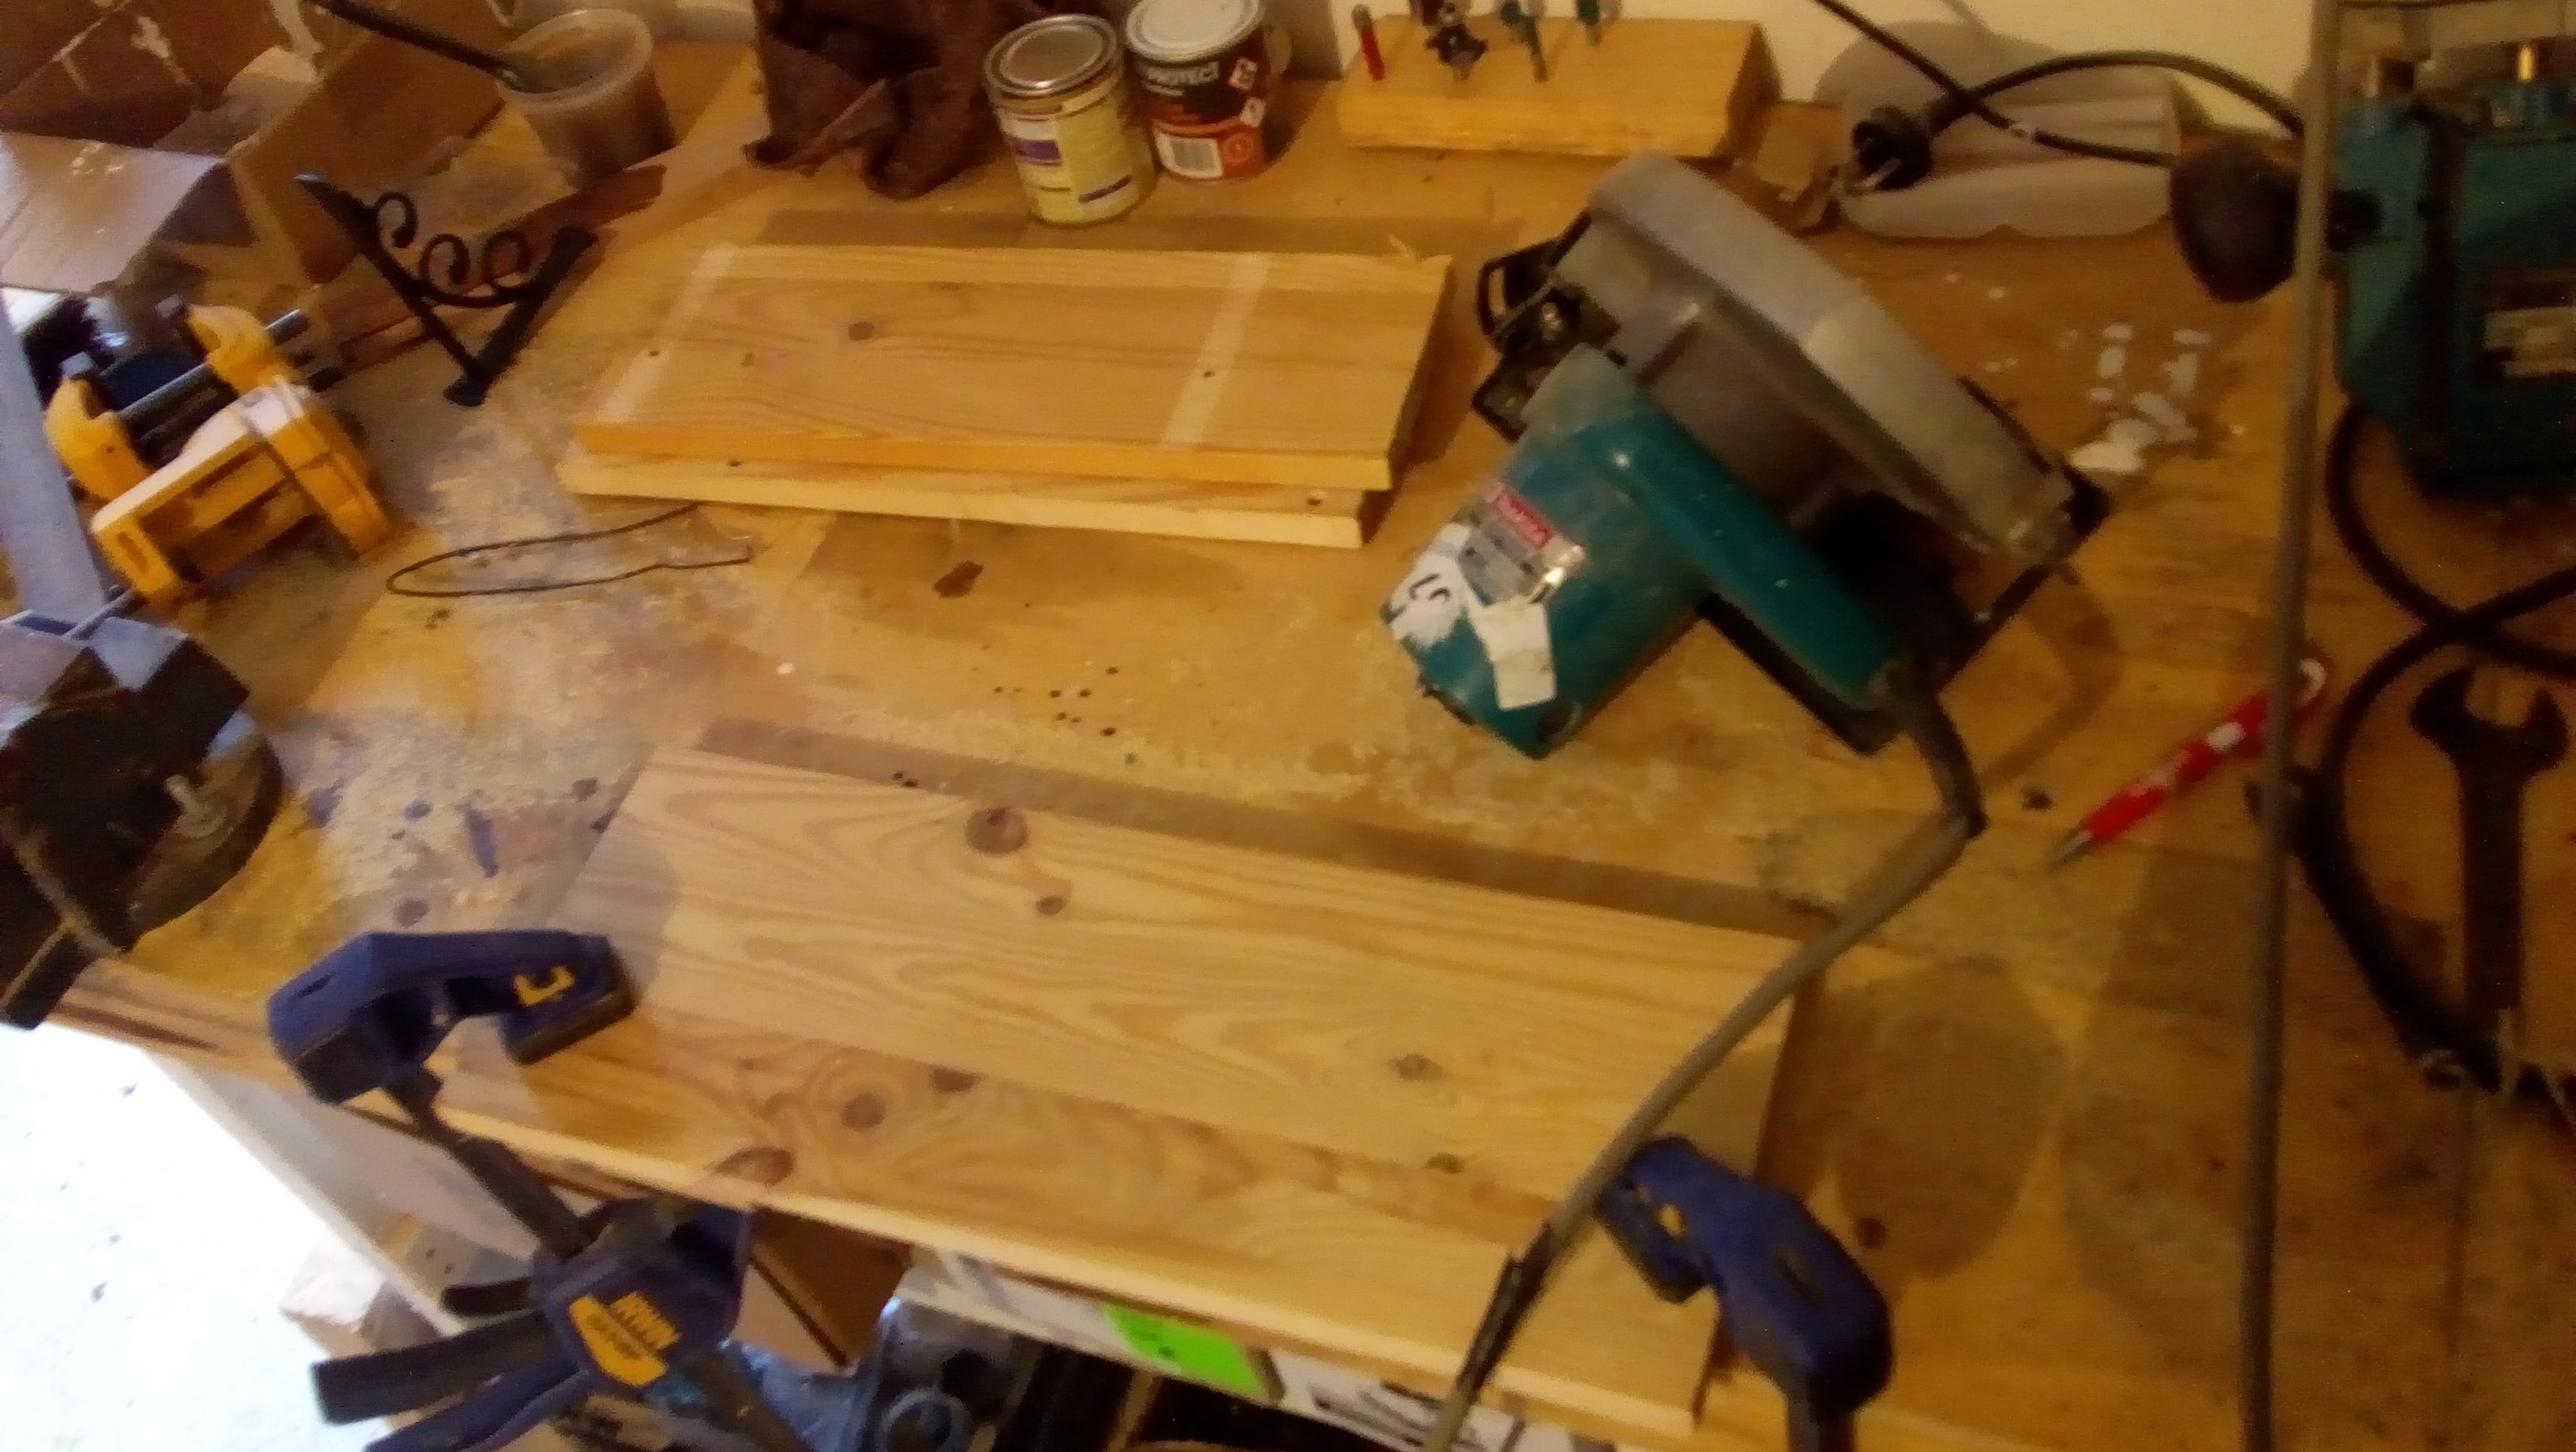
1. Cut the wood to size.
2. Use a flush trim router bit to make the recently-cut pieces flush
- Use a square to find a right angle across the wood close to where you cut it
- Place a flat piece of wood on the bench
- Place the recently-cut wood with the line side-down on top of the flat edge of wood
- Look underneath the wood to make sure your line is level with the flat wood
- The wood underneath will guide the bearing on the flush trim bit
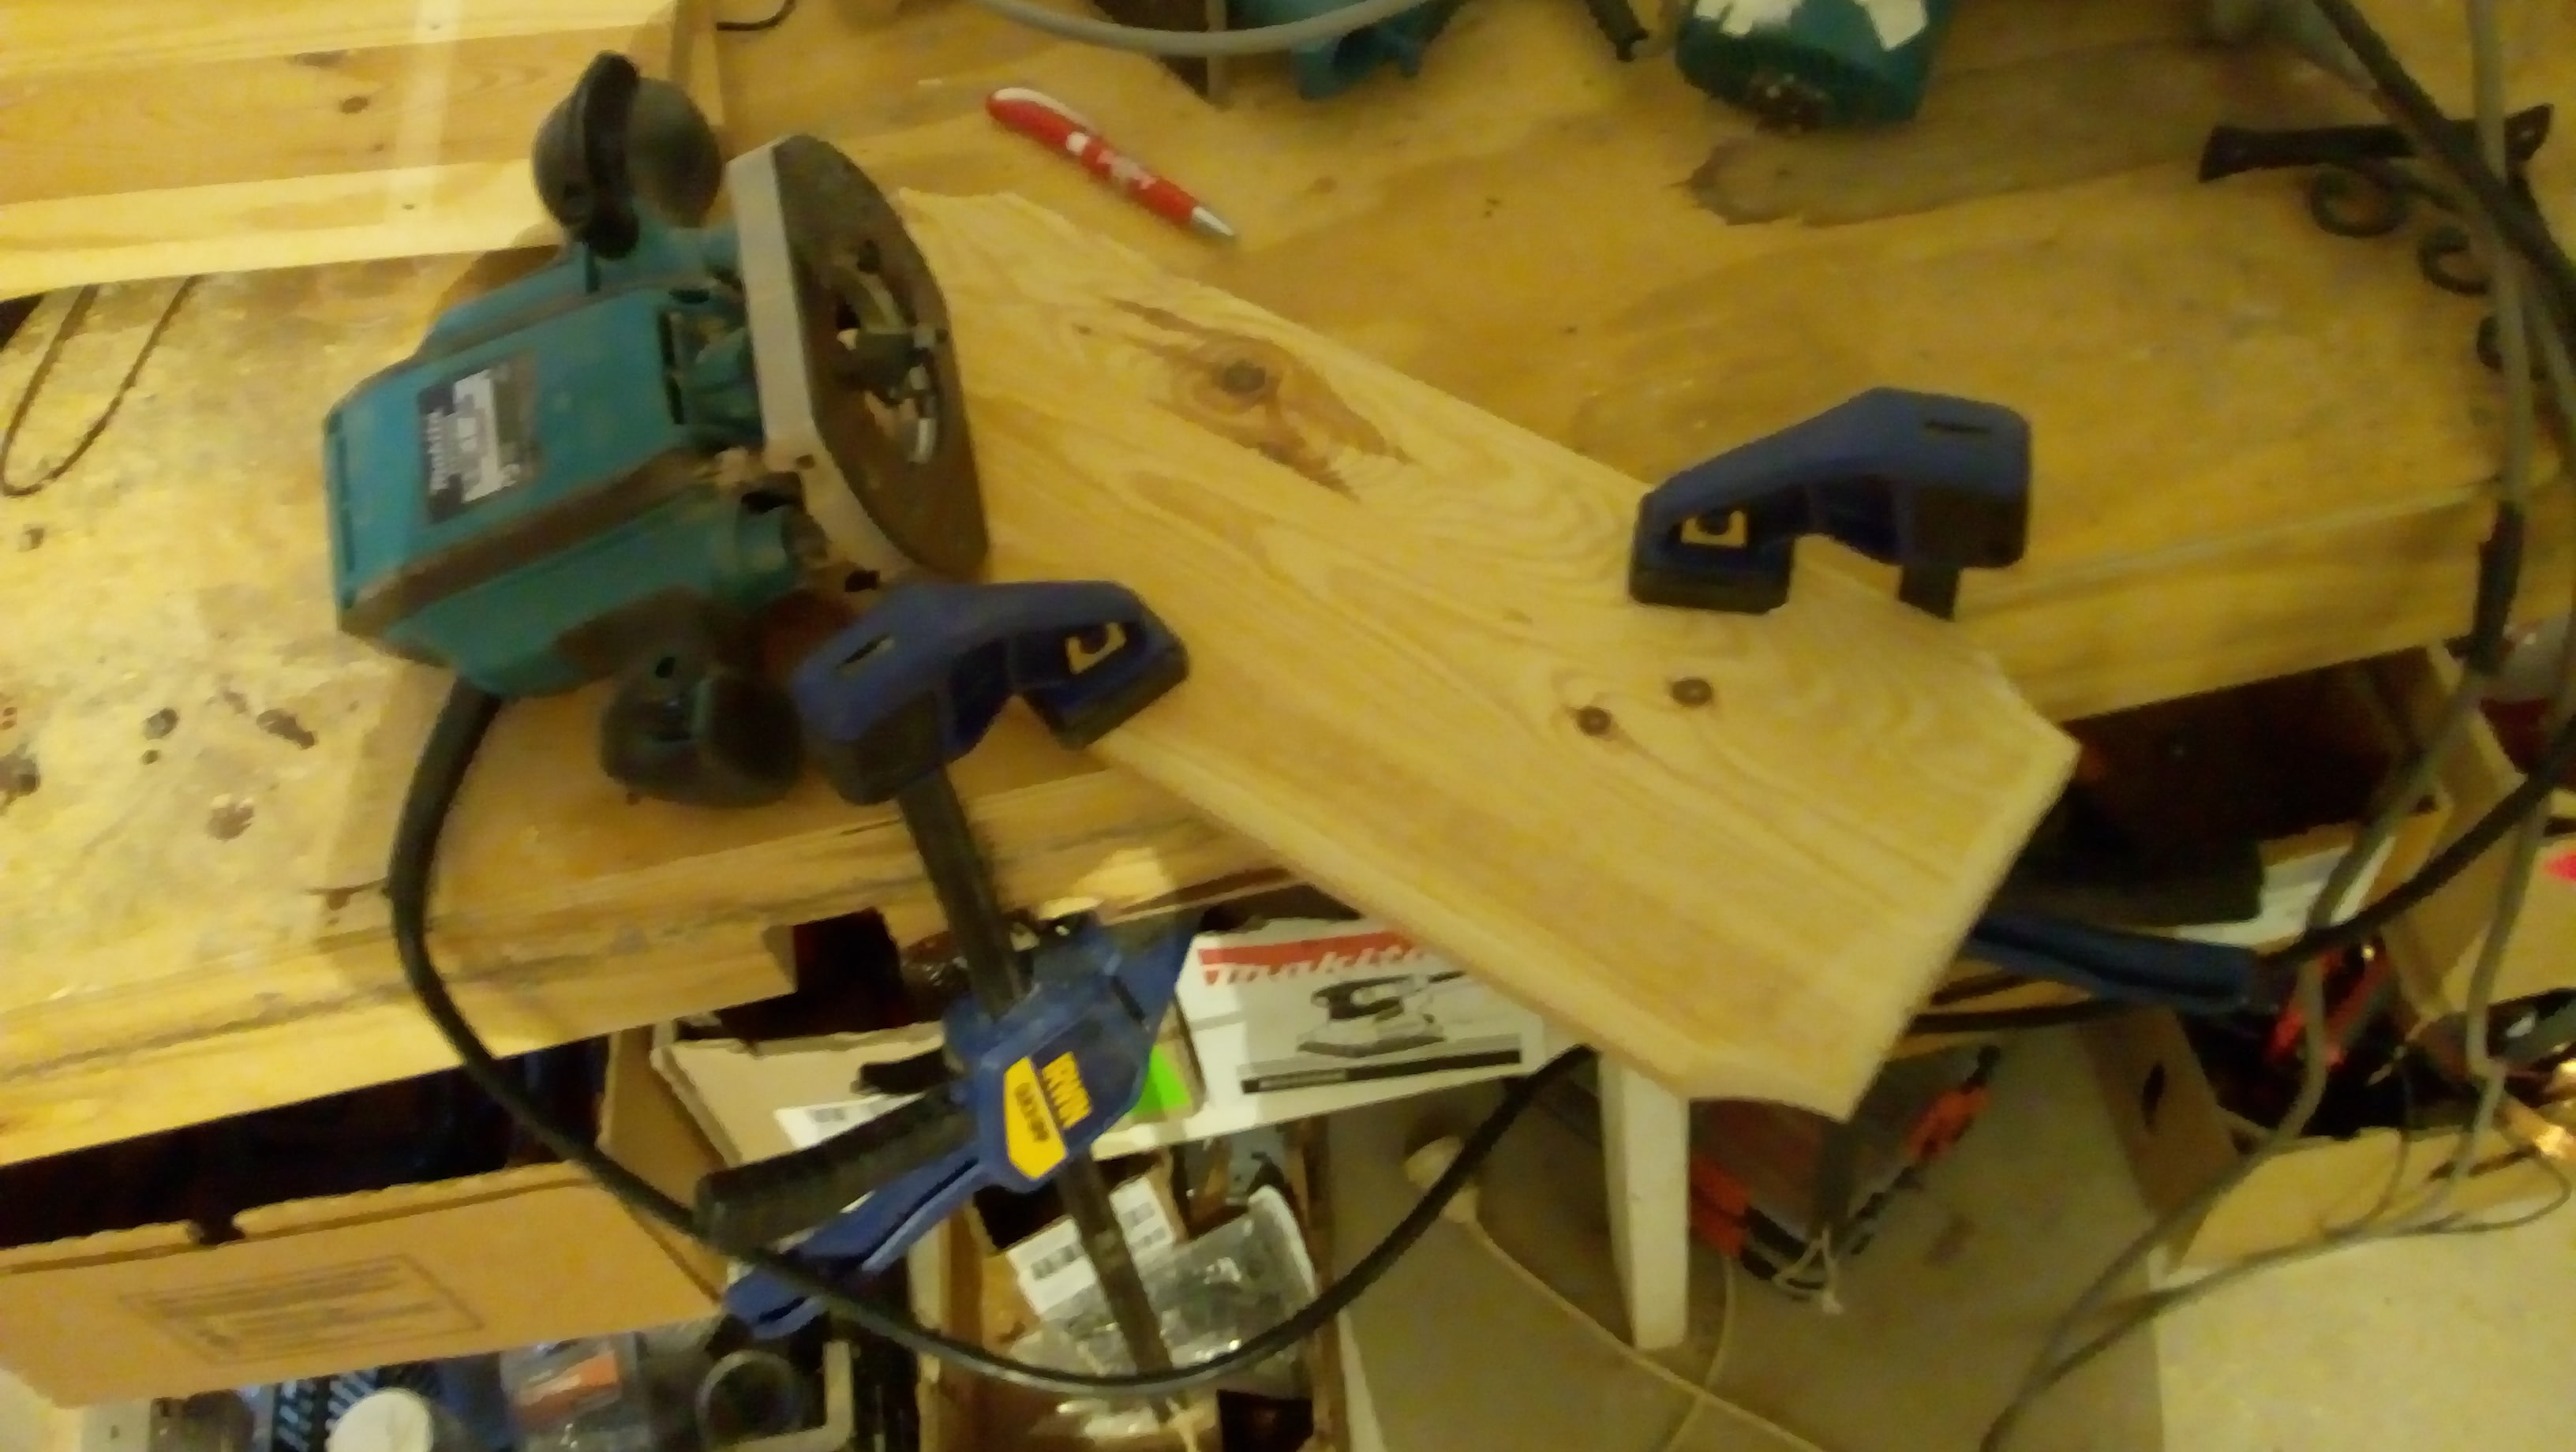
3. Use a round object to mark lines to cut away
4. Use a jigsaw to cut away those lines. Use a blade that is appropriate for cutting around curves
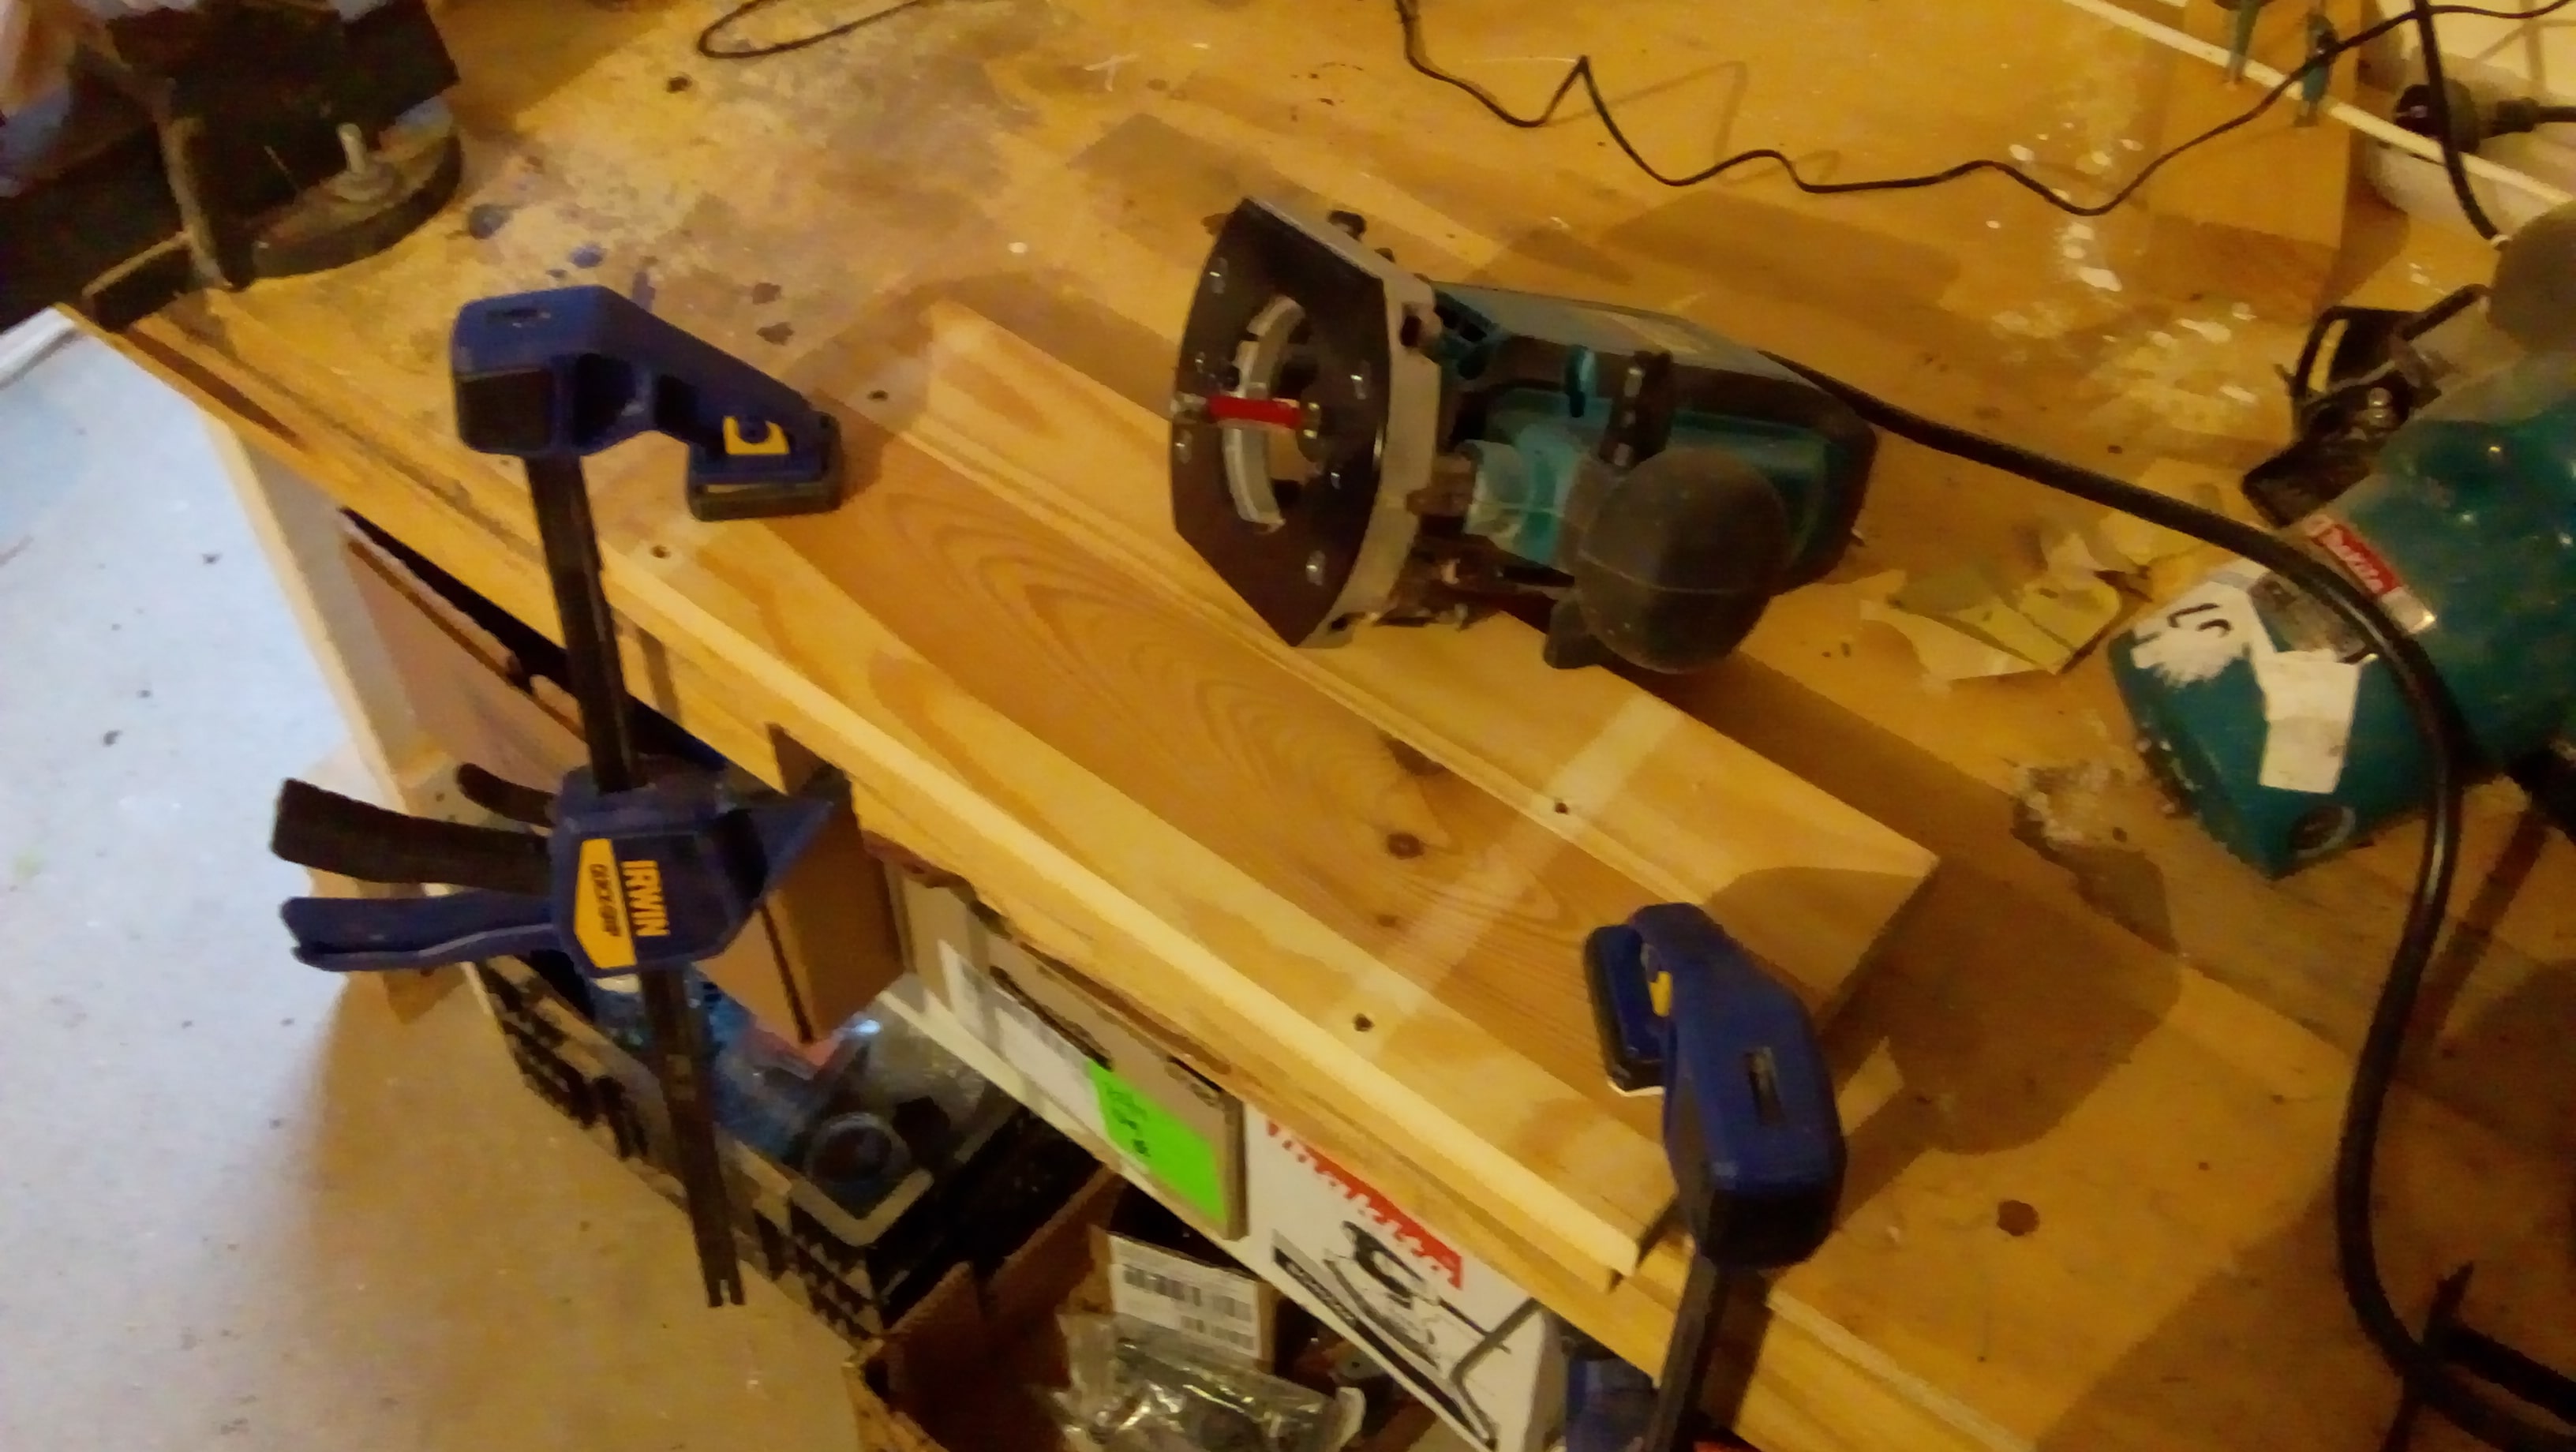
5. Use a router bit (I used a round over bit) to make decorated edges
Before you start, clamp the wood the opposite side down to how you cut it with a jigsaw in the previous step. This is because the jigsaw will be slightly off the further it is away from the saw. You want the most-accurate side facing down for the bearing to run along.
6. Putty up any holes or blemishes you don't like
- If you're using recycled wood (like I am) you may like to cover up any dents etc that the router couldn't get to
- Wait until the putty dries
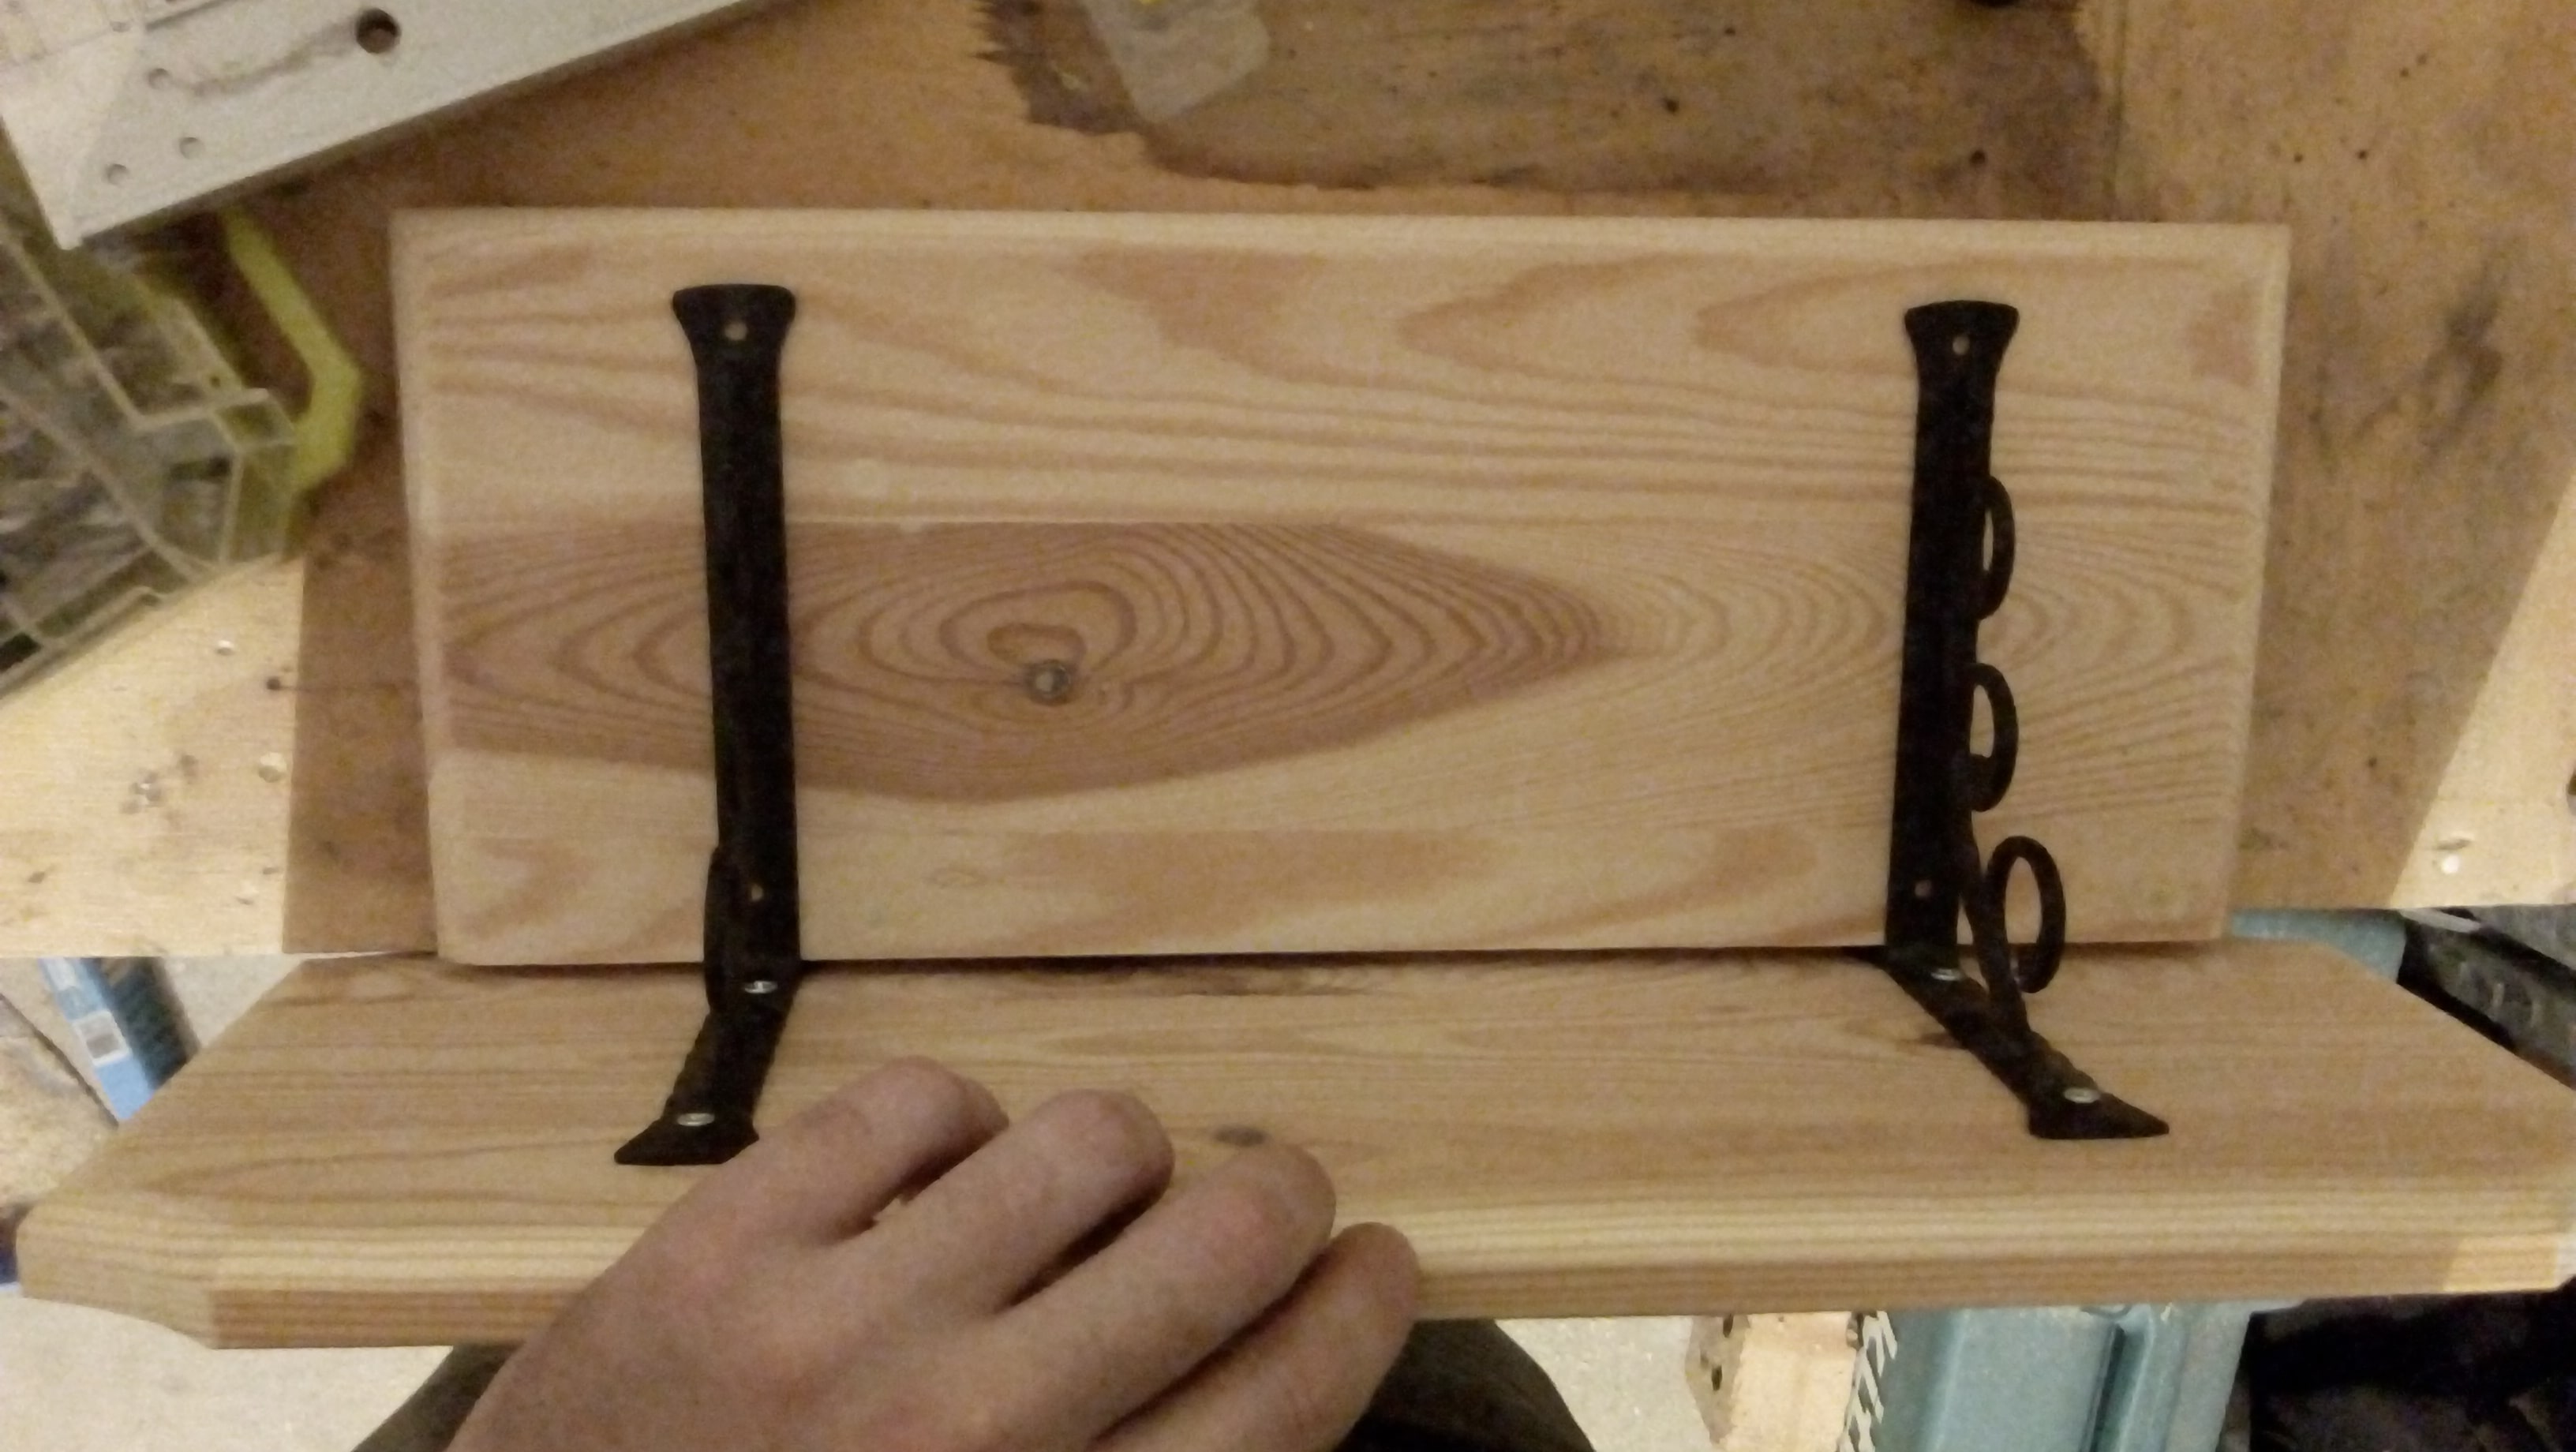
7. Drill holes for where the brackets will sit on the wood
- Start with the base piece
- Sit the brackets on top
- Use a pen to mark the holes
- Drill your holes
- Screw the brackets to the wood
- With the brackets stuck in place to the base piece, mark holes on the shelf piece
- Drill those holes
- Remove the brackets
8. Sand the whole surface back, removing excess putty and pen marks
- Start with a course sandpaper, then fine
- Use a circular motion
- You can also use an orbit sander but manual for this small job is OK
9. Stain the wood
- Wipe down the wood with a damp cloth
- Mix the stain well
- Brush the stain on and leave it for a few minutes, and then wipe it off. If you don't wipe the excess off, you will likely end up with an uneven stain and that will be disappointing
- Do more coats if you like, rather than painting the stain thick and leaving it there
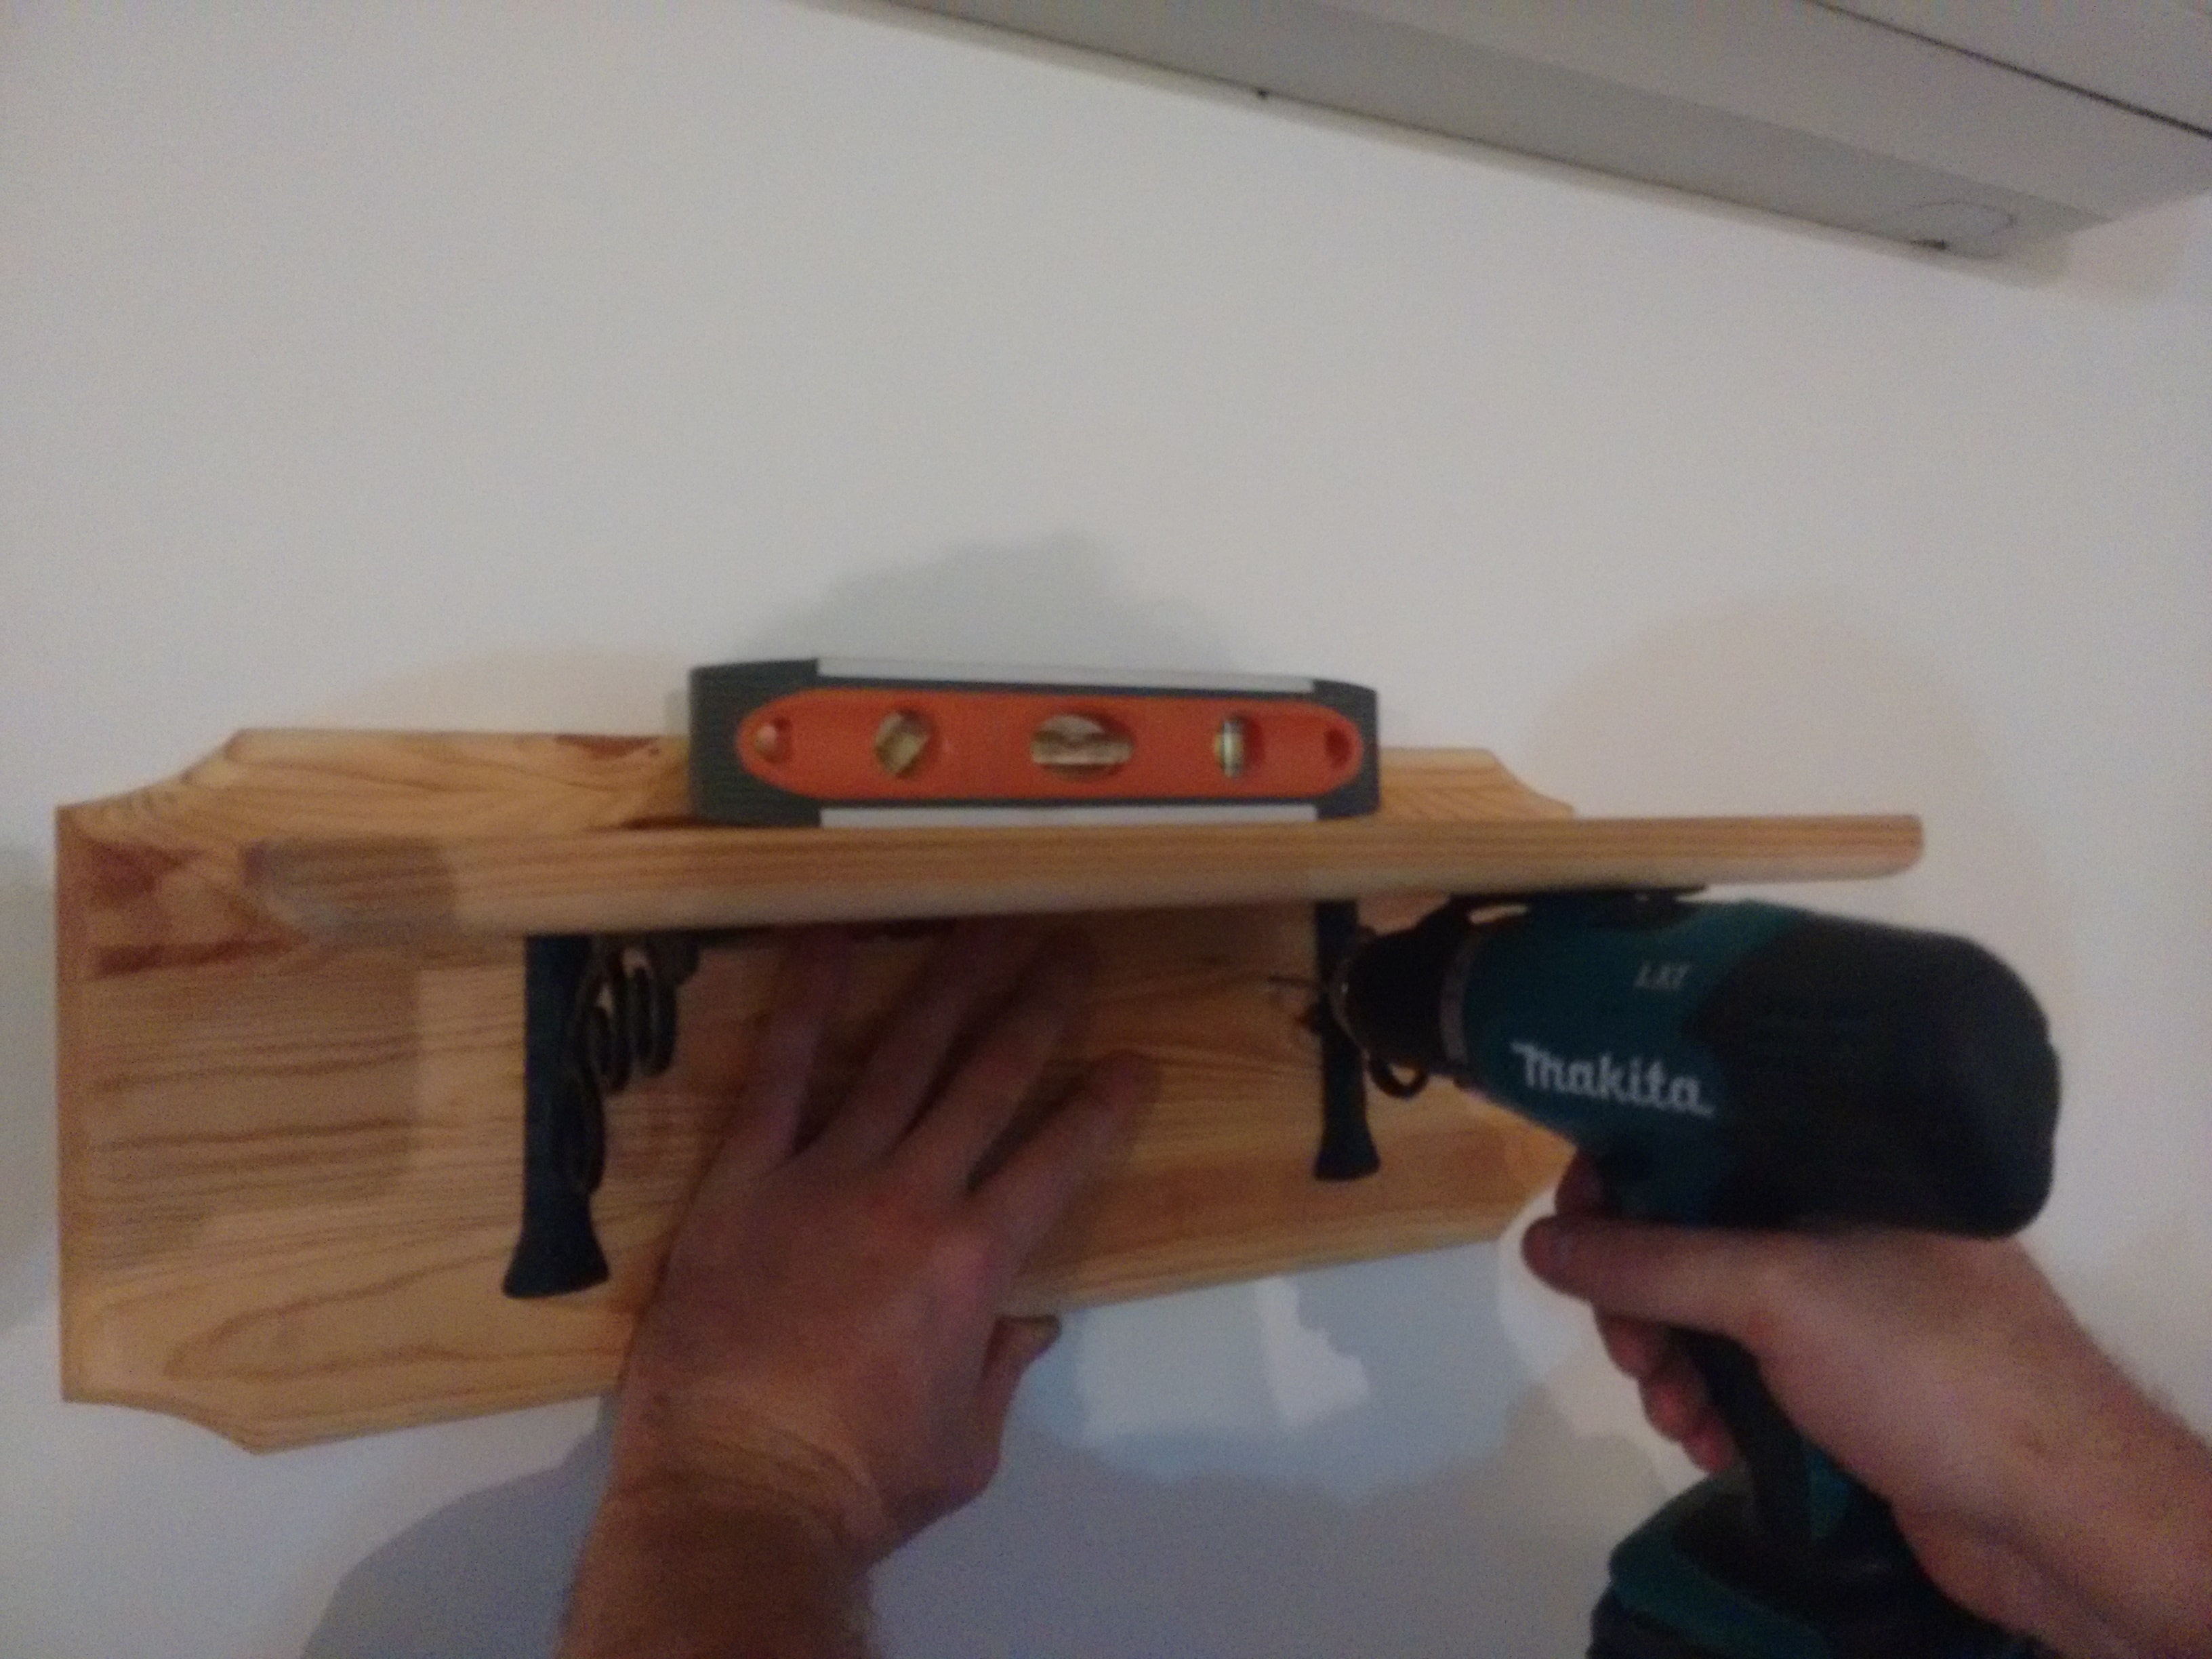
10. Screw the brackets on so the whole thing is assembled
11. Drill two holes in the base piece
12. Drill the shelf to the wall
- Sit a level on the shelf to make sure the final position looks neat
- Drill it to where it needs to be
- If your wall is plasterboard, you probably want some plastic anchors to screw the shelf onto. Plasterboard by itself would probably not support screws
I’ve being doing lots of wood projects lately but I haven’t been motivated to write the steps down. I will start publishing some if I think they’re broadly interesting.